


Loopysue
Loopysue
About
- Username
- Loopysue
- Joined
- Visits
- 10,414
- Last Active
- Roles
- Member, ProFantasy
- Points
- 10,161
- Birthday
- June 29, 1966
- Location
- Dorset, England, UK
- Real Name
- Sue Daniel (aka 'Mouse')
- Rank
- Cartographer
- Badges
- 27
Latest Images


-
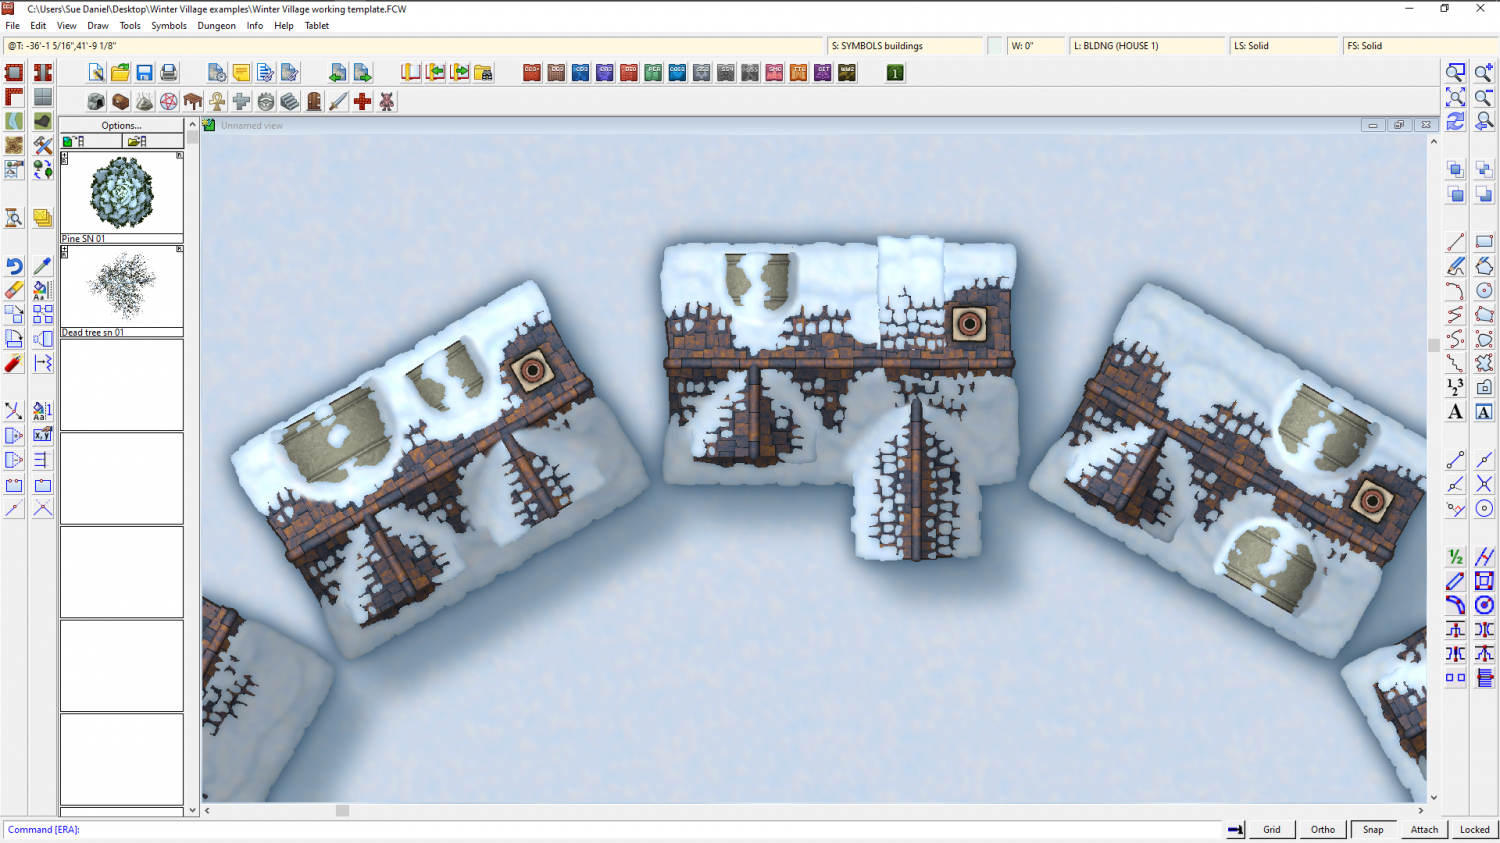
Winter Village style development (March 2022 CA issue)
Having fun with different kinds of dormer. This is the same basic building...


-
ProFantasy is looking for a web developer and graphic artists
Profantasy is a most excellent employer - the best I've ever had in all my 57 years :)


-
March 2023 humble bundle
Just to clear up any confusion, here is the spreadsheet showing what is in each pack.

-
Banners

(6 symbol connectivity test using the "bright" version of Title A style)
![[Deleted User]](https://secure.gravatar.com/avatar/c75d9a245b74d9c59be0999ea81ca541/?default=https%3A%2F%2Fvanillicon.com%2F92add7f8c954488718110edc4896ad39_200.png&rating=g&size=200)


-
Square hex overlay with blank intersections?
I did one like this with a small blur and a transparency effect on the GRID sheet.

It's a 5ft grid with black dashed lines of 0.1 line thickness.
Having a line thickness greater than zero is important in this one case, since for some reason a zero width line doesn't behave as expected.

-
Live Mapping: New City Style Part 4
Hi everyone! :D
Due to popular demand, in this week's Live Mapping session Ralf will be continuing the New City Style series - completing the example town and castle he started in part 3 of the series.
Come and join in the discussion here on YouTube:
https://www.youtube.com/watch?v=yFAao-FUZnM
Or you can watch it here if you wish.
All the previous live mapping sessions in this series (and hundreds of others as well) can be found here:

-
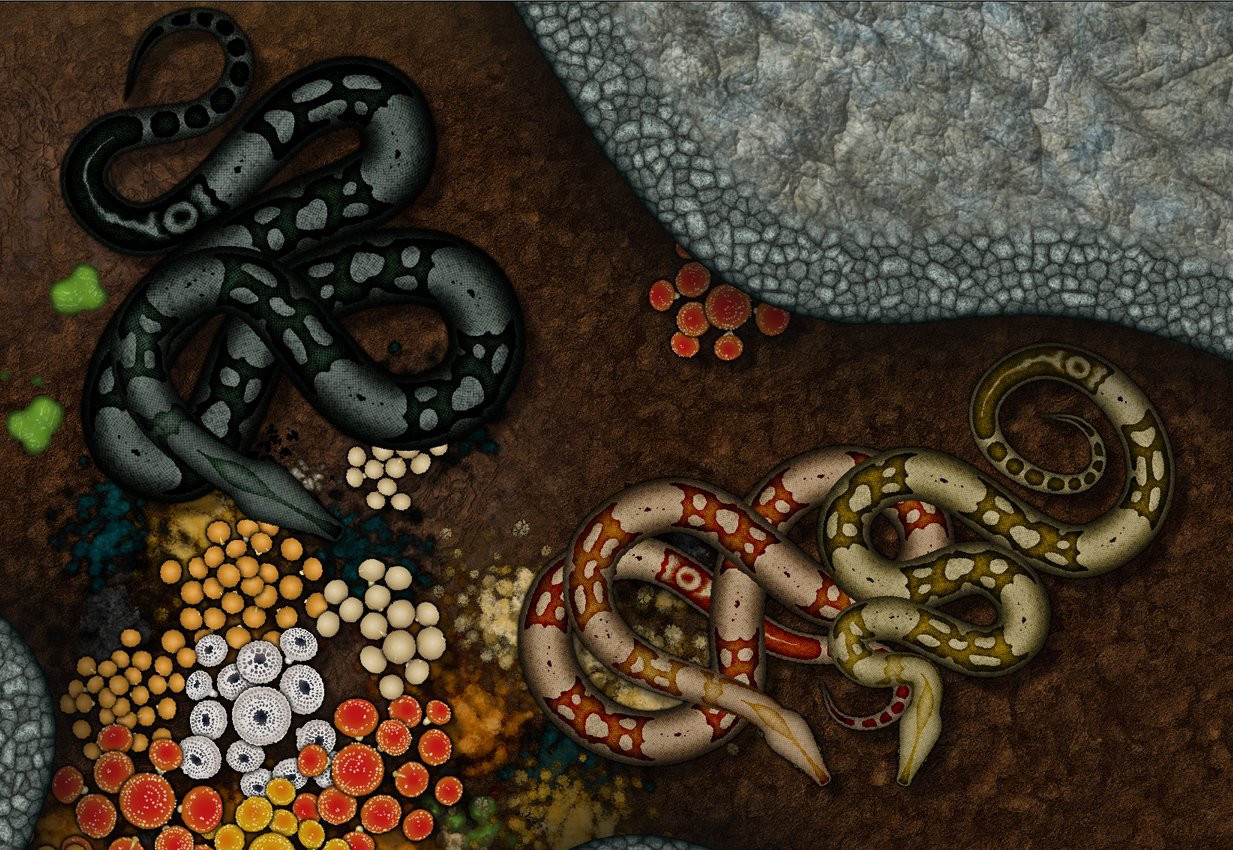
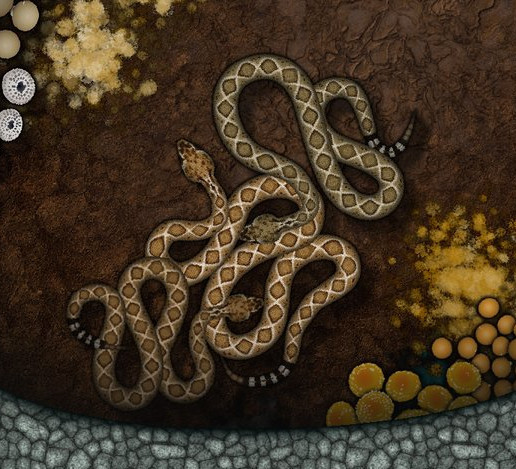
The Creepy Crypt project
I think this is all of them so far. I say 'so far', but I can only add more snakes if I get to the end of the wish list and still have some time left.


-
Lighning Rendering problem
That is most usually caused by the lights not being present in the current render pass, and not accounted for in the total light falling in the current render pass. At a guess that image took 2 passes to render.
Type EXPORTSETMPPP and hit enter.
The number showing in your command line will most likely be 4000000 (4 million)
Type 40000000 (40 million) and hit enter.
That will expand the size of each pass over the map as it is rendered, and hopefully prevent the artefact by completing the whole map in a single pass.

-
Jim Pierce 1947 - 2024
What a huge body of work to leave behind! Besides being a lovely, gentle man he will probably be one of the most prolific fantasy mappers in history.


-
Inn/Tavern battlemap (WIP)
That's a really good map elezriata - and "Hi" from Sue Daniel ;)
Have you heard about the Vintyri Collections? These are huge collections of free third party art assets that might help with things like more variation of rugs and furniture.
The links for all the assets can be found here:
Where the Vintyri collections in particular are concerned please read the installation instructions really carefully.


