


Loopysue
Loopysue
About
- Username
- Loopysue
- Joined
- Visits
- 10,415
- Last Active
- Roles
- Member, ProFantasy
- Points
- 10,161
- Birthday
- June 29, 1966
- Location
- Dorset, England, UK
- Real Name
- Sue Daniel (aka 'Mouse')
- Rank
- Cartographer
- Badges
- 27
Latest Images


-
Nebula ? I'm looking for nebulae bitmap fills or symbols
Are you looking for a nebula symbol, or for a complete image to use as a background?
I have a relatively simple nebula image (not a real one, but one I made in GIMP). You could have this one, but I don't know if it is what you are looking for. It would have to be a background image only as it isn't a seamless texture.
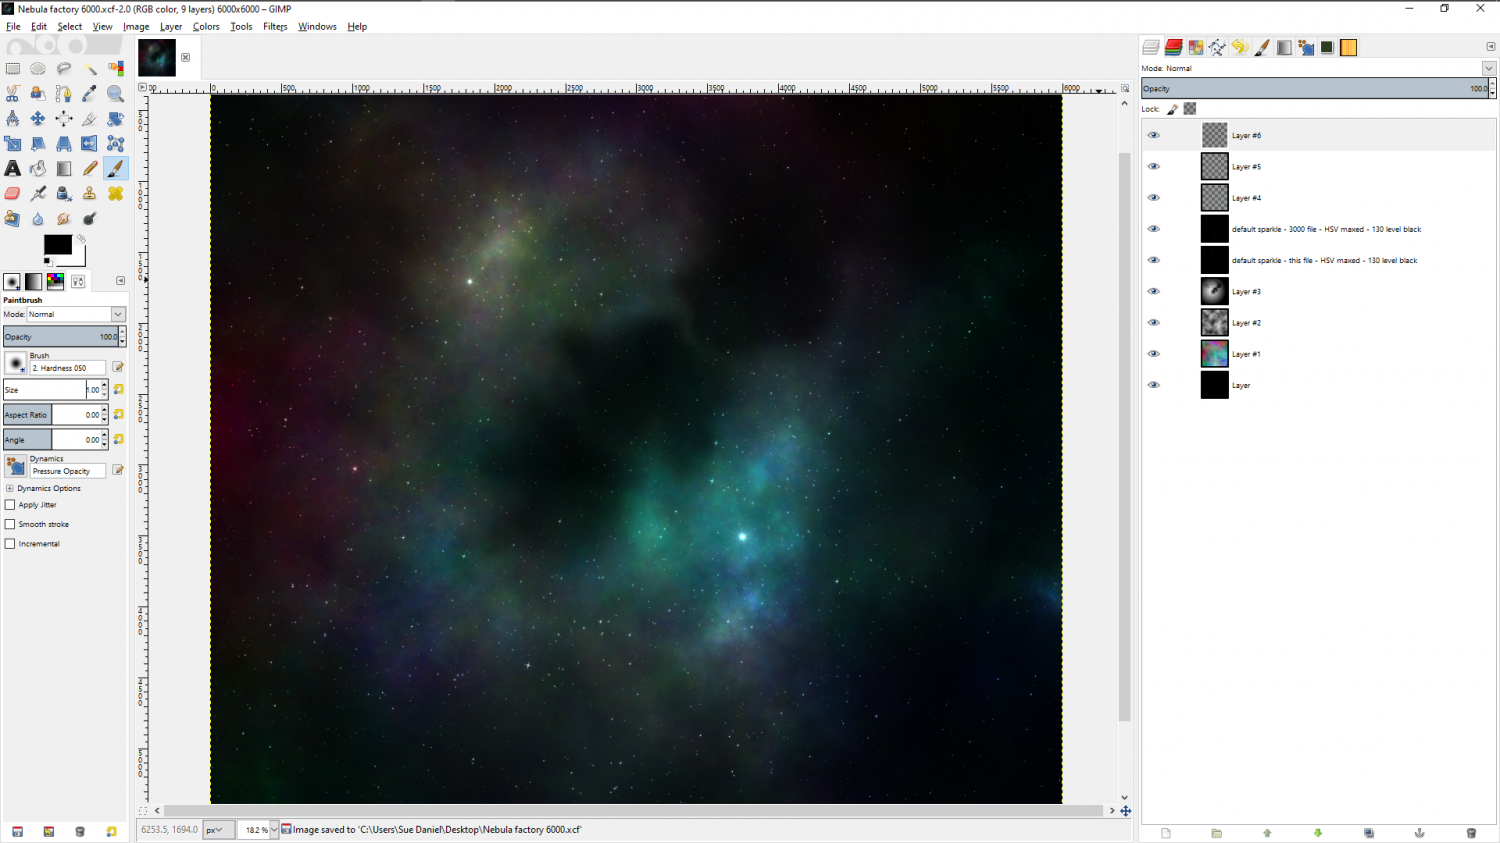
If you do want it, let me know what size (it's square).


-
WIP: Fane of the Swamp People...
That must surely be a secret, Remy ;)


![[Deleted User]](https://secure.gravatar.com/avatar/c75d9a245b74d9c59be0999ea81ca541/?default=https%3A%2F%2Fvanillicon.com%2F92add7f8c954488718110edc4896ad39_200.png&rating=g&size=200)
-
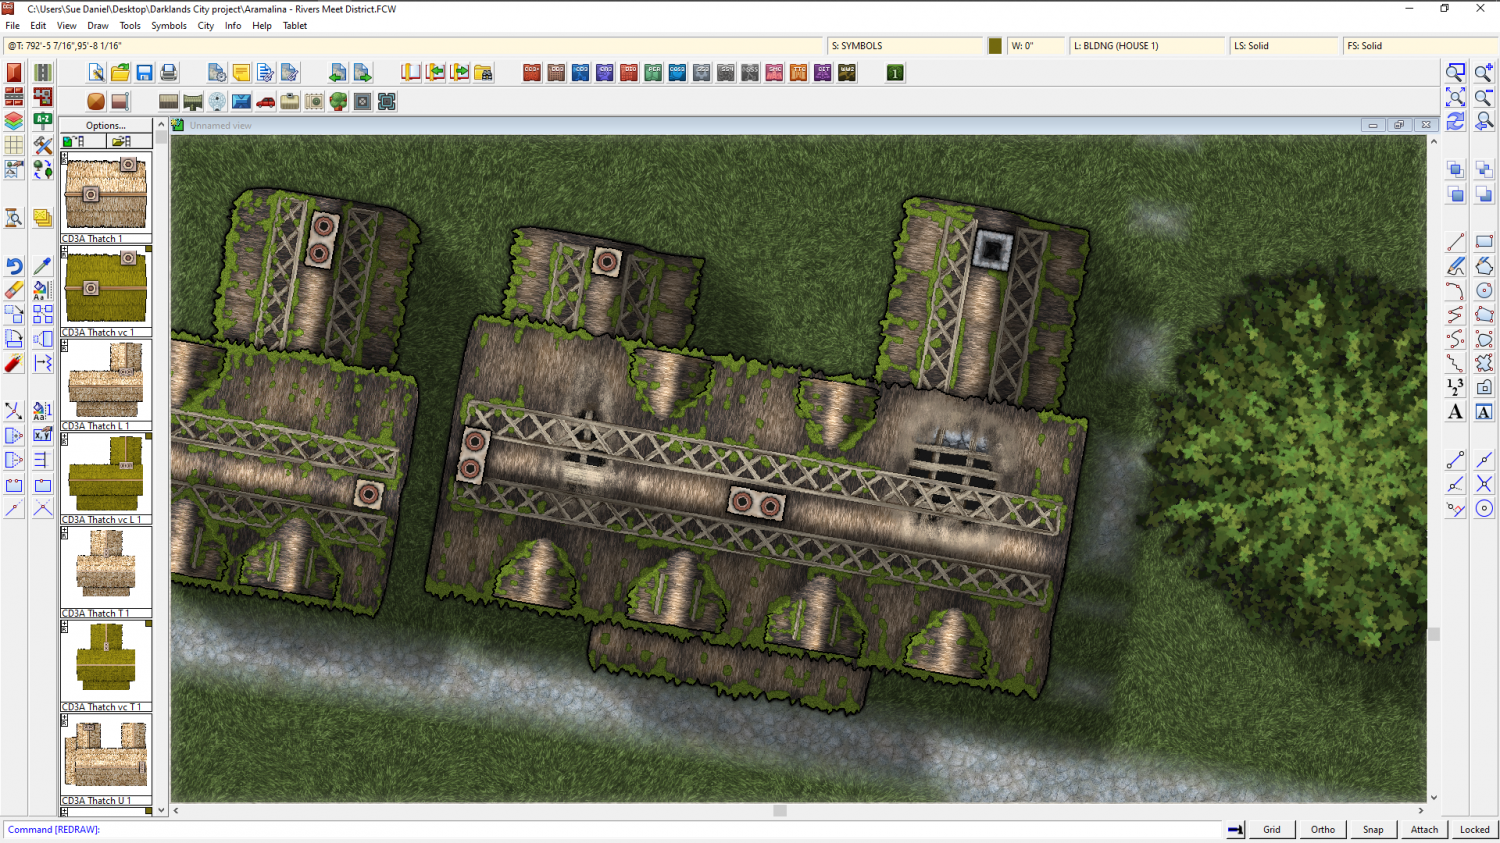
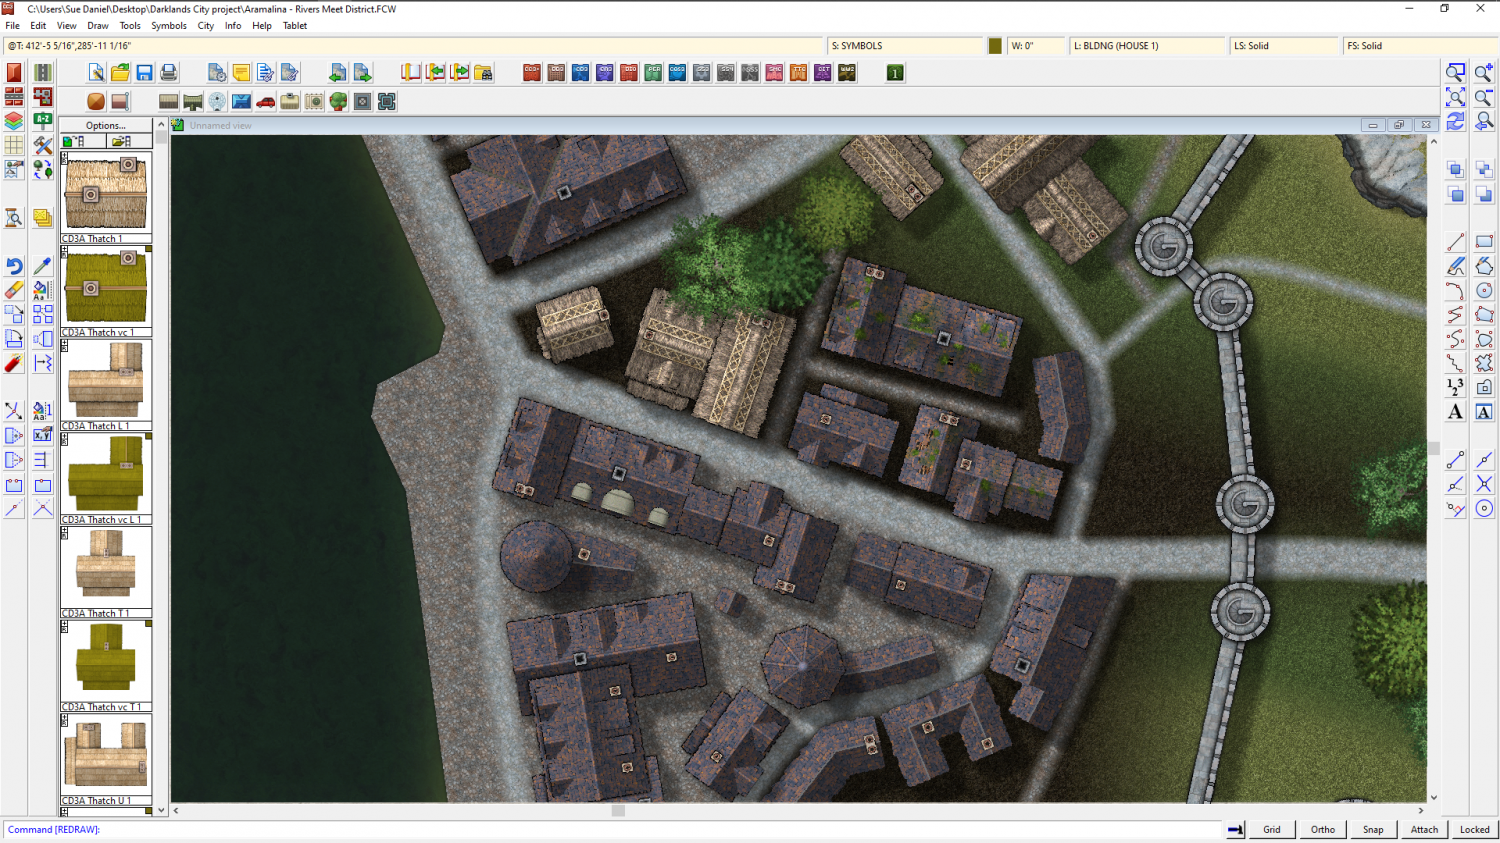
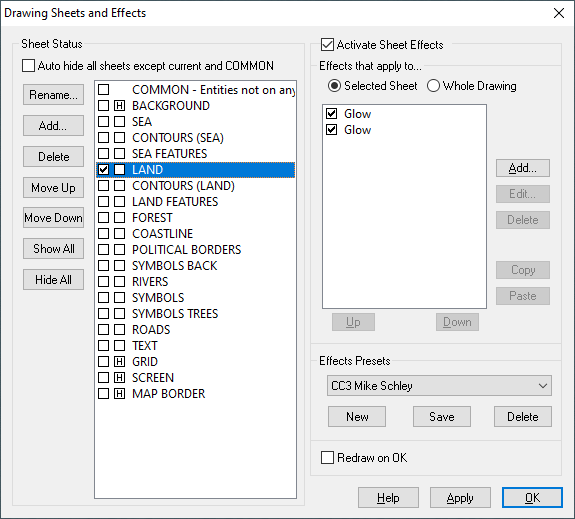
CA style development - "Darklands City" (issues for September and December 2021)
Thanks Quenten :)
The bigger rocks look like they are floating when combined with the burnt grass, which is nearly black, but with the rest of the grass they seem fine. I've added a shadow sheet just underneath them to cast a shadow on the grass, but this could be reversed so that the shade of the face is increased as well.
Yes, the fire is a separate symbol. It would be a bit awkward if it was built into the ruin symbol. The scorched soil and grass are also separate fills and not part of the ruins, so the ruins can be placed in a more peaceful scenario among the grass.


-
CA style development - "Darklands City" (issues for September and December 2021)
Ok. I now have holes in the roof on both tiled and thatch houses. The thatch house holes were a lot harder to work out than the tiled ones. No sharp edges!
Anyway! I was hoping to find out what you think of the 'derelict' version of this cottage. Does it go far enough... too far?
There will be full ruins in part 2 later on in December.

-
CA style development - "Darklands City" (issues for September and December 2021)
Excellent! It works. Thanks Joe. I just wish I'd known about that years ago.
I had started to import the symbols, then open the results in GIMP to select alpha and sharpen the mask, fill with black on a new layer, then invert the mask and trim the semi-transparent pixels away before merging the two layers to form one antialiased image with nice clean edges. It takes too long, though, when you are still drawing new symbols on a time limit.
The symbols generated without any kind of antialiasing look rougher at lower resolutions, but at least they don't have those white fringes on them anymore, and I don't have to waste so much time preparing them all by hand now.

-
WIP: Now, for something completely different...
It must be different in Australia ;)
I went on a photography course and was told off for not placing the flower right in the centre of the shot.
But the real point of what I was saying was that it actually doesn't matter at all - as long as it looks somehow balanced to the person who created it. Some of these rules make me giggle.

-
Convert Map Style to Look Drawn
You're right - that's pretty, but way too colourful for the parchment trick to work on this version. If we were to use an RGB Matrix Process (Yes, I got the name twisted back to front last time I mentioned it), the map would be generally a mid grey, which wouldn't work very well either.
However, there is a solution close at hand.
Fortunately for us Mike Schley did a black and white version of this style. I'm not sure if the new settlement symbols he's been doing for the free monthly content will be there, but this should be relatively easy to convert.
Start by creating a new map in the Mike Schley Inks Overland style that is the same size as your current colour map.
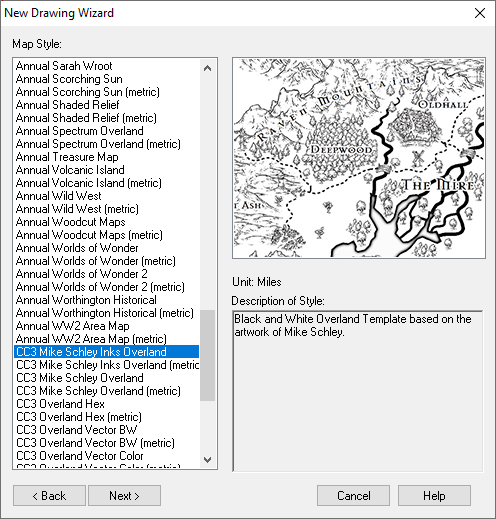
Then hide all the sheets you don't need to copy across from the first map (shown below) and use the Copy and Paste tools in the Edit menu to copy everything else across to the new blank Inks map.
Once you have the map in the new template you can use the Change Properties tool to swap the colour polygon fills with their black and white equivalent, and the Symbol Manager to Replace the colour symbols with their black and white versions.
Then try the parchment trick, and you should have a much clearer conversion.
This is a brief description only - don't be afraid to ask how to do something if you get stuck.
-
Symbols from a different style
:) I am hoping that someone will make a map of the world one day in which all the country names are replaced with the most common form of greeting.
Ok, I think Remy and I posted at the same time. Remy certainly points out something I hadn't thought about being the problem at all, but which is probably your main issue here.
If you have deleted the CC3 symbols from the map they will still be in the Symbol Manager. The easiest thing to do is to Purge, save the map, close it, and reopen it. You should be rid of all the old symbol references then, and free to place the new trees.
(Purge is a button in the Symbol Manager)
-
WIP: D&D 5e Random Dungeon Tiles
I wouldn't use Affinity to do it either. I'd use GIMP. It's the only app that can sharpen a mask if such proves to be necessary.
I think my idea of something being too much work is probably quite different to yours. Only yesterday I processed 364 symbol pngs to 64k colours instead of full colour - one at a time by hand. All in the name of reducing the sheer size of a new style for download next month :)
(I use Corel to do that particular job, since none of the other apps seem to be capable of it)

-
WIP: D&D 5e Random Dungeon Tiles
I don't create fills in Affinity because you can't make things seamless in that app without some serious hard work. It is much easier to do them in an app that is designed to create seamless fills (also really expensive now that Genetica has become abandonware), or to 'draw' them in Krita, which has a 'wraparound' mode where the image is turned into a seamless plane you can draw things on that join up with themselves at opposite edges. Krita is free, so is by far the most cost effective option of the two
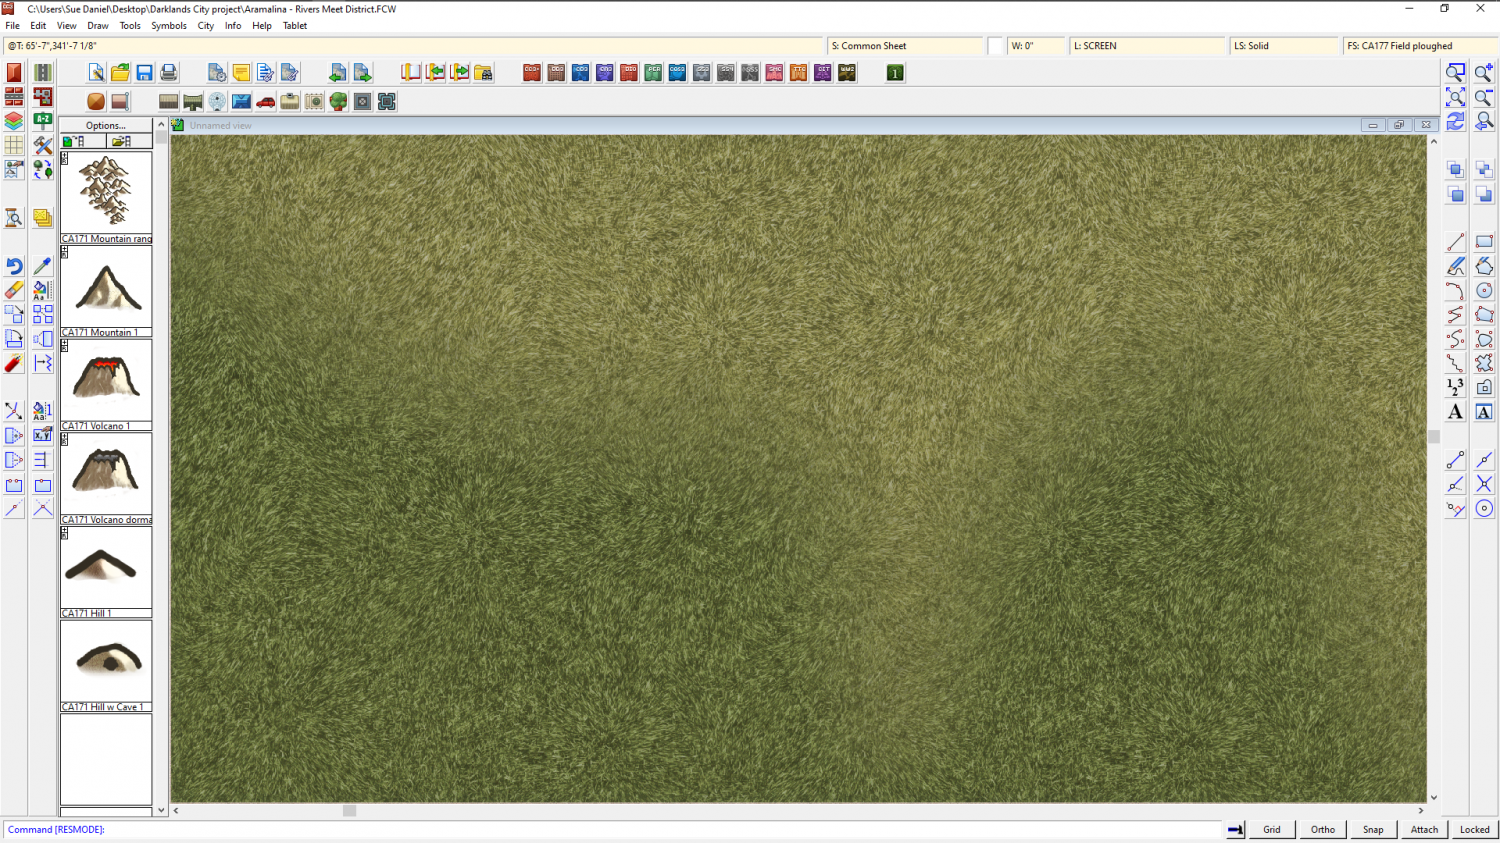
If you want to see examples of what you can do in Krita, look at the fills used in the Ferraris Style, which were 90% hand drawn in Krita (the paper base was generated in Genetica), or check out the grass textures in next month's annual issue, which was also hand drawn in Krita.
Creating textures like this does take a bit of practice, however, so best set aside some time for it.
