Loopysue
Loopysue
About
- Username
- Loopysue
- Joined
- Visits
- 10,414
- Last Active
- Roles
- Member, ProFantasy
- Points
- 10,161
- Birthday
- June 29, 1966
- Location
- Dorset, England, UK
- Real Name
- Sue Daniel (aka 'Mouse')
- Rank
- Cartographer
- Badges
- 27
Latest Images


-
[WIP] Trying to design a barrel roof
You are almost there in your thinking towards the end.
Instead of drawing just two slabs how about drawing many strips along the length of the roof, using Shaded Polygon on all of them and then editing the pitch of the resulting strips. It's not as easy as I've just made it sound, but it's achievable. I made an onion dome out of shaded polygons once. You might pick up a few tips on how to do this barrel roof from the blog I wrote about it.


-
No matching draw tool for "Wall*"
Ok. Taking a random example...
If I have created a map in DD3, and I want to use SS4 (Dungeons of Schley) in it, I would get the drawing tools as described above, and then I would open a second instance of CC3 by right clicking the desk icon and picking CC3, or New, or whatever your system provides for a new instance of an app, and then I would use that instance to create a new SS4 map. I would then save that temporary map with nothing drawn in it as "TEMP SS4" and Pick that as the file to Insert into the DD3 file I was actually working on. I would insert it, but then immediately delete or undo the action because I don't want the dummy SS4 map or any part of it. I just want to fool CC3 into importing all the relevant fills for SS4. It doesn't matter that the dummy map is instantly deleted. The fills are imported in that instant and they stay, even though the SS4 map is gone as fast as it arrived.
Once that is done all the SS4 drawing tools will work as if this was an SS4 map.


-
Live Mapping: Connecting Symbols
Hi Everyone :)
This week, Ralf will be showing us how to make connecting symbols using the November issue of the 2007 Cartographer's Annual.
Hope to see you there! :D
![[Deleted User]](https://secure.gravatar.com/avatar/c75d9a245b74d9c59be0999ea81ca541/?default=https%3A%2F%2Fvanillicon.com%2F92add7f8c954488718110edc4896ad39_200.png&rating=g&size=200)


-
Railroads
Ok.
You start by opening the drawing tools. Click the Advanced button at the bottom...
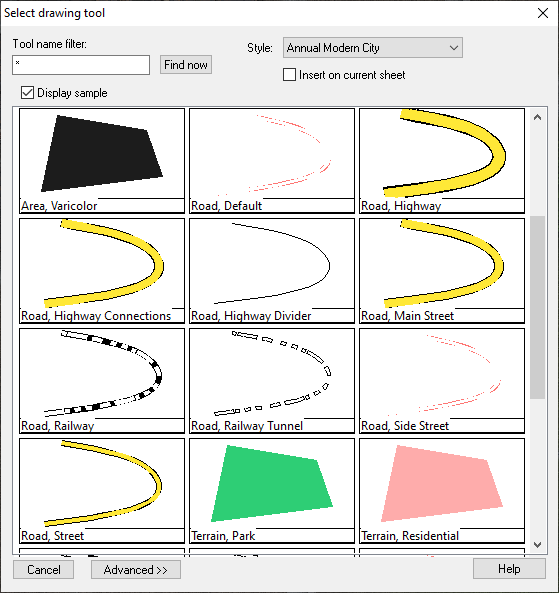
...and then highlight the tool you wish to copy and modify. I'm guessing this will be the Road, Railway, so I will use that one in this example.
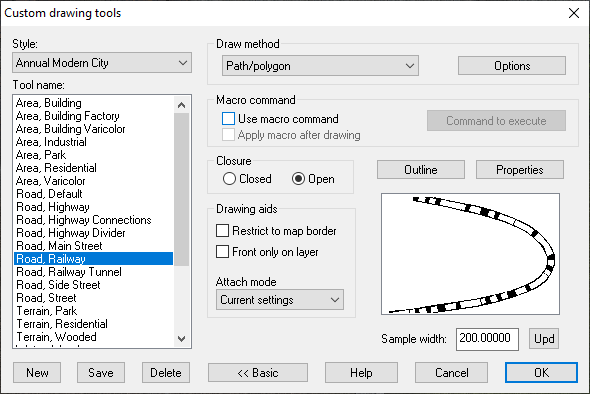
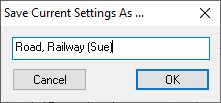
Now click the New button and give your new custom made tool a name, like Road, Railway (mike) or Sue in my case.
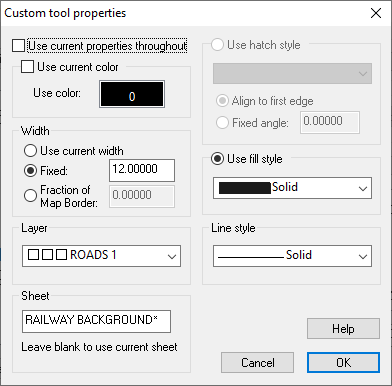
Click the Properties button above the thumbnail image, and you will see the settings for the main unbroken black line that underlies the white dashed one.

Leave this as you find it, since it is the background colour of your railway. Click OK and then click the Outline button next to the Properties button.
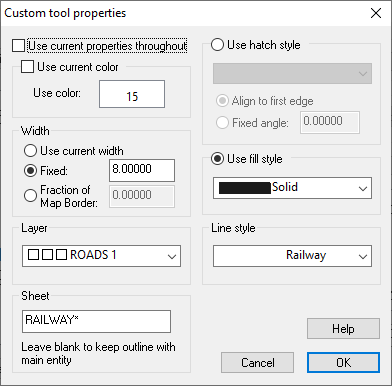
Initially this calls up a much smaller dialog with the options set to Extra entity. This extra entity is the second dashed line of white drawn on top of the black line on it's own sheet.
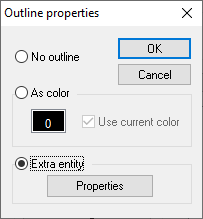
You can see the properties of this extra entity by clicking the Properties button in this much smaller dialog.
This is the only really confusing bit of the process, because this properties box looks just like the first one at first glance, though it contains the properties of the extra entity, and not the properties of the main part of the drawing tool (the black line). If you compare the two of them you will see the differences. This one has a Use color: set to white instead of black, a width of 8 map units, and a Line style has been set to Railway instead of solid.
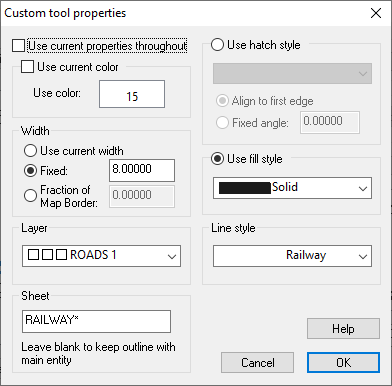
Change that Line style to the shortest dash line you can find. I picked ecw-3

Then ok, ok, and save the drawing tool, then try it out. I'm working on something completely different here, so please excuse the background.
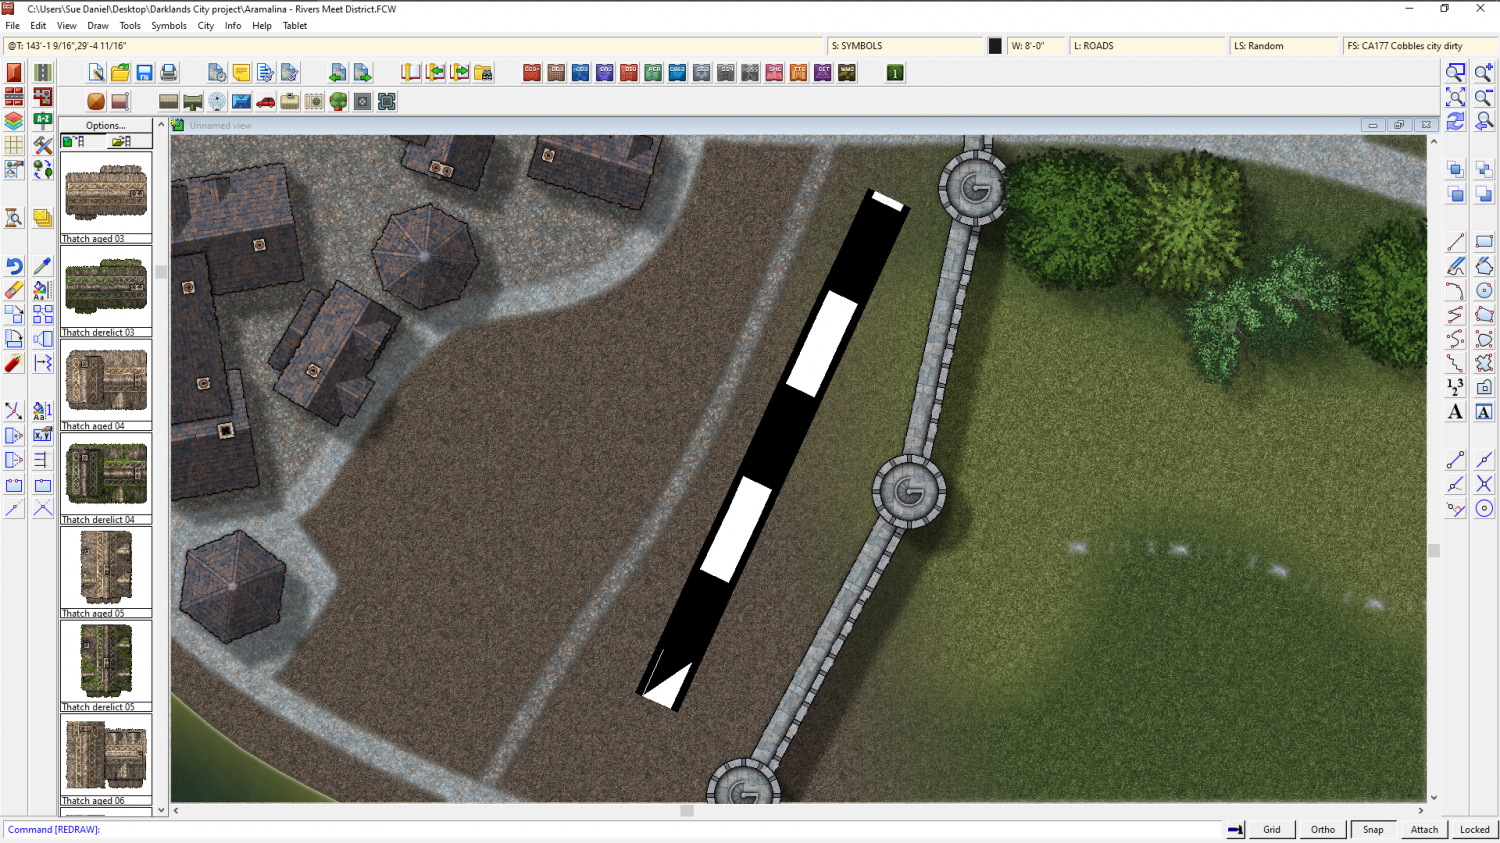
If you need to make both the lines thinner now is the time to do it. Go to both the properties dialogs I showed you above and alter the line width accordingly. I will leave mine super-large so you can see what I do next a bit better.
To make the dashes into lines instead of dashes all we need to do is alter the scale of the line style.
Click the LS: box at the top and find ecw-3.
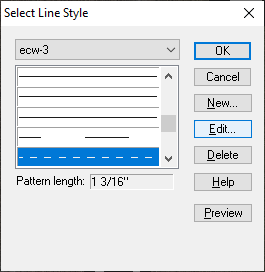
Then edit the line style and reduce the scale of the line in the bottom text box.
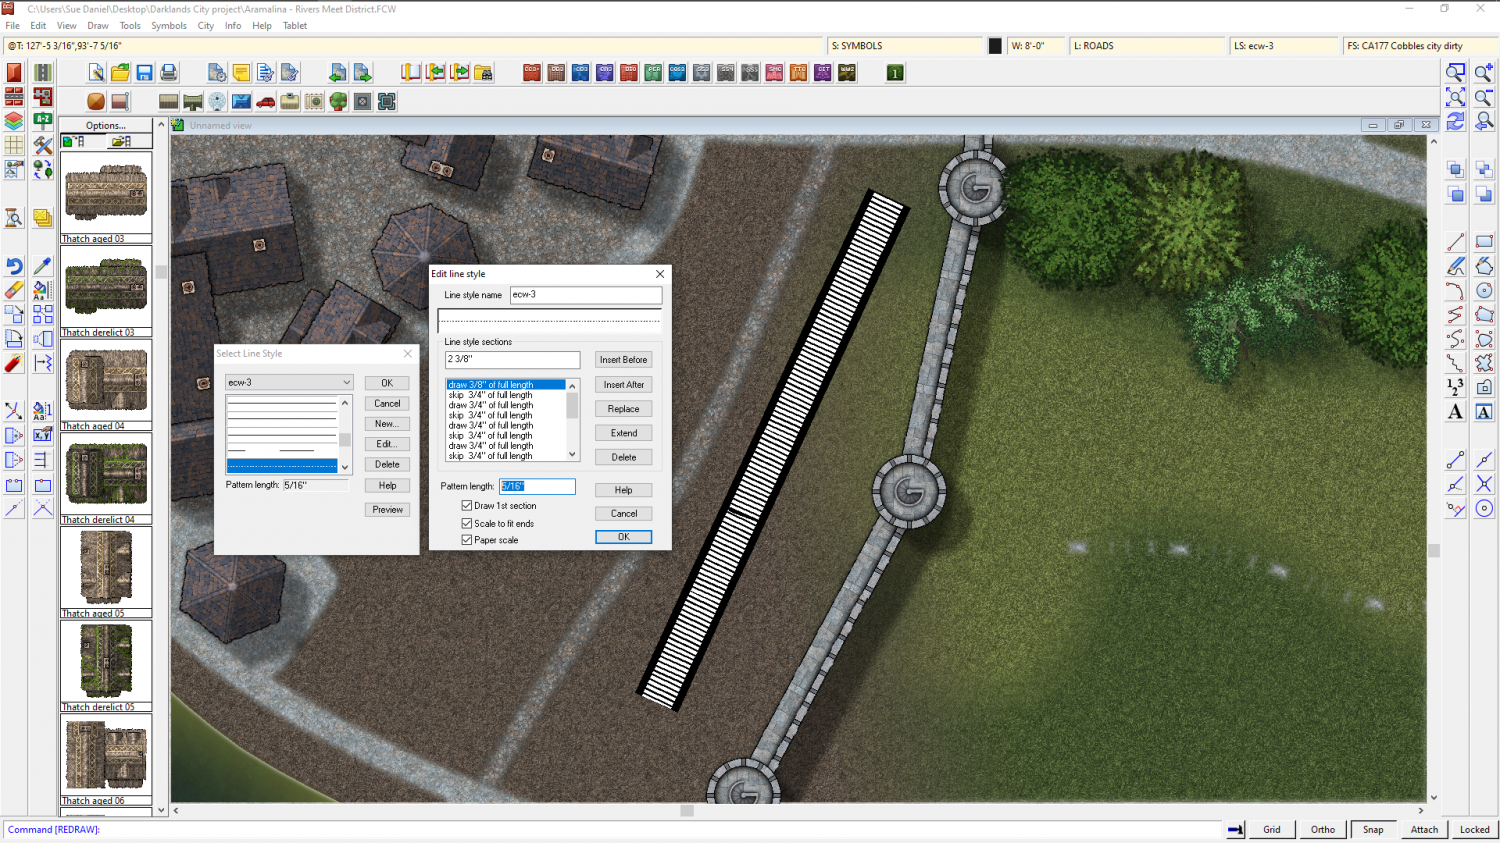
This might take a few tries, but you should be able to set it to something short enough that the result looks something like this.

-
Railroads
The drawing tool for the railroads in that annual draws 2 lines on 2 separate sheets. There is a 12 unit wide line of black drawn by the main part of the drawing tool on a sheet called RAILWAY BACKGROUND*, and an 8 unit wide line of white on top of it on a sheet called RAILWAY*, which is added using the Extra entity of the Outline properties of the tool.
Drawing tool:
Outline - Extra entity:
If you create a new drawing tool with the same properties and outline as this, and create the two sheets you will need for the railway, you should be on the right track :)
EDIT: Oh sorry - I forgot to say that you would need to alter the line style in the Outline Extra entity settings to be some kind of a dashed line rather than a solid one. This would work well for the black and white version of the tool, but for the red and white version with the black outline you would need to do something slightly differently. In that case the main drawing tool would have to draw both red and white lines the same width and you would need a sheet effect on the sheet with the solid line of the two to give it an Outer Glow of black. I recommend Outer Glow in this instance because you can adjust the settings on that effect to mimic an actual black line down each side.

-
How to Represent Elevations in a Top Down DD3 Map?
Using sheets is probably the best way if you are quite happy to draw the shaded extent as a polygon shape.
The global sun only affects:
- how CD3 buildings are shaded, and
- which direction the shadows fall from objects on sheets with Wall Shadow, Direction sheet effects.
It doesn't affect the artificial shading you add using a sheet with black polygons on it. That sheet might have a Blur effect, and then a Blend Mode effect that is set to multiply. Transparency is controlled from within the Blend Mode.
---
An alternative that isn't quite so flexible is to use a Bevel Lighted on a sheet on which you then draw polygons of texture or one of the semi-transparent fills. If you adjust the bevel to a huge width and use masses of smoothing you can get recognizable hills. However, the width of the shading won't vary.


-
Live Mapping: Banners and Seals
This week Ralf will be presenting the Banners & Seals symbol pack from the Cartographer's Annual 2021. As part of the process he will also be explaining catalogue settings and how to create them, so it is well worth coming along to see how it is done.
You can visit Youtube and book a reminder by clicking the link above.


-
Weird lines when I export my map (glowing effect?)
Each of those bands is a pass made by the rendering engine.
You can use wider passes by typing the command EXPORTSETMPPP and hitting return. The command line will tell you the current Maximum Pixels Per Pass, which at default setting is 4000000 (4 million without commas).
Try typing 40000000 (40 million), hitting return, and trying your export again.

-
Fantasy Cities Style Issues - HELP!
Try hiding the STRUCTURES(COLORS) layer.
-
Creating greater depth
You do have to have as many ROADS sheets as you do tiers, and then one more to try and blend any joins... unless you hide the join with a bridge or a tree.