


Loopysue
Loopysue
About
- Username
- Loopysue
- Joined
- Visits
- 10,418
- Last Active
- Roles
- Member, ProFantasy
- Points
- 10,163
- Birthday
- June 29, 1966
- Location
- Dorset, England, UK
- Real Name
- Sue Daniel (aka 'Mouse')
- Rank
- Cartographer
- Badges
- 27
Latest Images


-
WIP A wayside camp on a high road
Good - but I think the trees could do with some shadows?

-
Marine Dungeon - further developments
Thank you both for your ideas :)
I have to start Darklands City soon, but I think I might have to find a few more hours to do some more on this.


-
Marine Dungeon - further developments
I have some nice Celtic knots I did for the wax seals that might look good, and then there is always Igdrasil.
-
Marine Dungeon - further developments
Elementals too, I should think - symbols for Earth, Fire, Air and Water?
-
Marine Dungeon - further developments
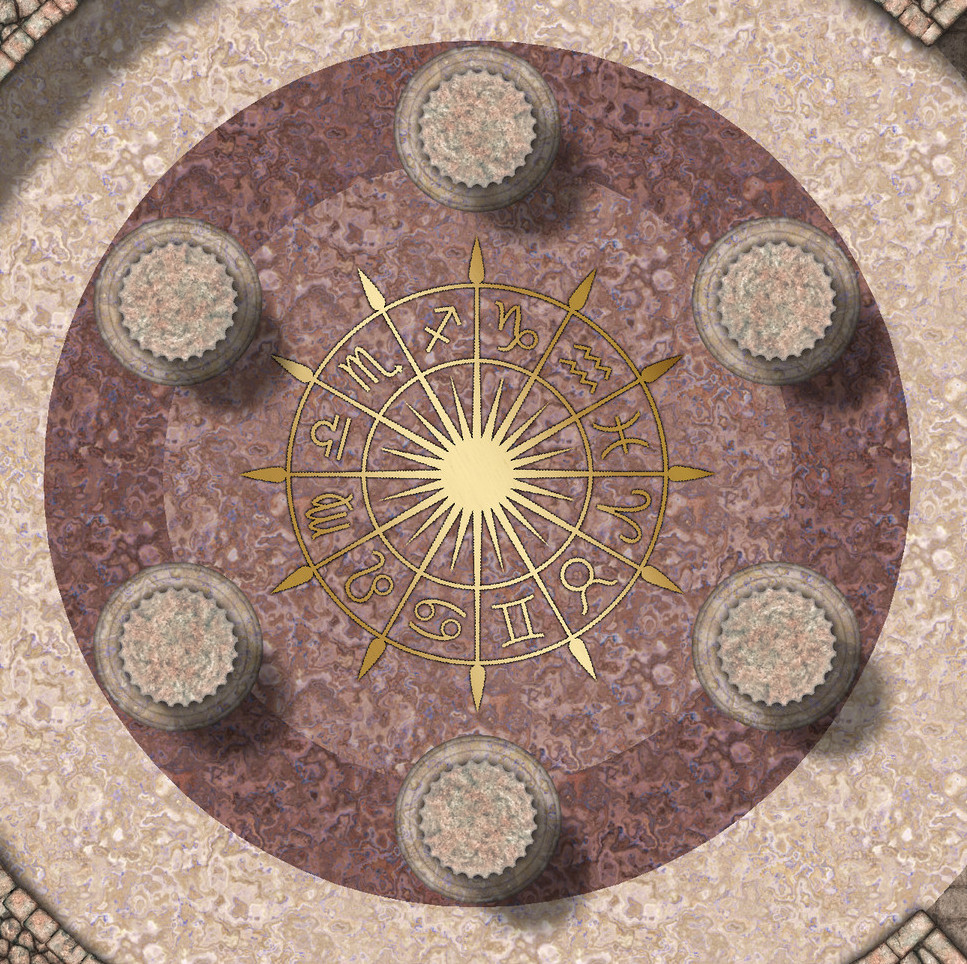
Ok. This is officially the last day for preparing the graphics for Marine Dungeon 2, since I have another annual issue I need to do before Dec 1st if possible so I don't mess up everyone else's time table.
I haven't done all of the requests, and there are enough left over to do... something, later, though I'm not sure how that will be presented.
Since I only have this one last day I've decided to finish off a small set of canoes and do some bronze floor inlays for the flooded temple I've prepared as my contribution to the example maps.
Does anyone have any particular requests for inlays? I can do about 6, I think.
This one is 20ft across.


![[Deleted User]](https://secure.gravatar.com/avatar/c75d9a245b74d9c59be0999ea81ca541/?default=https%3A%2F%2Fvanillicon.com%2F92add7f8c954488718110edc4896ad39_200.png&rating=g&size=200)


