Loopysue
Loopysue
About
- Username
- Loopysue
- Joined
- Visits
- 10,411
- Last Active
- Roles
- Member, ProFantasy
- Points
- 10,161
- Birthday
- June 29, 1966
- Location
- Dorset, England, UK
- Real Name
- Sue Daniel (aka 'Mouse')
- Rank
- Cartographer
- Badges
- 27
Latest Images


-
What's your favourite overland style?
Happy Easter!
I painted this for mum last night, but it won't go on the scanner bed. It's a bit big, so there's a shady spot to the right where I'm not very good at photos.
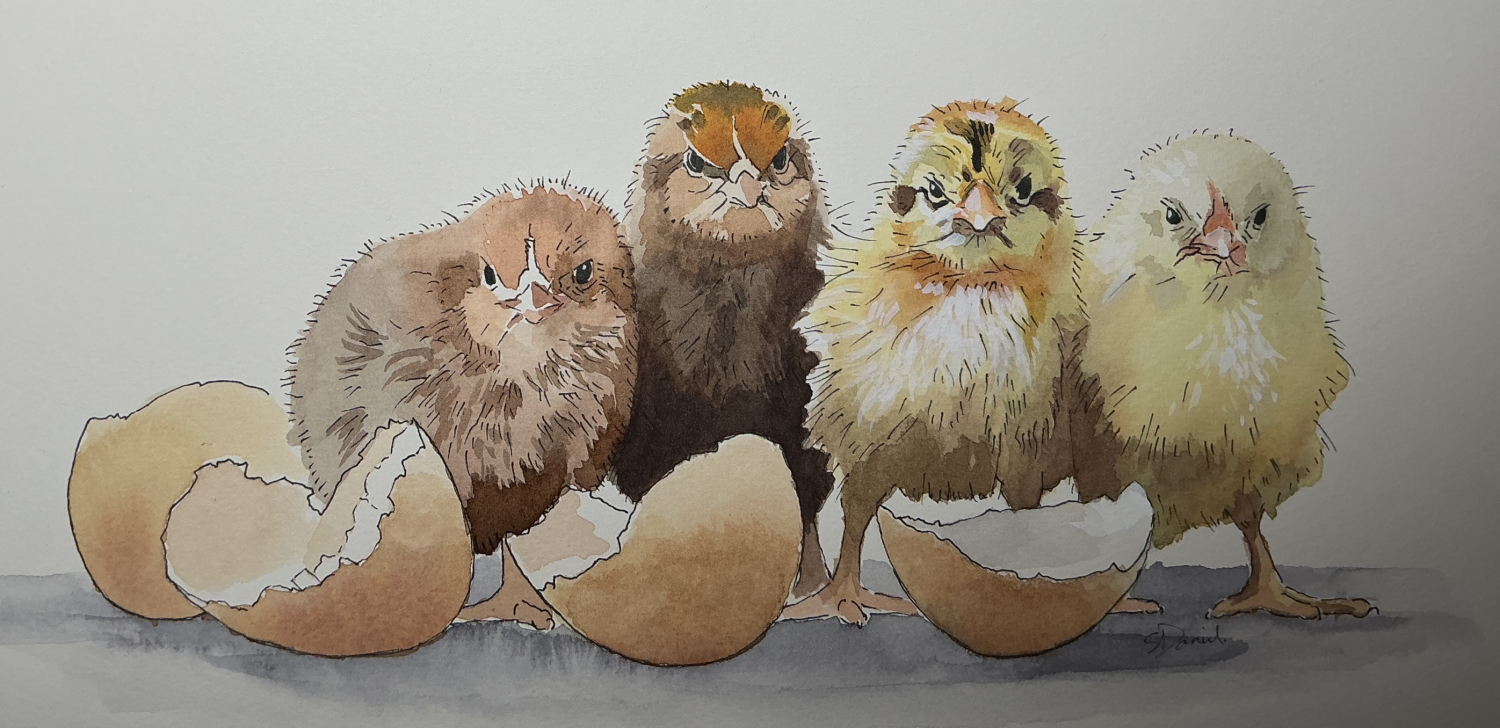
@MatthewBertram - CC4 Overland started on a Spectrum template ;)


-
Show us your map collection!
I would really love to have a good copy of part of the Ferraris Map. I did a mapping style for CC3 based on it some time ago now, and fell in love with it.
However, in reality all I have is a print of a Saxton map of my home county, Dorset, drawn in 1575. The light is bad here at the moment. Sorry about the glare of the lightbulb.
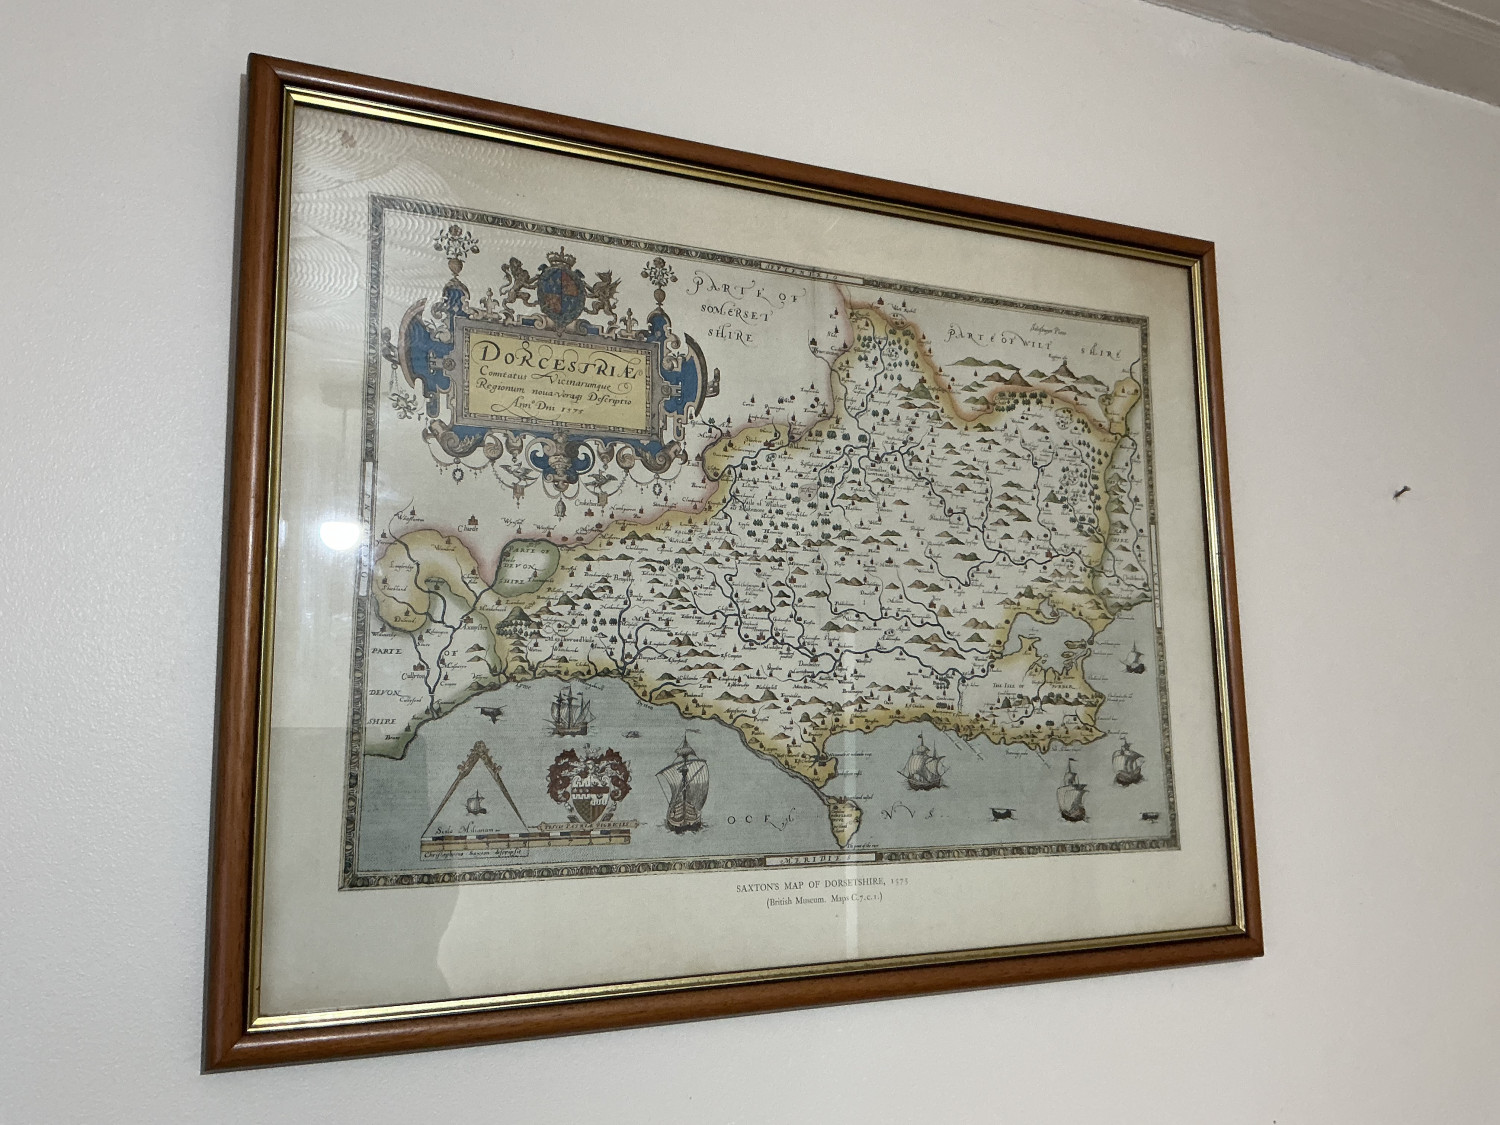
I ended up with this by accident. A neighbour was moving house and was about to throw this in the skip.

-
CC4 Overland Development Thread
After a long break while I was trying to work out how to tackle the painting of things (which of many quite different apps to use, and how), I've settled on Artrage for the textures purely because it allows me to paint seamless tiles by hand a lot easier than trying to remember how Krita works after 5 years of not really using it.
So here are the first few refined grassy type fills, desert fills and ocean fills.
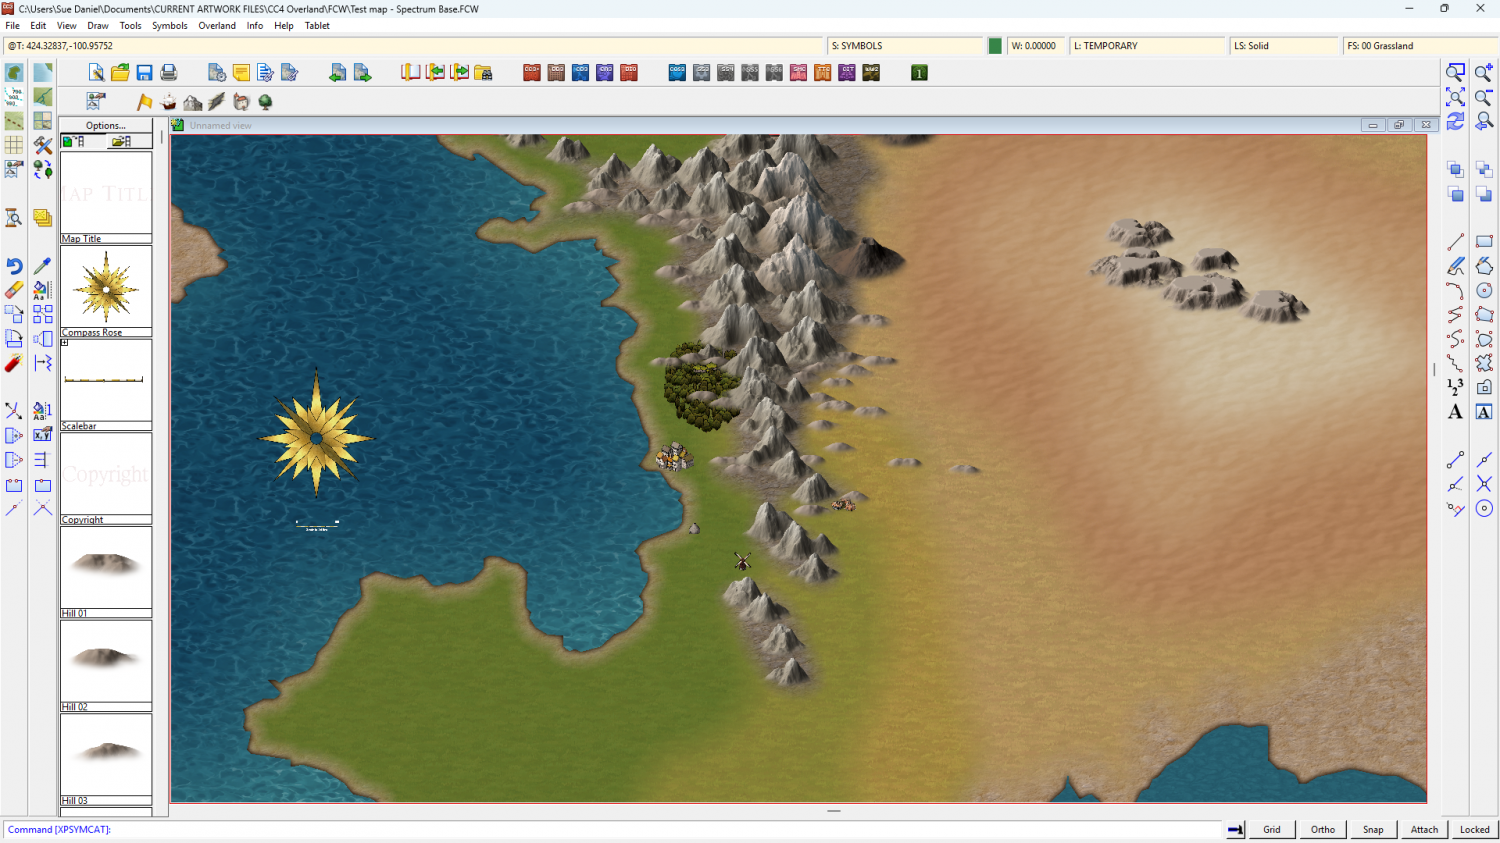
I also struggled a long time on the land texture, until I remembered that it was mostly going to be hidden in finished maps.
The mountains haven't been finished, and there are symbols hanging around that are part of other styles, like Spectrum and Darklands. They are just there for now for rough comparisons in tone, shade and colour.


-
What got you into cartography?
Wanting to make a map for the novel I never finished writing (and probably never will).

-
Forum vs Product Registration
Incidentally, there is currently an unbelivable Humble Bundle deal for the whole caboodle at the price of a single Cartographer's Annual.