Loopysue
Loopysue
About
- Username
- Loopysue
- Joined
- Visits
- 10,413
- Last Active
- Roles
- Member, ProFantasy
- Points
- 10,161
- Birthday
- June 29, 1966
- Location
- Dorset, England, UK
- Real Name
- Sue Daniel (aka 'Mouse')
- Rank
- Cartographer
- Badges
- 27
Latest Images


-
Can't Export this to JPEG
I got it to export with everything visible after I used SIMPLIFY on the land, set to zero. That removes any duplicated nodes right on top of one another and neatly trims all those hundreds of nodes you don't need outside the map all in one go.
It's still very slow to pan and zoom, though not quite as bad as before using SIMPLIFY on the land.
Try using it on the forests, and anything else you have in the map that isn't a smooth poly.
Incidentally, you don't need to go through all the rigmarole of doing a rectangular section if you are exporting the whole map. Use Restrict to map border and export an ordinarly JPEG bitmap. The frame is on the MAP BORDER layer and works just fine.


-
IDEA: Terrain over cutout rivers
Another alternative I've used in the past is to have the land as the background with all the terrain on top of that, and then add the water - a bit like a city map, but overland. I call it "sea over land". I think Darklands Overland is done that way. Birdseye Continental is definitely done that way. Oceans and rivers are drawn on the same sheet. A Color Key is used to cut island continents out of a rectangular map-covering ocean, and regular non-Color Key rivers drawn on top of the land and terrain on the same sheet.
However, when you are revisiting an oder style it's best not to make major changes when the older style was originally what I call "land over sea". It's too confusing for new mappers.


-
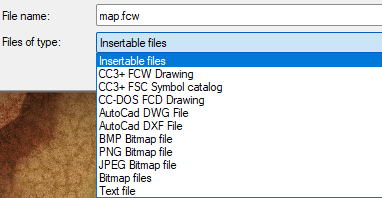
Can CAD files be imported?
If you check the list of files you can import using Insert File in the Draw menu, it shows some types of CAD file, but I'm not sure how current those file types are. I'm assuming that this list is a list that has existed since the dawn of CC, so file types may have changed since then.
-
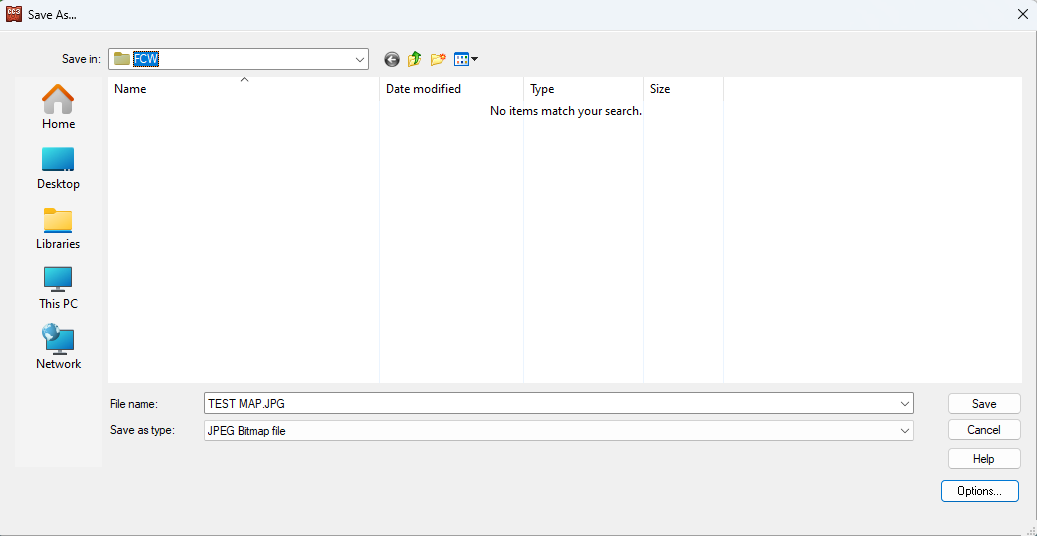
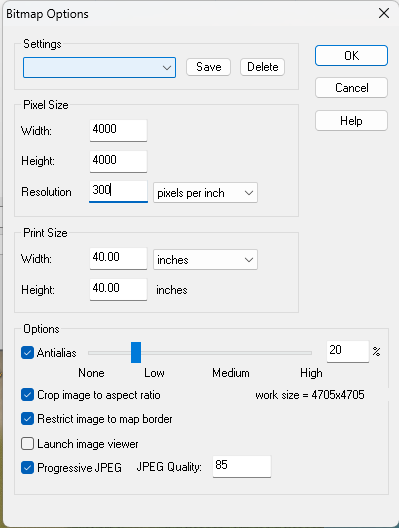
Cosmographer resolution problems
The size of the map in CC won't affect the size of your export.
Hit the Options button once you have selected your bitmap export type, and use any of the controls in the dialog that opens to increase the size, resolution and other output options.
You can use any parameters you like, as long as the "Work size" (bottom right of the dialog) doesn't go much further than 10,000 x 10,000.


-
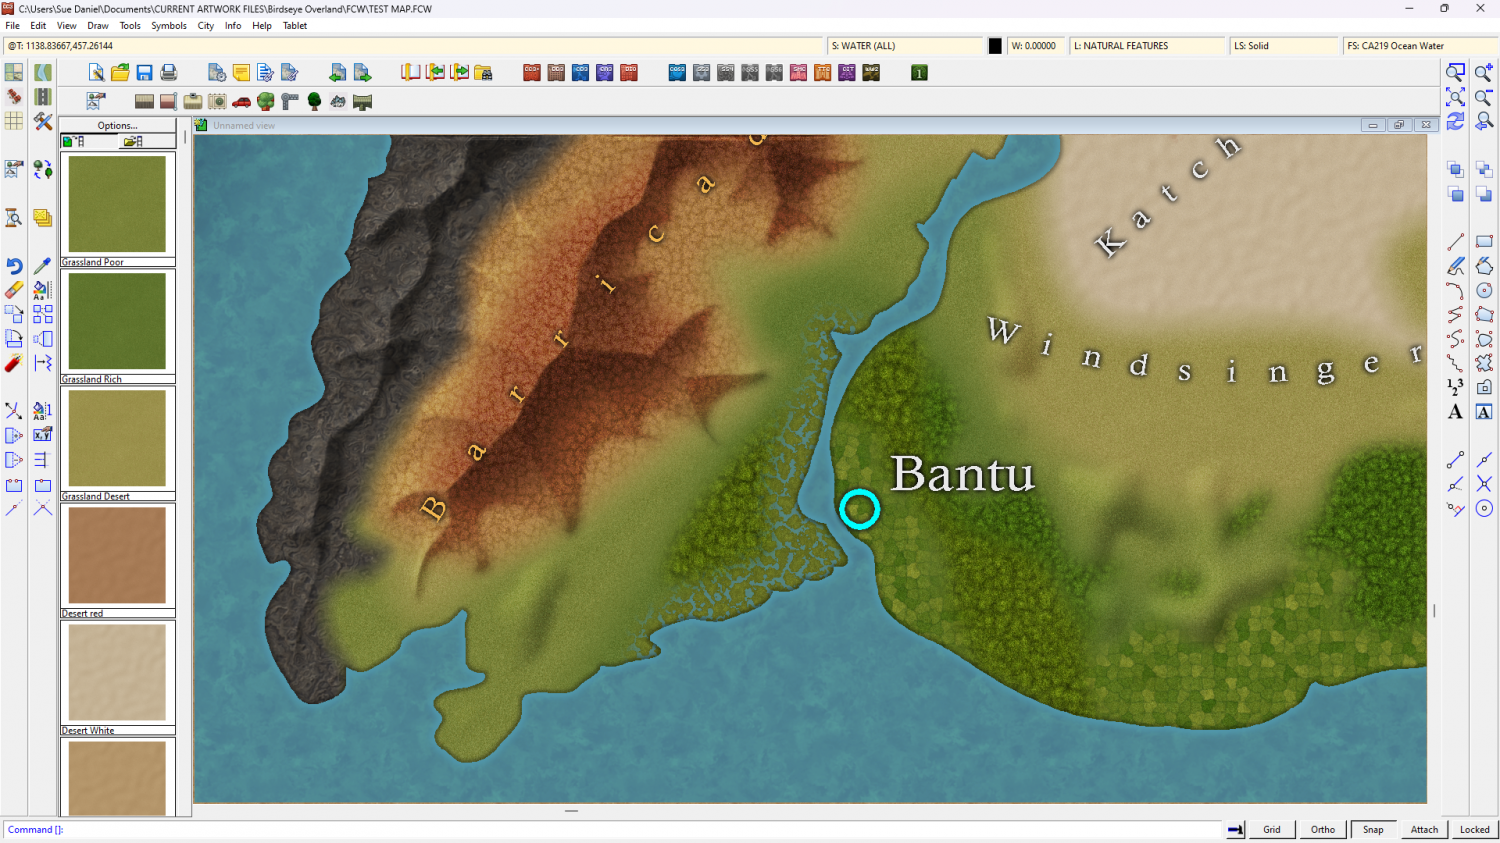
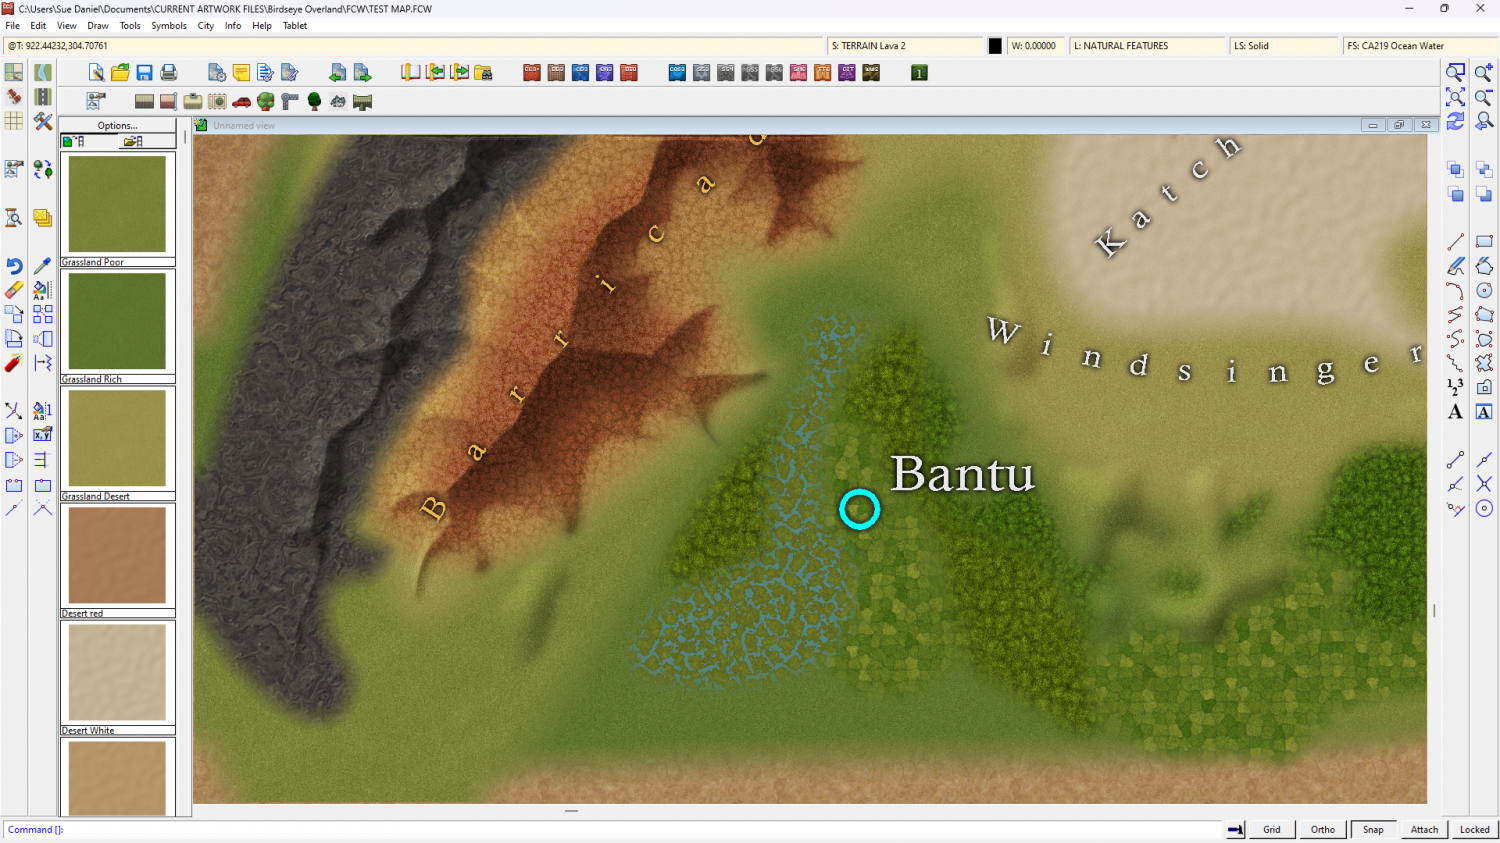
Birdseye Continental - style development thread
These are good ideas, and they are definitely the kinds of things I will be considering for the 'Birdseye Regional' style, later on this year (hopefully).
However...
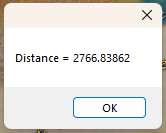
With this continental/world scale style the cities and towns are so tiny as to be nothing more than dots. That's because Arragosa is almost 2,800 miles from tip to tip, and as long as the entire United States is wide (2,800 miles).
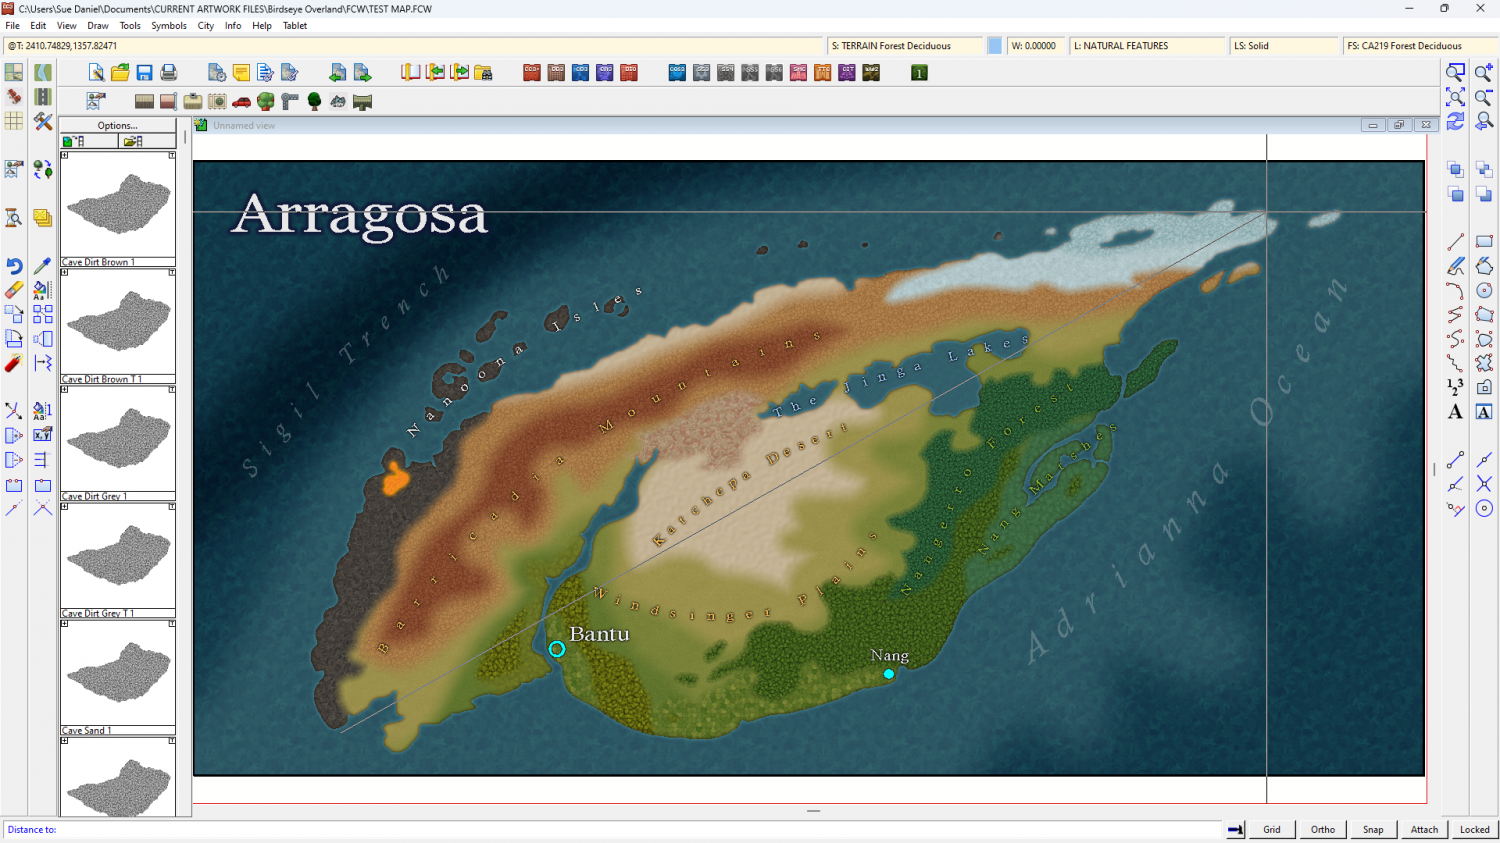
Mike Schley's Structure symbols are the largest we have, but even the largest Mike Schley city symbol looks like a smudge on this map. I put one in the middle of the desert below.

Your ideas are good, but I mean to save them for the regional version of this style.
I'm hoping that Birdseye Continental will become an option for converted FT world maps - a style that will be colourful and textured by terrain type, yet simple enough to be clear if used in a world map.
EDIT: And with that last thought in mind, I might need to do something about the lack of contrast between sea and land...