


WeathermanSweden
WeathermanSweden
About
- Username
- WeathermanSweden
- Joined
- Visits
- 3,737
- Last Active
- Roles
- Member
- Points
- 459
- Location
- South of Lübeck in northern Germany
- Website
- https://www.astroinfo.se
- Real Name
- André Franke
- Rank
- Surveyor
- Badges
- 6
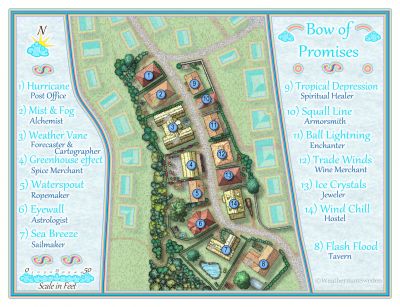
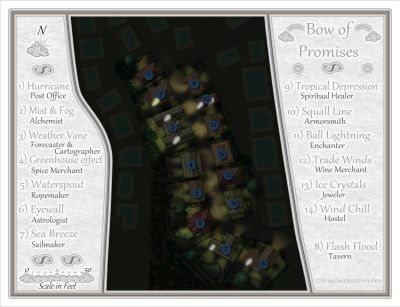
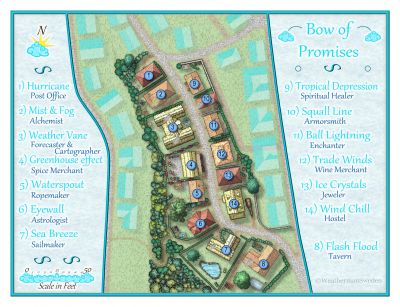
Latest Images
Reactions
-
"The Most Accurate Flat Map of Earth"/"Astrophysicists Design World Map That Looks Like a Vinyl LP"
are some of the headlines in the last few days and a projection of earth looking like this
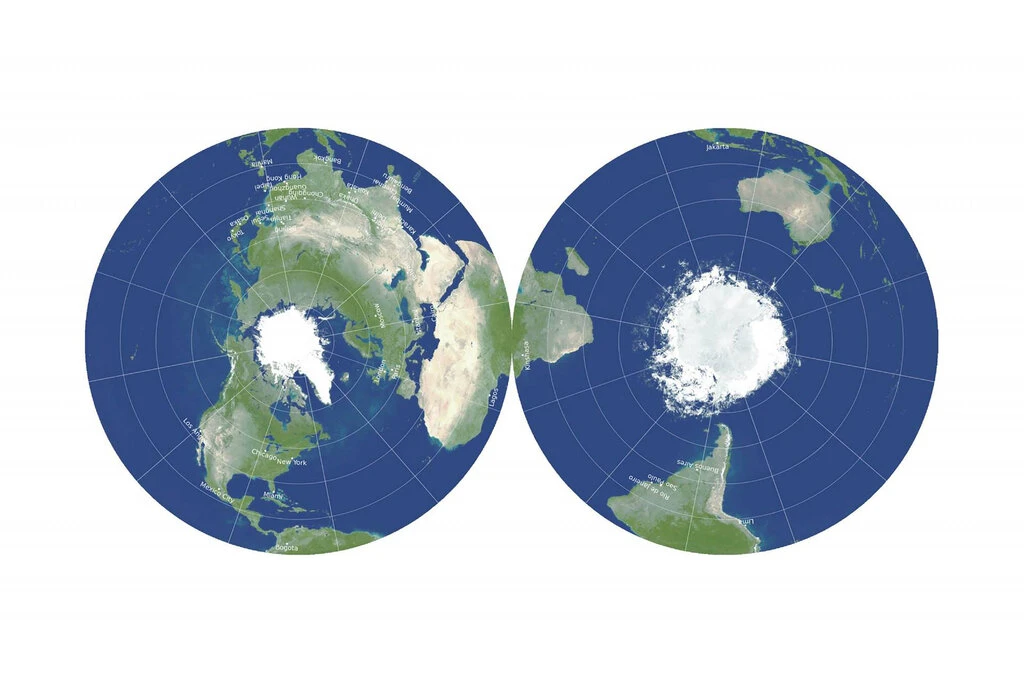
is presented in many articles all over the internet.
My first question was - can we reproduce this or a similar projection in FT3?
And luckily the answer is: Yes, we can!
Here is my result of projecting the ETOPO2 data in a similar projection.
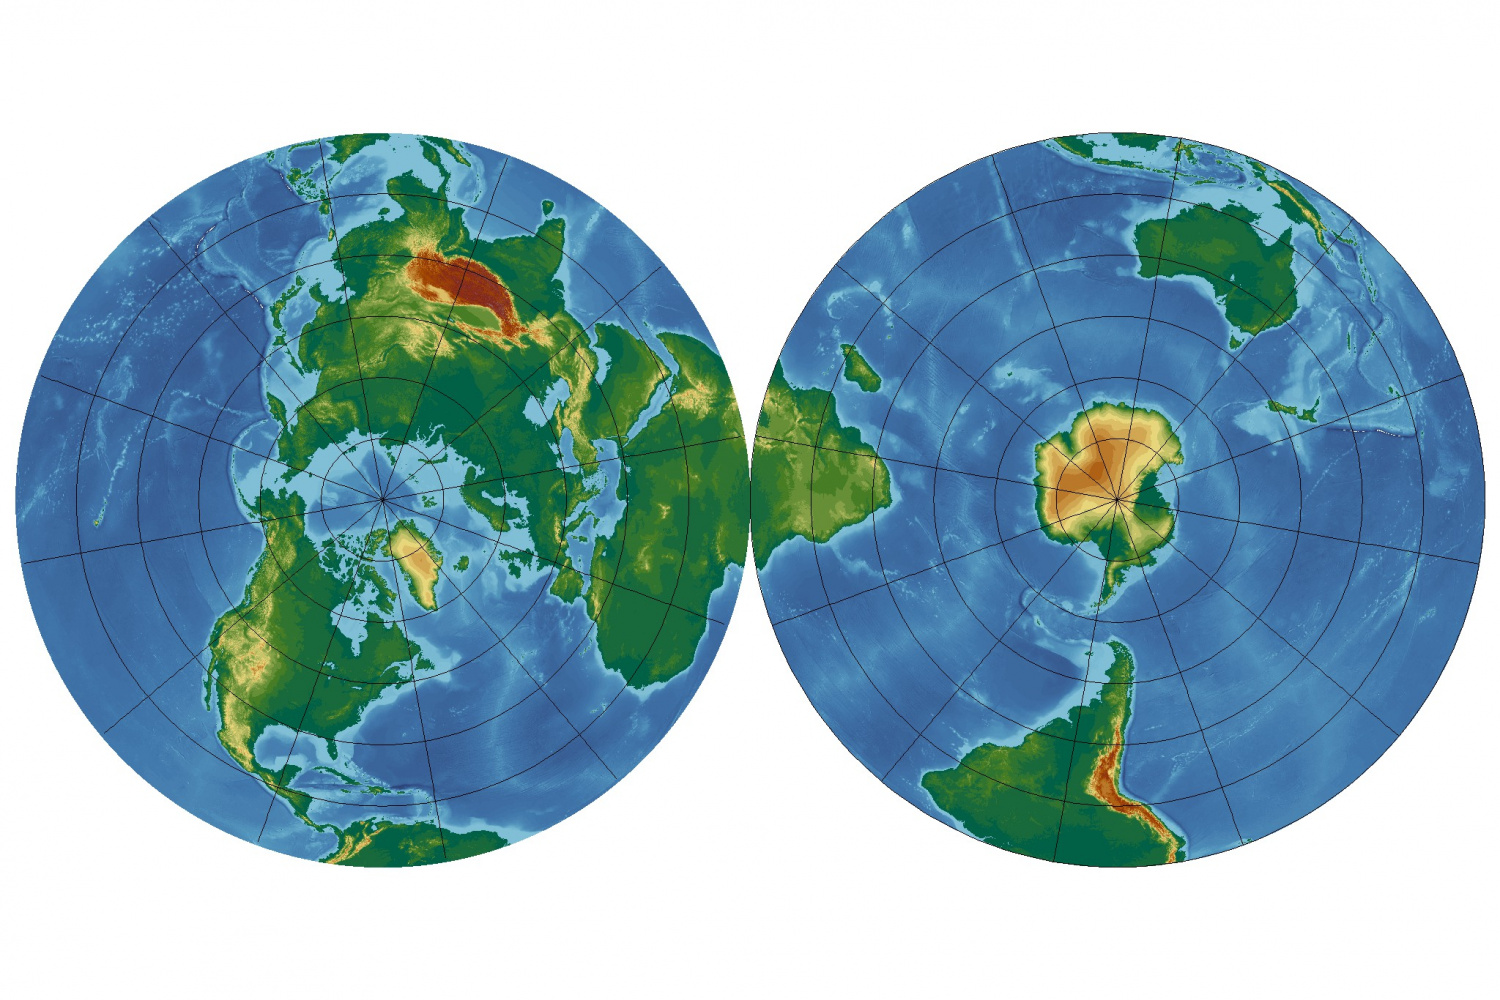
It seems to be partly the old fashion "Azimuthal Equidistant" projection - but limited to the northern (or southern) part only.
You can add the following lines in your
projections.txtfile in your FT3 installation folder to get this projection:Projection 90, "AE Northern and Southern Hemispheres"Scale 1.0Description "Azimuthal Equidistant Northern and Southern Hemispheres"Segment "Azimuthal Equidistant", 90, 0, 0, 0, 1, 0, 0scale 1, 1Offset -0.5, 0.0Effective -180, 90, 180, 0Rotate 70EndSegmentSegment "Azimuthal Equidistant", -90, 0, 0, 0, 1, 0, 0scale 1, 1Offset 0.5, 0.0Effective -180, 0, 180, -90Rotate 110EndSegmentEndProjectionGreetings,
André


![[Deleted User]](https://secure.gravatar.com/avatar/c75d9a245b74d9c59be0999ea81ca541/?default=https%3A%2F%2Fvanillicon.com%2F92add7f8c954488718110edc4896ad39_200.png&rating=g&size=200)


-
Banners
@Loopysue - great work!
Just wondering - have you thought about "splitting" the banners - into a right, middle and left part - so that maybe the banners can be expanded in the middle for longer text just by adding a multiple middle sections? Just an idea I had right now...?


-
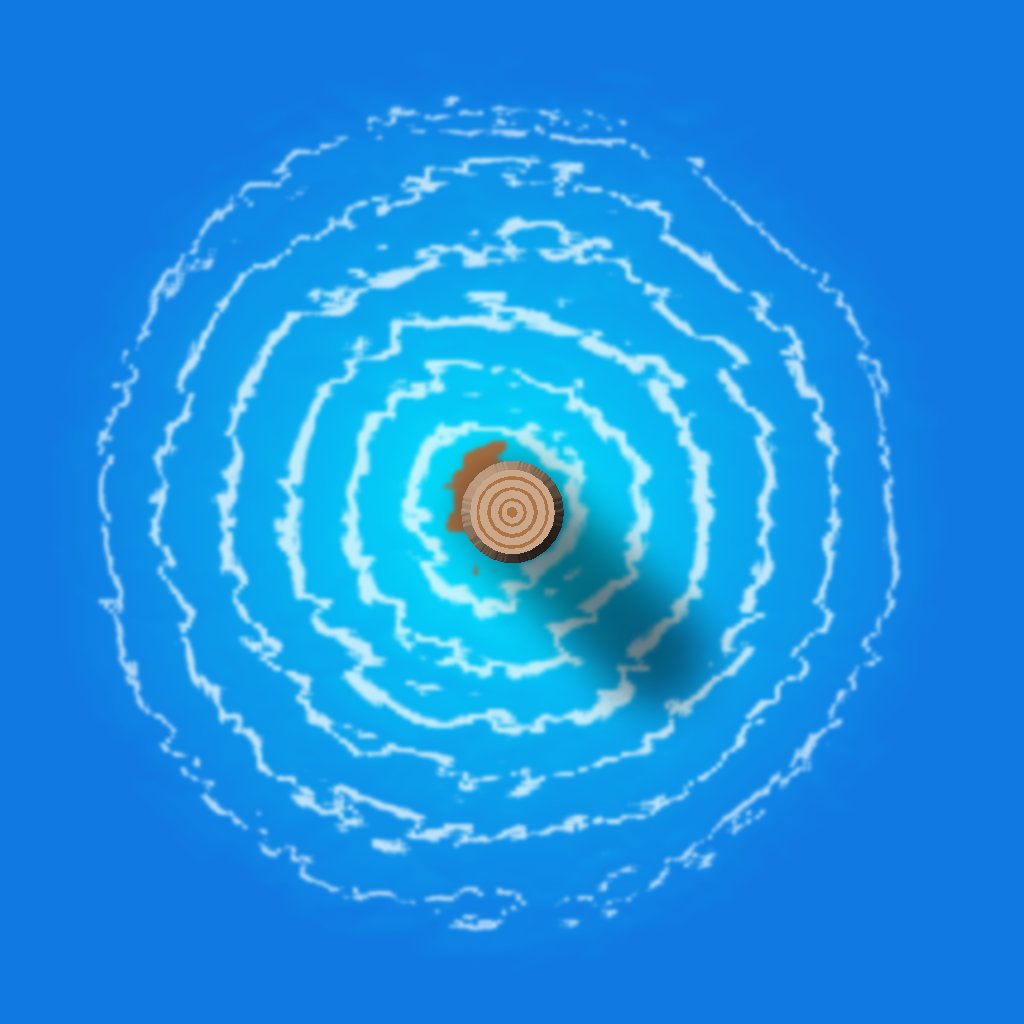
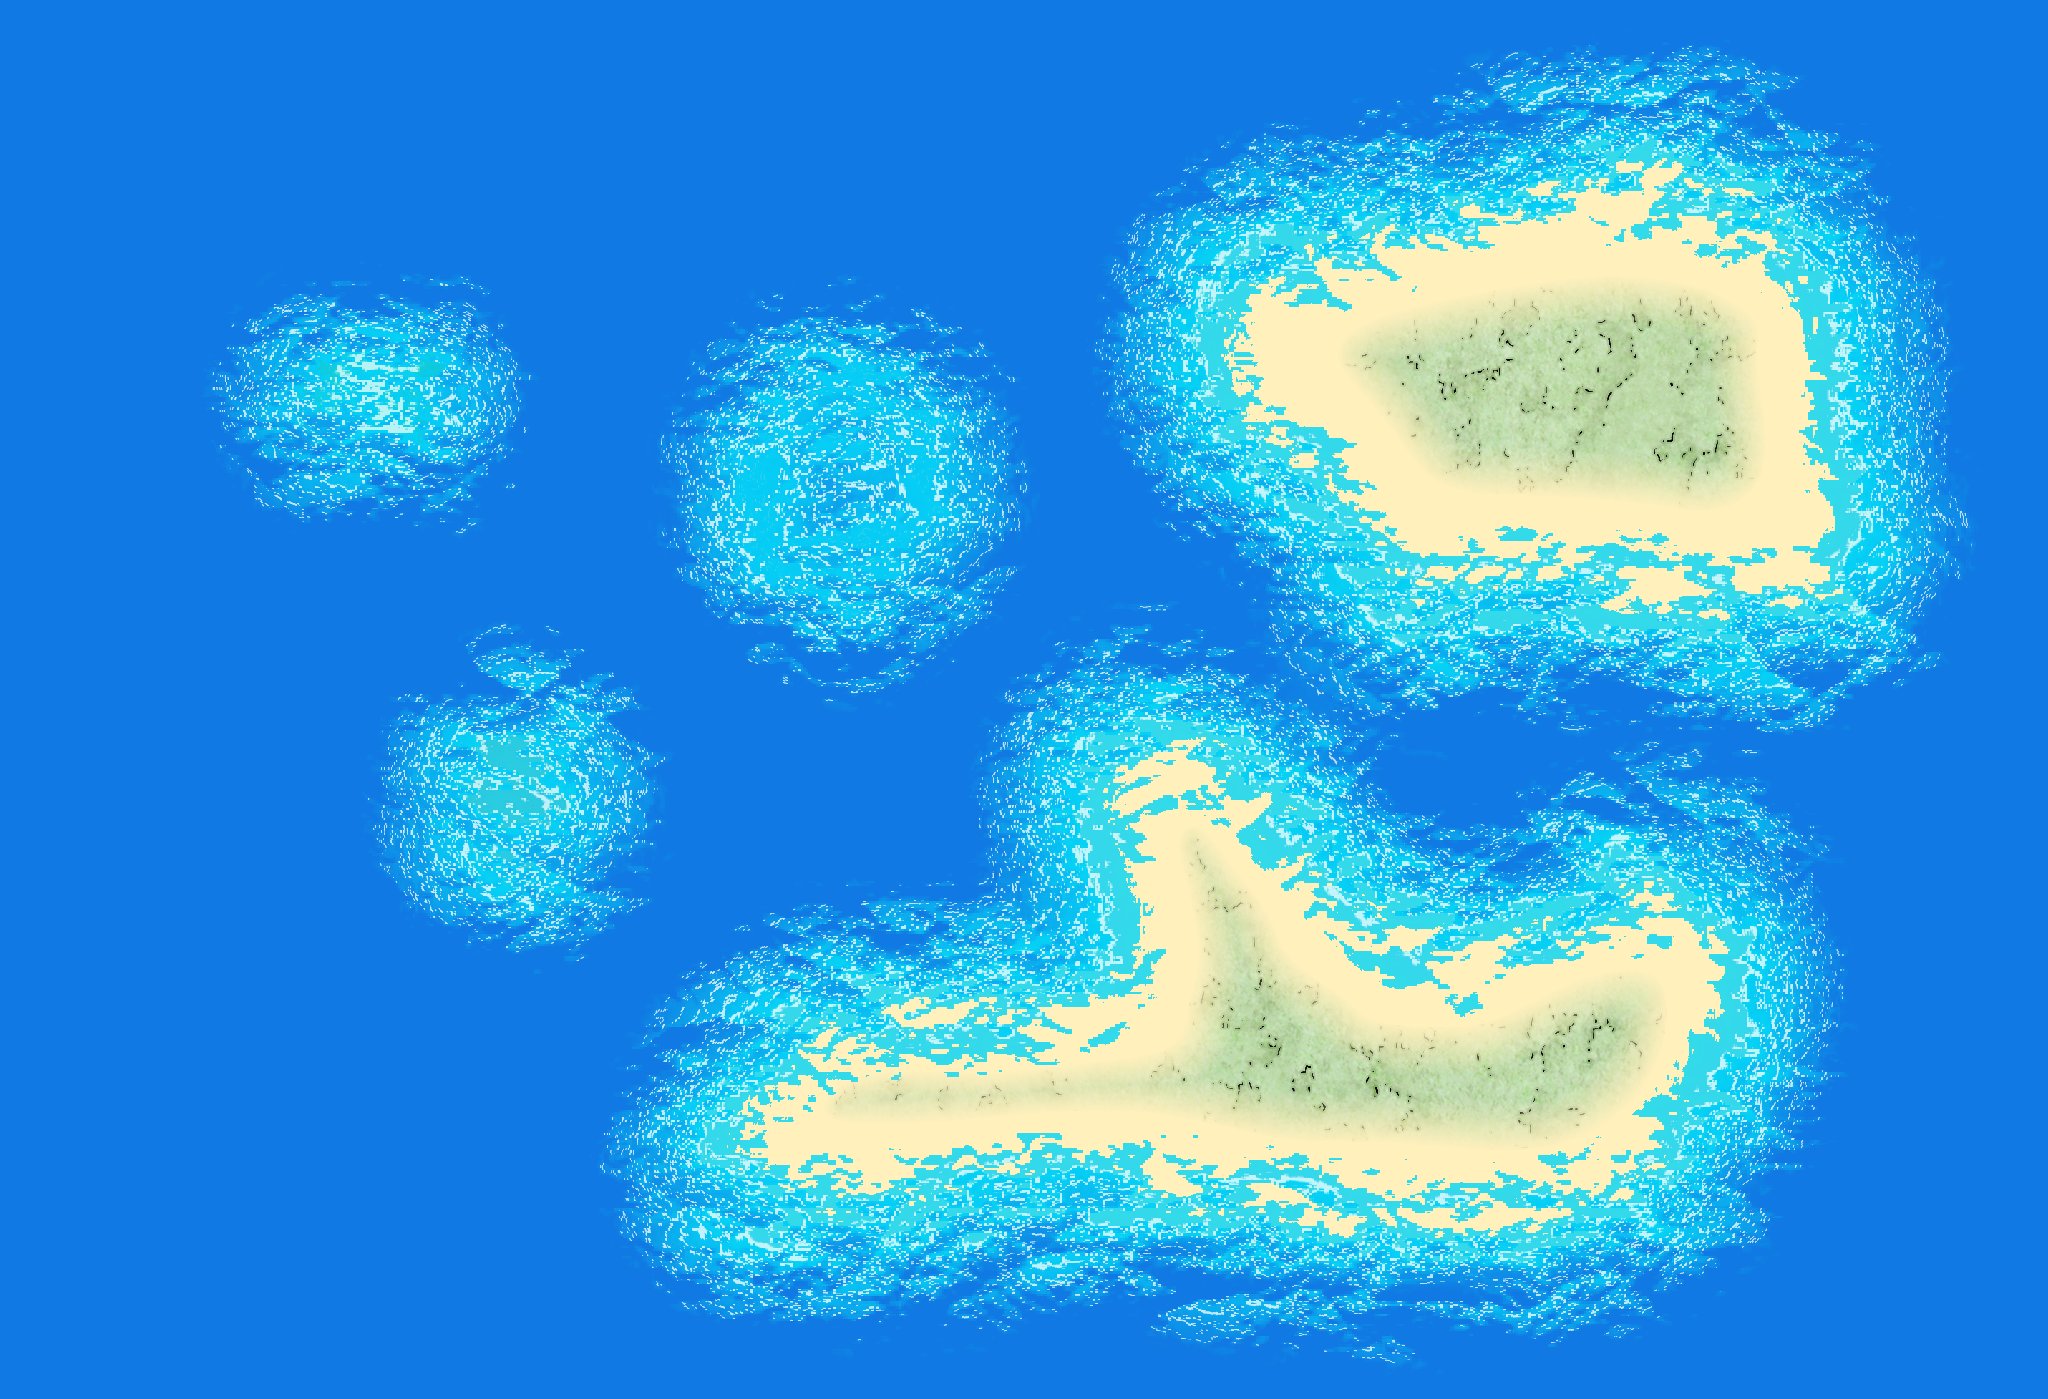
Edge Striping and Displace - combining both and the resulting effects
Here is the .fcw for the beach-islands...

It uses exact the same filter images as the pile with the water ripples...
++++++
@Ralf and @jslayton can somebody confirm that the effect
Texturizegives different result in the preview screen (while changing the parameters in the dialog box) and after pressing ok (confirming the parameters)? The first picture shows my preview on screen (using global sun) and when pressing ok I get the result as shown on the second picture...?


-
Edge Striping and Displace - combining both and the resulting effects
Here is the .fcw for the "pile" with the "water ripples" and its belonging .png filters
Both filter images have to be copied into the ProgramData\Profantasy\CC3Plus\Filters\Images folder to make the map work properly.
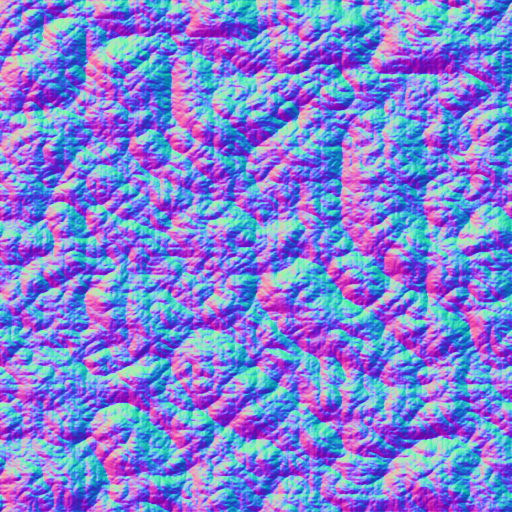
The displace filter was generated in Gimp and converted to a normal map in Wilbur (I think you could have done this also in Gimp...) ...and as I use the german version of Gimp the filtername became also german - for me to remember how I created the image...?

The .png does not show up correctly in the preview - black should be transparent... The filter map is inspired by the one @Raiko posted.
The .png file above seems to loose transparency - here the .png as a ZIP file:

If someone is interested I can also post the .fcw for the island/beach/waves...

-
Edge Striping and Displace - combining both and the resulting effects
In the discussion How would you create a fantasy port harbour there were some attempts to create water ripples around piles with the
Edge Stripingeffect.Meanwhile I created some other patterns both for use with the
Edge StripingandDisplaceeffects to figure out what can be achieved by the combination of both effects.Here is one result:
and here an other one:
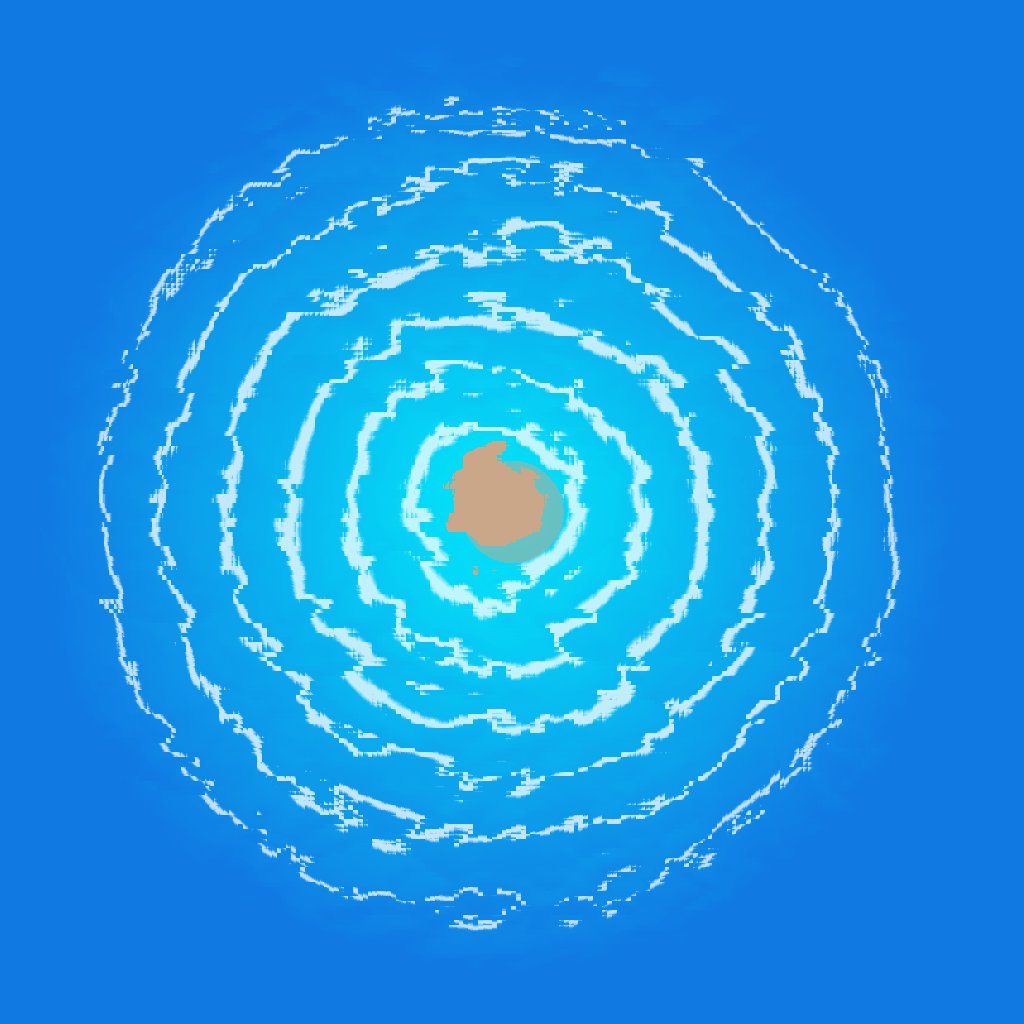
The halv transparent circle represents the undisturbed object (pile)

