


mike robel
mike robel
About
- Username
- mike robel
- Joined
- Visits
- 4,196
- Last Active
- Roles
- Member
- Points
- 435
- Rank
- Surveyor
- Badges
- 6
Latest Images
Reactions
-
Cowpens Battlefield
Well, here is a picture at the LBH in March of last year following a two day blizzard. It may not be worth the effort for my purposes. Some places had more, some had less. It wasn't particularly cold, even for a Florida boy. The previous two days though we didn't leave the hotel.
Not even sure how it would look from overhead.


-
WIP: New Map, New Issues...
I tried that once, but since I trace contour lines from a paper map I have scanned and loaded, I found that changing smooth to straight to smooth results in contours that are now distorted and much shorter. And I watched in horror as simplify not only shortened the routes but caused them to be disconnected from other roads.
As to using FT3 to read in real contours, in spite of some expert help, I was unable to do that reliable and then be able to align the contours with a real map. The issue there becomes being able to place roads, rivers, and other objects in the correct place.
I'm not saying it doesn't work as Sue describes, just that it doesn't seem to work for my application. BFI sometimes is the way to finish.

-
McMaster University Digital Map Collection
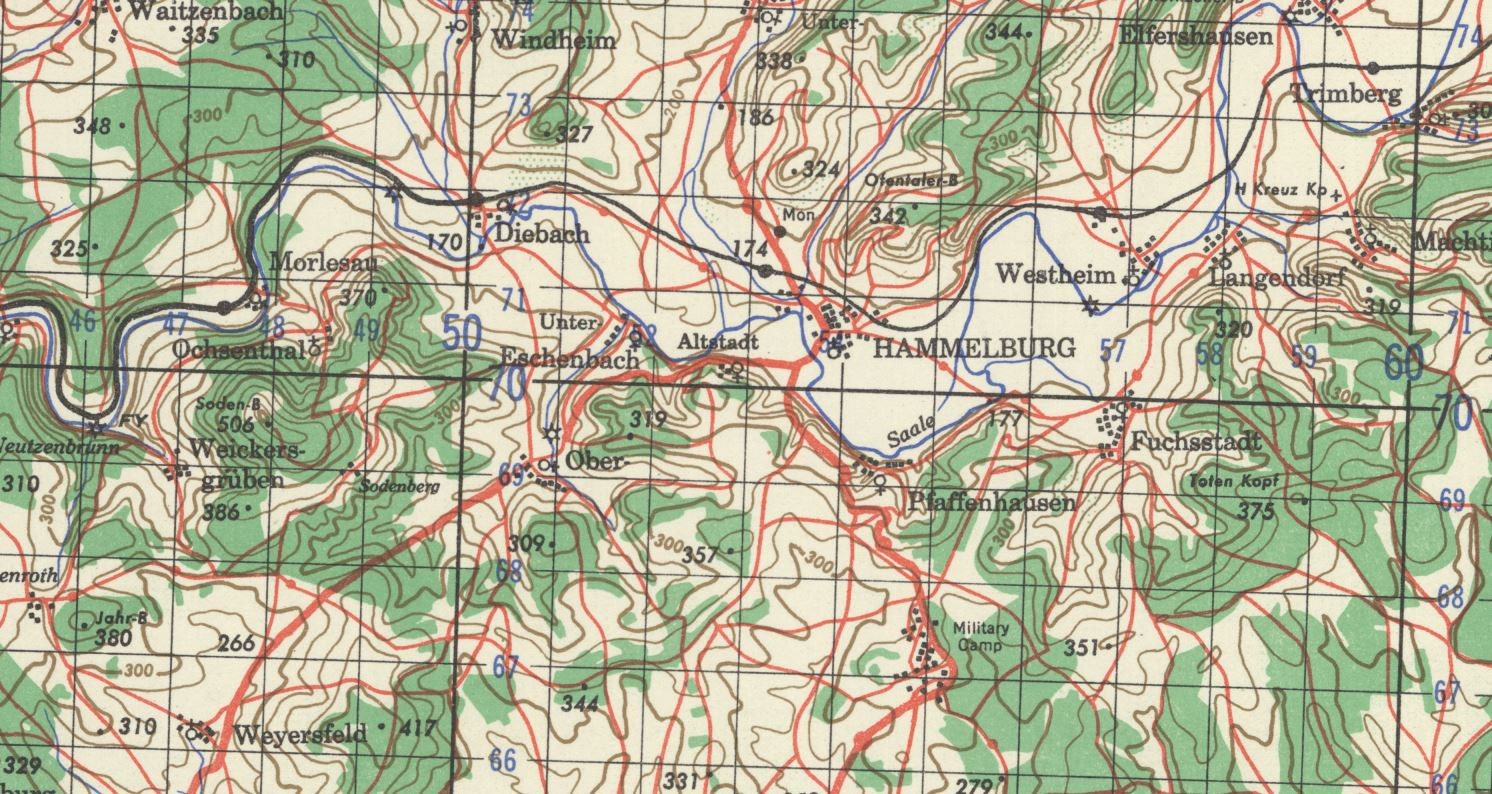
As the title says, this Canadian University has an excellent digital map collection from the 18th century (maybe before) until now. Particular interesting is the World War II collection with 1944 era maps for most of Western Europe, but no theater is left untouched. I have not even come close to looking through all of them even briefly.
You can download *.JP2 maps at medium quality or high quality *.tff that are mostly 1GB or larger and they are bloody wonderful, preserving detail to extrement zooming. (The JP2's, not so much.)
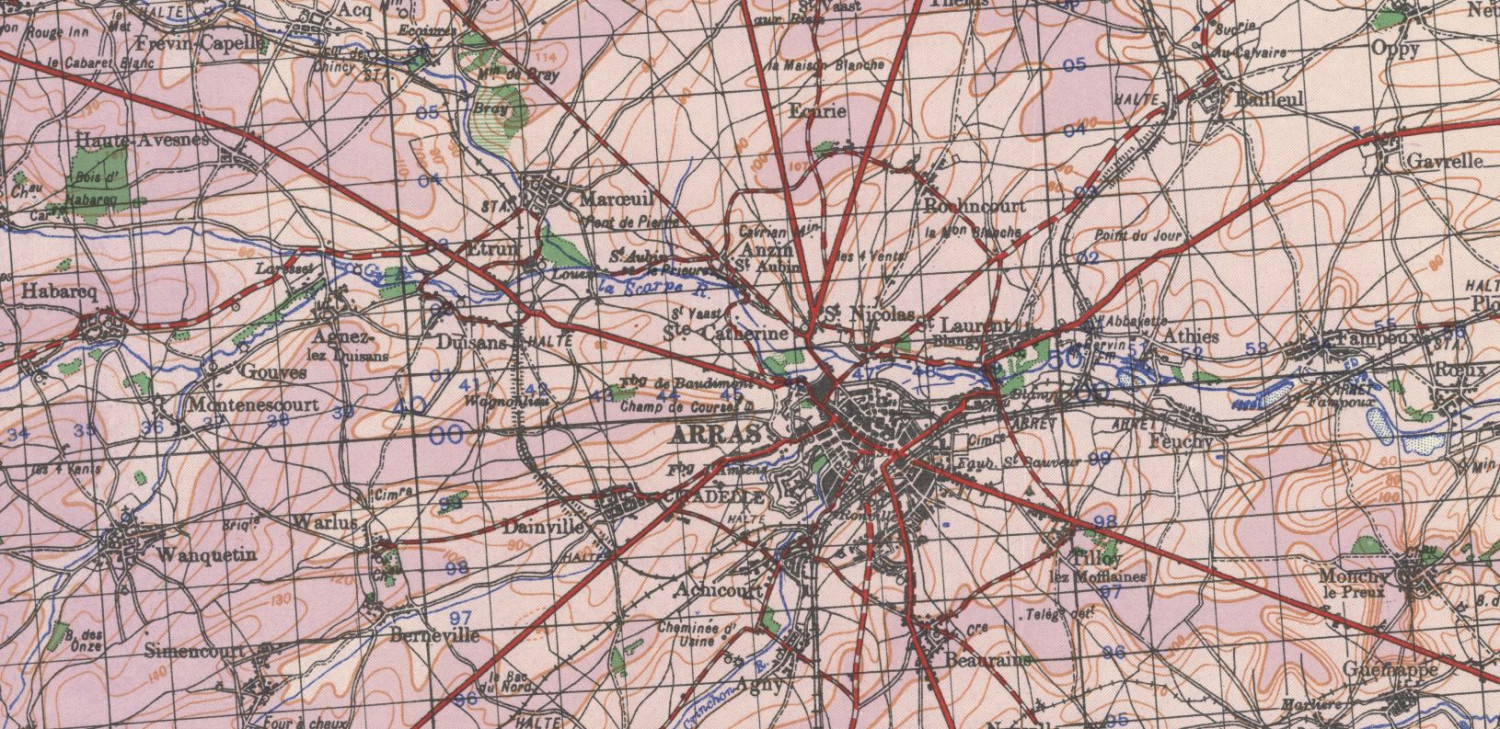
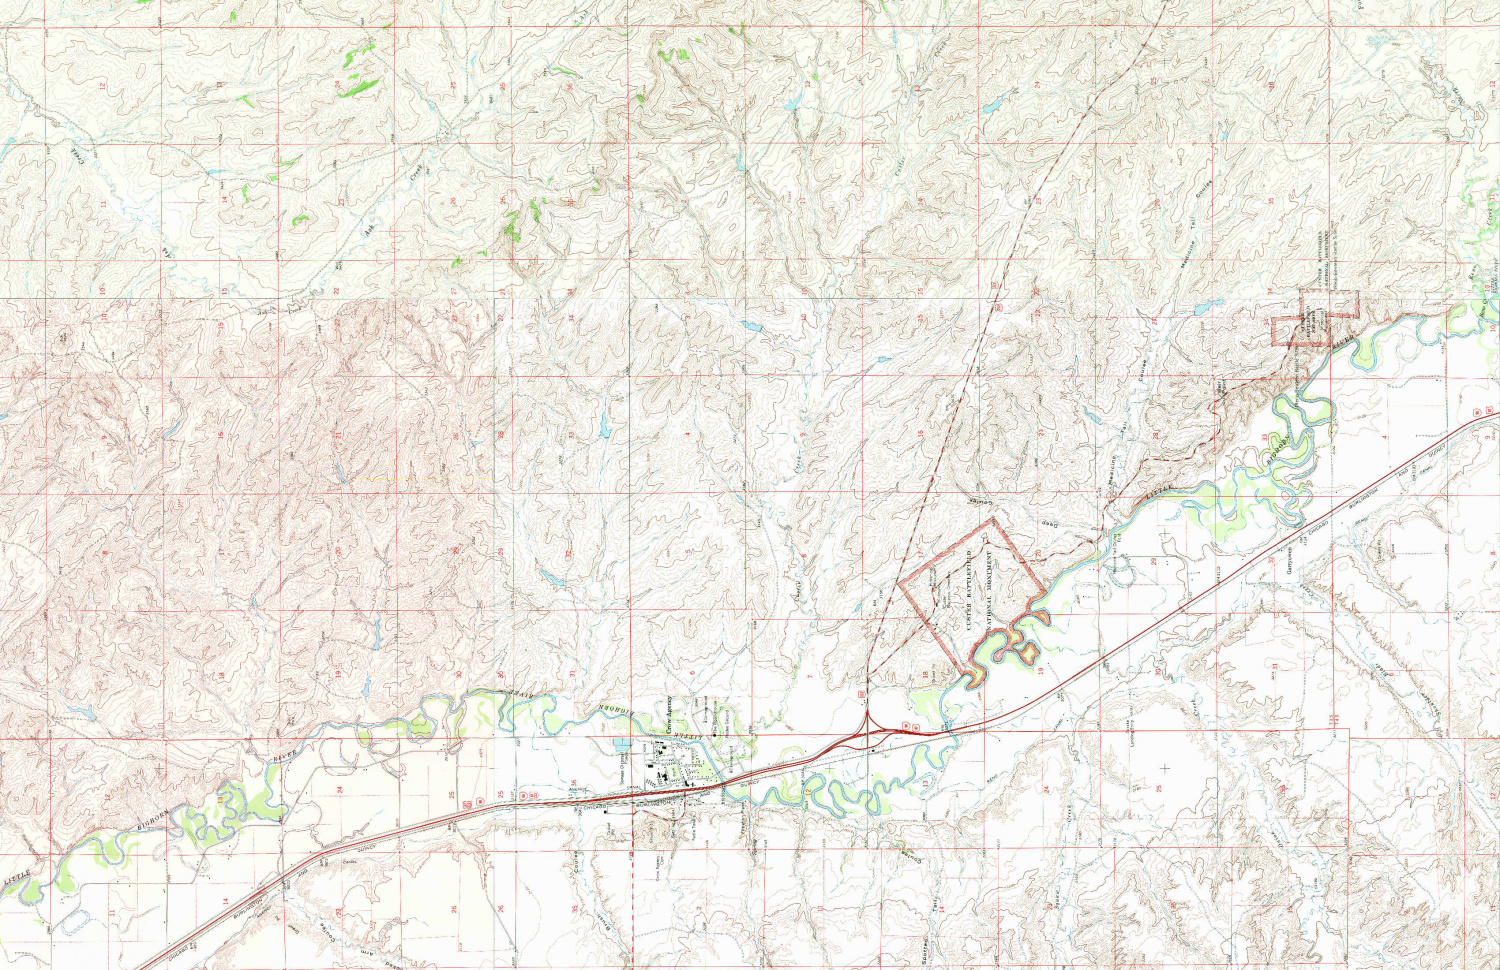
I was gratified to find 1:100000 maps covering the Battle of Arras, which was one of my first maps I produced for a game. The British launched a small counterattack with two tank and two infantry battalions, coming in just behind Rommel's 7th Panzer Division's leading tanks and hit his infantry Regiment, causing considerable havoc. Rommel's aide was killed 5 yards away from him; imagine the consequences. There is also some evidence that Rommel panicked, his situation map has the notation "5 Divisions" with a couple big arrows pointing toward his division. The attack contributed to the Panzer Halt which gave the British the time to get to Dunkirk.
I worked from modern maps and snippets of copies of maps from books and online images and it is just wonderful to have such a map.
I also got 1:100000 maps covering the path of TF Baum (which included the WW2 company my last command was descended from) Hammelburg, Germany raid . I "walked" and road the raid path several times when I was stationed in Germany, using modern 1:50,000 maps, while while highly detailed, do not show things as they were then. BTW, the raid failed, TF Baum was destroyed and survivors taken prisoner or escaped.
Next is the Battle of Arracourt in France in which the company was destroyed too, and the Break-in to Bastogne, Belgium which the company led (and did not get destroyed).


-
Yet Another Wargame Map set in ...
@Wyvern You are totally correct placing the features in the way I don't like leads to easier play. I adjust the feature to make it obvious where the feature lies. For roads its not a big deal, but for rivers, you pay the cost when you leave the hex and there is no cost when you move along the river line. Line of Sight issues always occur, and I just have the players resolve the issue if they can't agree with a die roll.
In my younger days, we would play computer assisted simulations in the main Fort Riley gym, on moving map tables with maps blown up to about 1:10000 scale using micro-armor. As the battle shifted, we'd move maps in our out of the play area as the game unfolded. We had to talk about what we could see and do before we filled out the battle form and took it to the computer operators. Several times, late in the game and usually late at night it seemed fist fights might break out as the arguments became heated and ones map reading skill, as well as other qualities and abilities might be called into question.
Regardless, I try to make my map and rules as clear and understandable as possible. Since battle is chancy, if players disagree I tell them the challenger gets to roll a die and if its even he wins and odd the challenged wins. If in the other players turn, they have to roll again to determine if the issue changed.
I'm a moron. I didn't scale the drawing properly. The dot's you see in the background are 0.1 inch apart, the hex is 25 dots wide and each dot is 10 meters apart. Therefore I have spaced the tanks 10 meters apart, not 100. The second picture below shows the correct spacing at 100 meters.
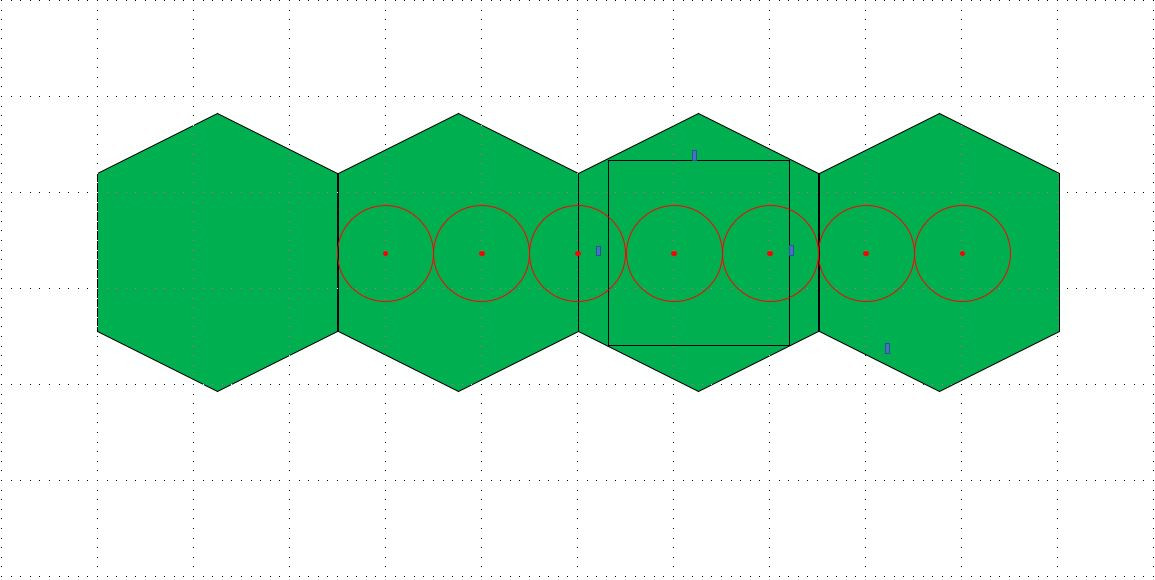
The other thing to remember is tanks are tiny and hexes are large. The Hexes below (in the second diagram) represent the typical width of a 1000m battle position I would allocate to a platoon to give them plenty of room to shift position in the defense or to move in the offense. The M1A1 tank is scaled to represent its length and width (9.77m x 3.66m) with the typical 100m spacing between tanks. Seldom would the tanks of my company in the same hex, unless I was in the final assault. They can be anywhere in the hex and you can bet they would look for the most advantageous position for themselves as they could find.
The 6 red dots in the second diagram represent the impact of each round while the circle represents the burst radius and together represent the beaten zone of a volley from a 155mm artillery battery. A single volley would do little, if any, damage to the tanks.
The black square represents the counter size.
Diagram 1: Incorrect. This rendering has the tanks spaced too closely together.
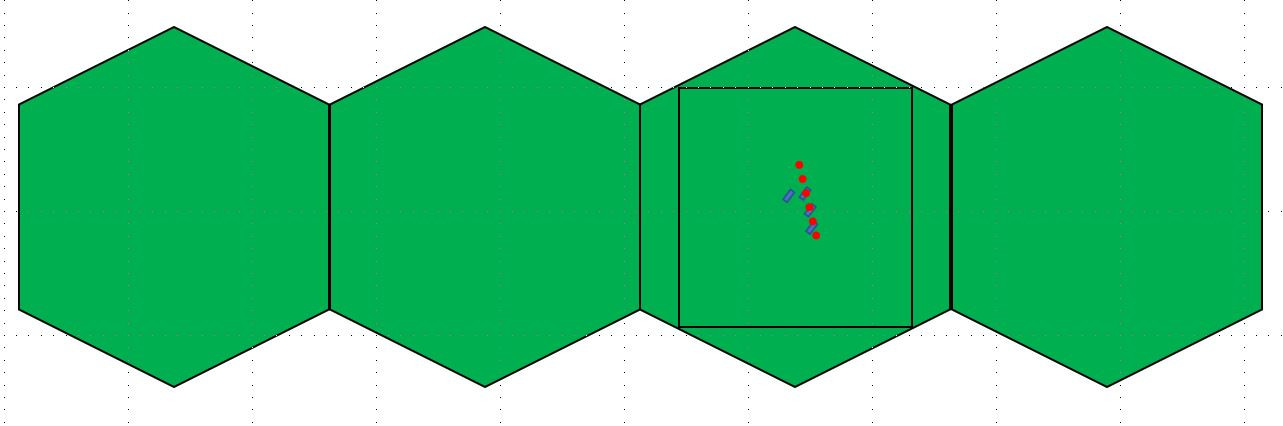
Diagram 2. Corrected. This rendering has the tanks spaced correctly.
You can see the battlefield is empty space and an individual tank or person can be virtually anywhere inside the hex. So measureing from the hex center is an inexact representation of what occurs. But no one wants to get into computing line of sight mathmatically (except maybe in a computer game) so it is good enough. The 100 meter spacing is somewhat elastic. The platoon could get pinched down to a wedge in which the tanks are only 10 meters apart or even into a column, but you do't want to that close together.
As Sherman said, "Men are not blocks of wood," but neither are blocks of wood (or cardboard) men or tanks.
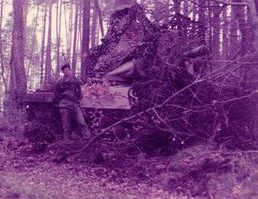
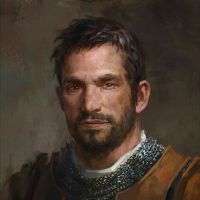
Here is a shot of me in front of my first tank. The woods are moderately dense, but LOS in blocked pretty well if you are trying to see in, but is pretty open when looking out. Until you shoot and the muzzle flash gives you away. Then you need to move, which is why I gave all that space to me tanks. Today with thermal sights, hiding is much harder. Better to dig in and not turn on your heater in the cold.
A Boy and His Tank.
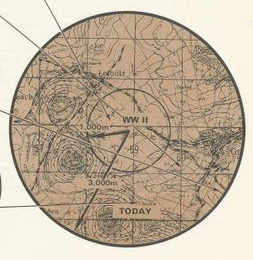
Lastly, this last shot shows the difference in range from WWII (an M4A3E8 76mm Sherman tank) versus about 1980 (An M60A1 Main Battle Tank) overlayed on a section of a 1:5000 map near where my map is. A glance easily shows several places where LOS is blocked and areas where tank would have a difficult (slow) time trying to move through.
WWII Range vs 1980s Range
More than anyone here probably wants to know. :)


-
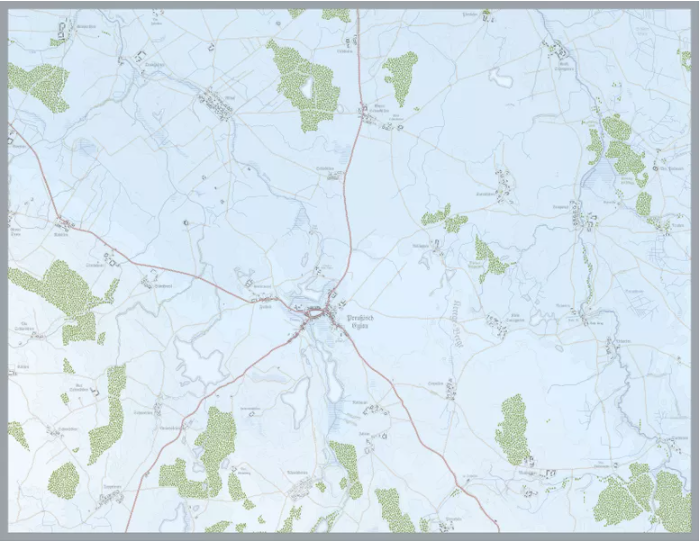
Battle of Eylau Map (NOT MY WORK!!!!)
This map was for the Battle of Eylau by Rachel Simmons. She was working on a map for the Eastern Front that was just magnificent as was her Gettysburg Map (and all her other ones as well), She retired from wargame design recently and she is answering various questions about her design philosophy, etc. Her games and maps were ground breaking. The attached map does not do it justice. For a better view go to https://www.boardgamegeek.com/image/6188136/simmons-games where you can enlarge it.
I put a larger image (not my work) in my gallery if you don't want to hop to BoardGameGeek.com to see more on her games and her other work.
You can see artwork from her other games at:
Guns of Gettysburg: https://www.boardgamegeek.com/boardgame/36400/guns-gettysburg (I ended up buying this because the map is so wonderful and got it for a reasonable price as well.)
Napoleons Triumph: https://www.boardgamegeek.com/boardgame/18098/napoleons-triumph
Bonapart at Marengo: https://www.boardgamegeek.com/boardgame/15839/bonaparte-marengo
