Wyvern
Wyvern
About
- Username
- Wyvern
- Joined
- Visits
- 3,228
- Last Active
- Roles
- Member
- Points
- 5,502
- Rank
- Cartographer
- Badges
- 24
-
WIP: Bleakmoor Harrow - Continent of Estonisch
I actually think the trees work really well with the water texture right now. To my eye, the problem is the abstract nature of the land and settlement markers outside the marshes (the dots, NOT the Ancient Realms circular symbols, which are fine), and especially the coastal edge and sea lines with the water texture there. Those really jar to me, as compared with the near-photo-realism of the marsh water and trees.
As Ricko wrote though, it really depends what the viewing level will be for the final map.
I can't usefully advise you what I'd do, because I don't design maps the same way as this, so the situation doesn't arise. I tend to pick a style I like for what I'm intending to map (or sometimes several matching styles, or complementary ones that are sufficiently similar to work together), and draw accordingly. I might add a few symbols or fills from elsewhere that aren't in the original(s), or repurpose some that are to be different from what their labels indicate. That's not the same as what you're trying to create here though.
-
WIP: Bleakmoor Harrow - Continent of Estonisch
-
[WIP] Republic of Lumadair (Ancient Realms Revisited)
-
Birdseye Continental - style development thread
You'll probably also need some longer sections of the main spine, and the lesser side-shoots too, to get something closer to the Himalayan "red" version - to give segments of both types that are lengthened without having turnouts along them.
It's all a bit like trying to design a river system symbol tool as well - and if you crack it for the mountain ridges, it could perhaps be reworked to do that for rivers. Added complication is that the river channels aren't fixed-width along themselves, of course. Although neither are mountain ranges necessarily. So that's you designing Annual issues to cover all these possibilities every month now till what, 2027, Sue? 😉
-
First Map Using CC3+
@Frosty: I don't think there's much available as a base map beyond what's been officially released by TSR/WotC down the decades, unfortunately, for the north of Faerun. I know when I was working on my map (ye gods - seven years plus ago!), I struggled to find anything useful for features among the ice, and most of that was from the earlier Forgotten Realms books from the 1980s. There's a little more for the near-coast region now (Ten Towns region and surrounds), at least. That does mean that much like jacolantern, you can go ahead and add/invent whatever you wish though.
-
[WIP] Community Atlas: Snakeden Swamp, Lizard Isle, Alarius - Dedicated to JimP
Thanks very much folks.
Ideas and concepts for this little map group just seemed to fall into place around the time of Jim's death, and Jim's insatiable mapping efforts and enthusiasm, both for the Atlas and his other numerous projects, had already helped maintain my own focus on the Atlas mapping I'd embarked on, albeit at a far slower rate than Jim's. So it all started to seem as if it was somehow intended.
As I'd already mapped something for Kraken Island in Jim's Forlorn Archipelago last year (Haunted Cloud Mesa), and as the locations for all these D24/D25 maps were decided a year ago, I didn't want to switch sites for this one, as I've set things up to only place one map (or map group, where there's an area map as well as the dungeon one) per regional area selected.
Ricko's already suggested an additional map of his own for another spot on Lizard Isle, and will post that here shortly, I think.
-
Birdseye Continental - style development thread
I wouldn't worry about the length of the list of sheets here, Sue. You can't really design systems on the basis they might trip-up people fresh to the program, as it's more important they do the job well. If there's a concern their number could be intimidating, that's something which could be addressed usefully with a note or two in the PDF mapping guide for this issue.
-
City on the Coast
-
[WIP] Community Atlas: Snakeden Swamp, Lizard Isle, Alarius - Dedicated to JimP
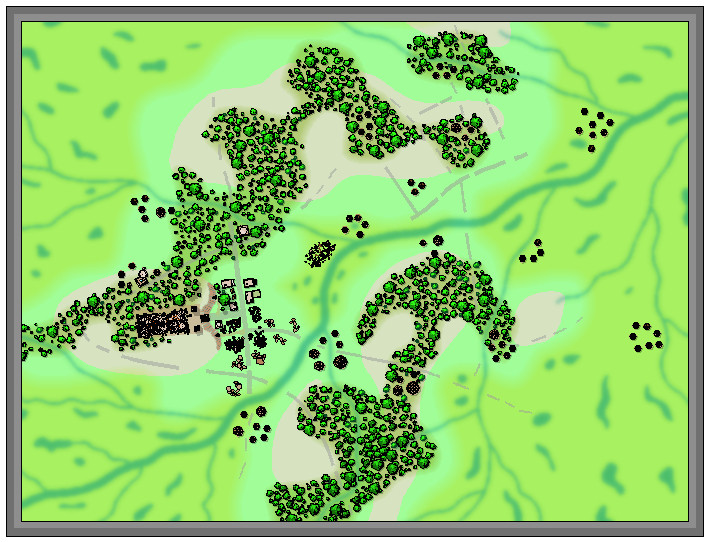
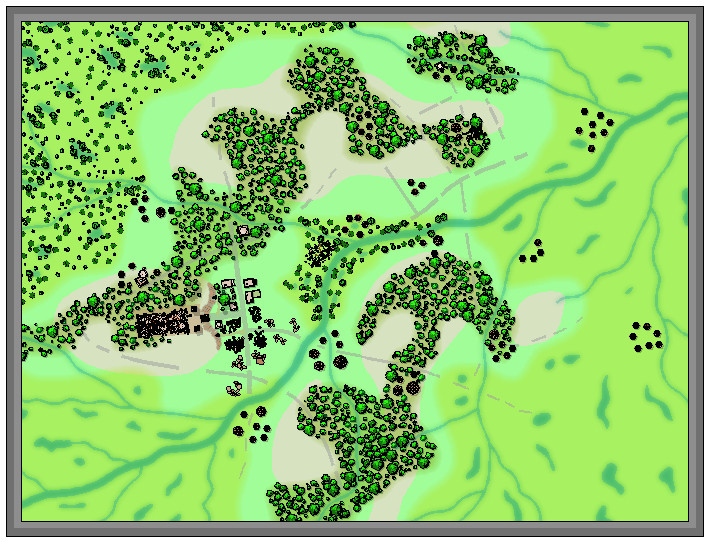
Clearly, something was needed to add further character to the swamps, and the first thing was slotting-in some lakes, ponds and smaller watercourses:
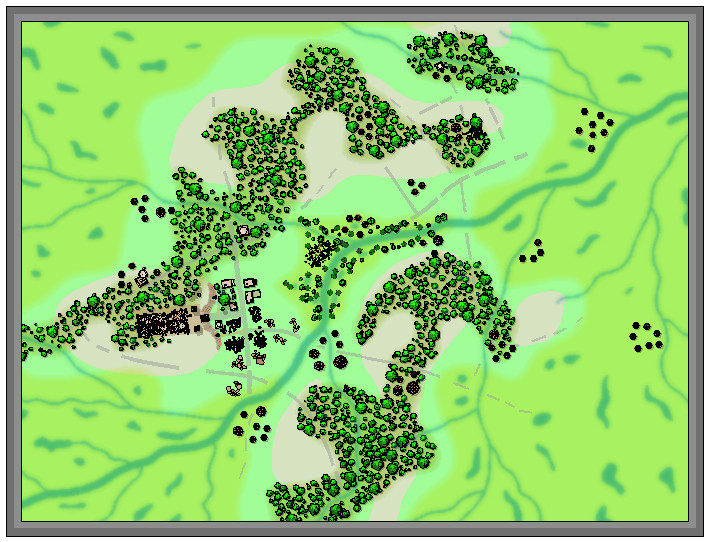
The new river lines were all kept deliberately the same size, and perhaps a little wider than necessary, to try to ensure they'd still be sufficiently visible after adding the vegetation. That latter was to be a mixture of mostly lower (lesser shadow), smaller, patches of greenery, including little-shadowed palm tree symbols to represent stands of swamp reeds, with a scatter of taller, = longer-shadowed, trees. This next shot shows the opening trial of this in the central hollow, although the sharp-eyed may also spot a couple of fresh structures have appeared in the northeastern woods as well, as I'd missed a couple of still-standing places there earlier, hidden among the chaos of my hand-scrawled base map:
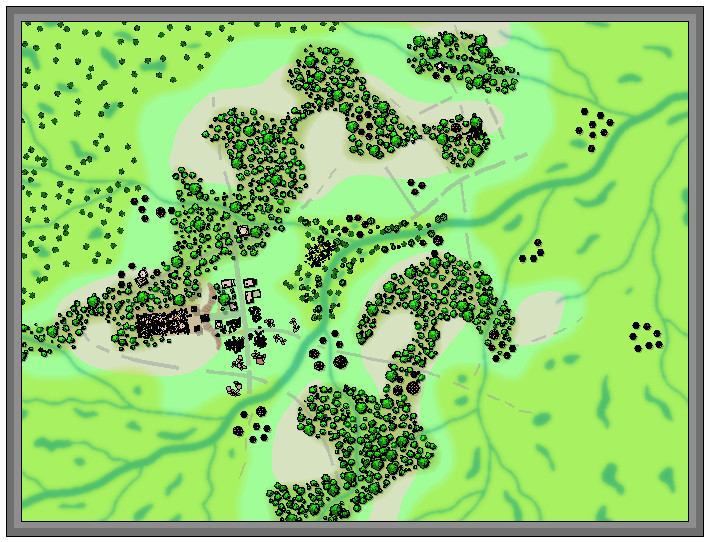
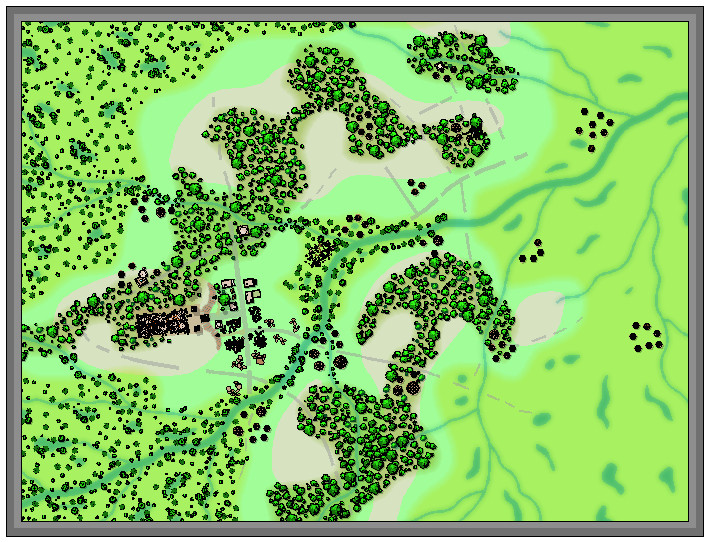
Another two screenshots help indicate the general "vegetising" process over the top left swampy region, the first image with just the flattened-palm-tree "reeds", and the second with the remaining bushes and trees:
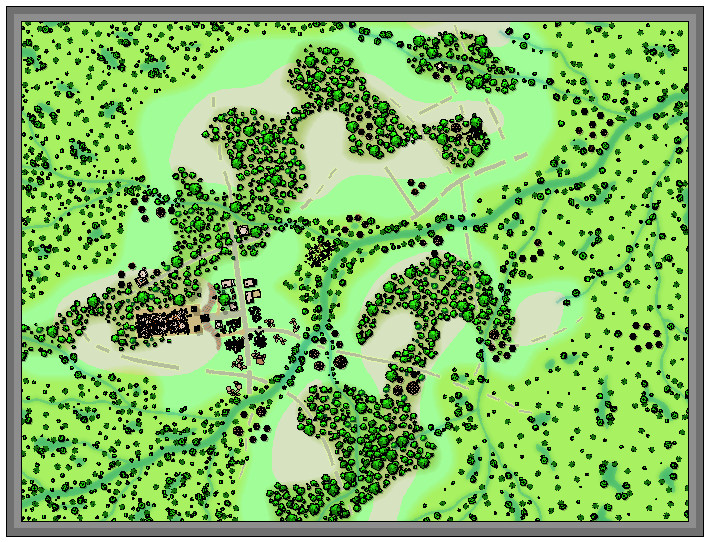
Two more images illustrate how the remaining regions were similarly filled-in, and how some vegetation scatter was added to the stream-lines linking between the edges of the swamps and woodlands:
I've left the swampland vegetation somewhat sparser on the right side of the map to give some space for possible other features to be added, as I hadn't firmly decided if some of the roads and tracks might be continued into it at this stage, or exactly what structures might be near those there already. Plus I also wanted to add some more stream lines at some stage later on (still haven't done those).
-
Best Map Style(s) for Creating a Set of Maps from Large Scale, to Medium, and then Small
I've been enjoying mapping with the earlier CC2 Pro style of options recently (cities need something like the CD3 Vector Shaded option instead, as there isn't a CC2 version for those), and they also provide a near-Schleyian-huge range of vector symbol options, from continental overland right down to dungeon scales. The vector styles are also easier to create additional symbols with, should you need to, as they are straightforward drawings in the main, with a simple colour scheme.


