Royal Scribe
Royal Scribe
About
- Username
- Royal Scribe
- Joined
- Visits
- 9,944
- Last Active
- Roles
- Member
- Points
- 3,476
- Birthday
- February 5, 1968
- Location
- San Francisco, California
- Website
- https://legacy.drivethrurpg.com/browse/pub/31814/Royal-Scribe-Imaginarium
- Real Name
- Kevin
- Rank
- Mapmaker
- Badges
- 16
Latest Images
Reactions
-
Floors disappearing when placing a door.
Maybe check to confirm that your floors are in the FLOOR sheet and layer, and didn’t accidentally end up in a WALL sheet or layer? If it did, the door may be trying to make a break in it like it would on a wall.
-
WIP - Senan
Good luck with the surgery. Hope to see you back to mapping your wonderful maps soon.

-
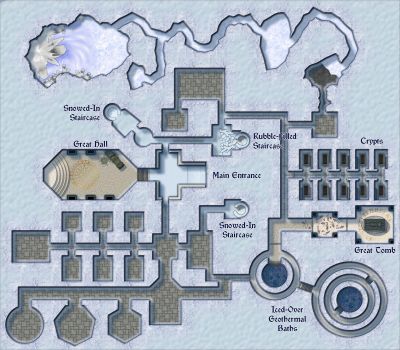
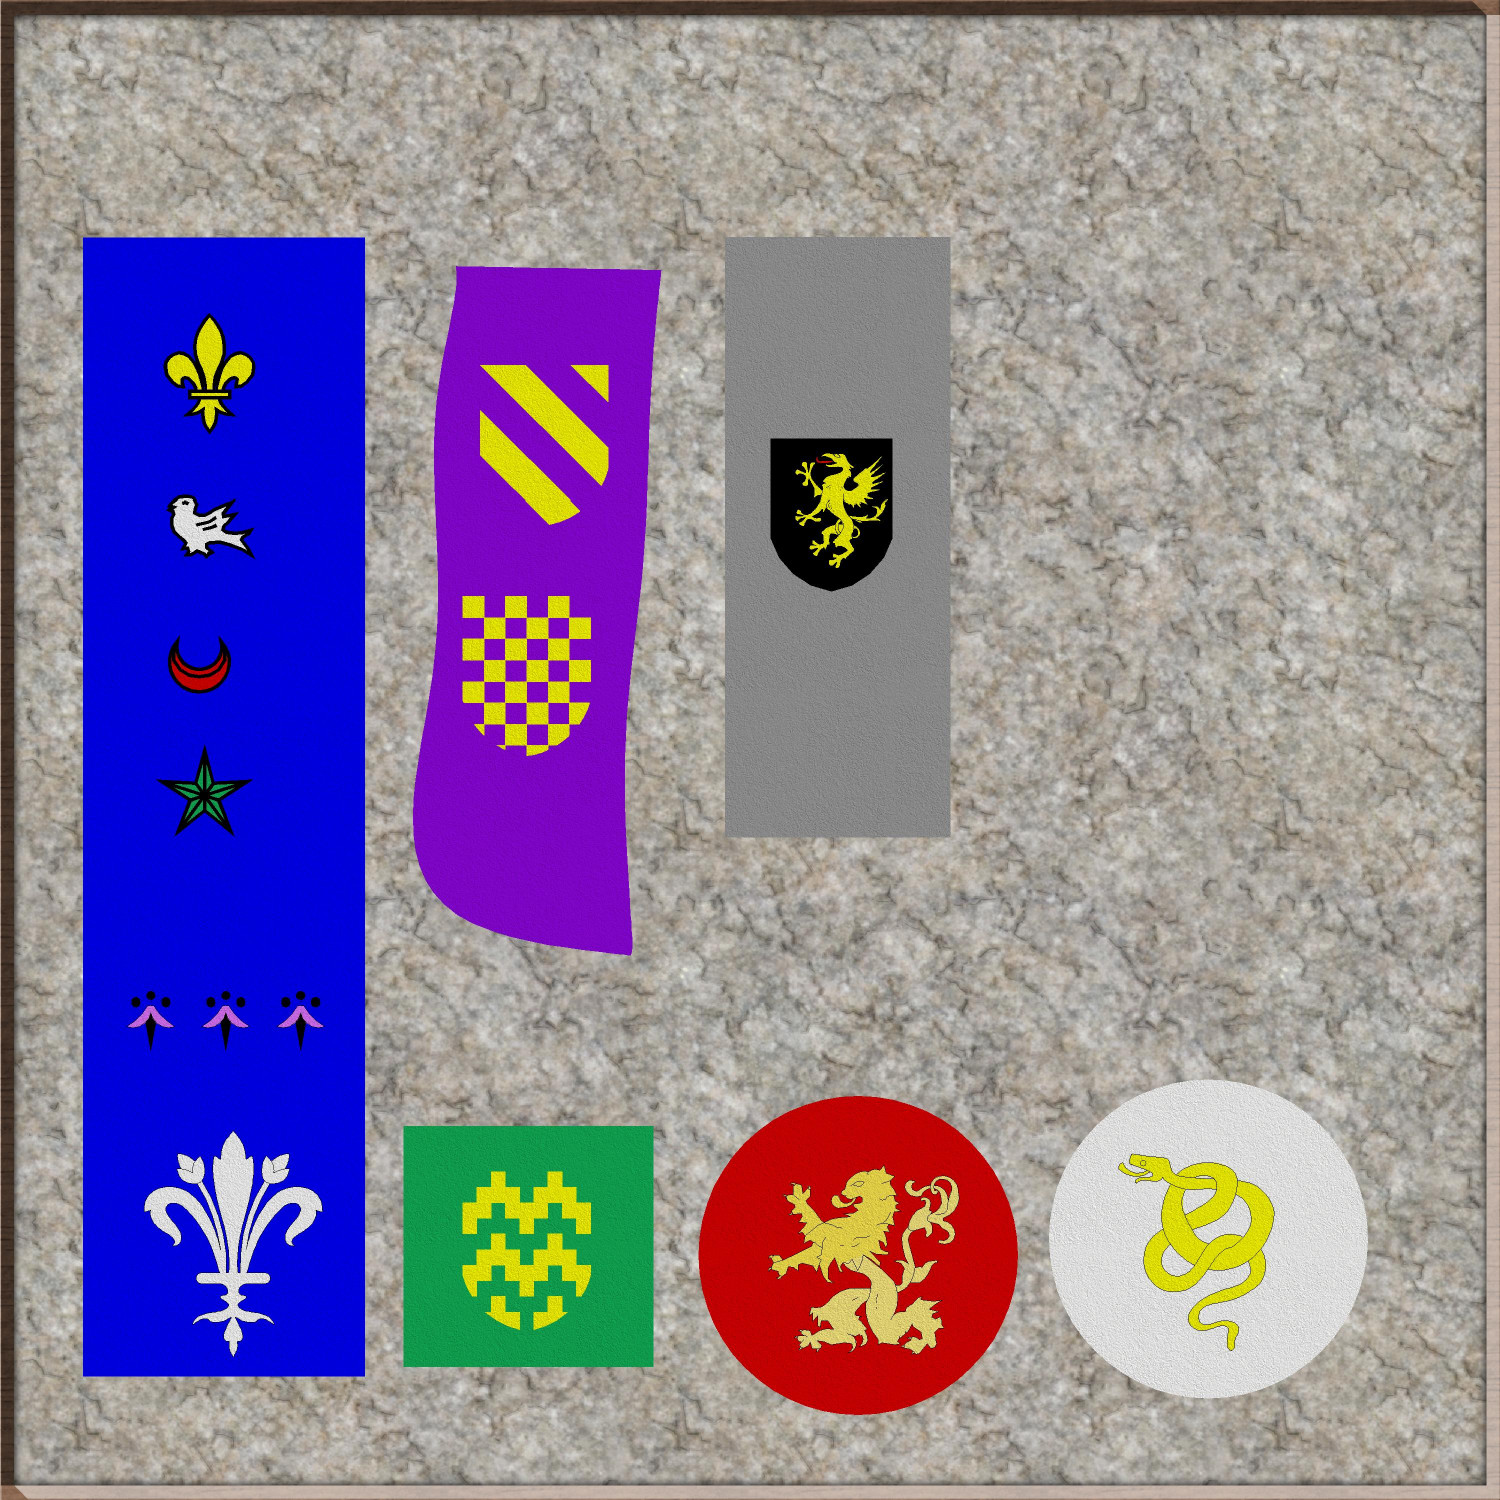
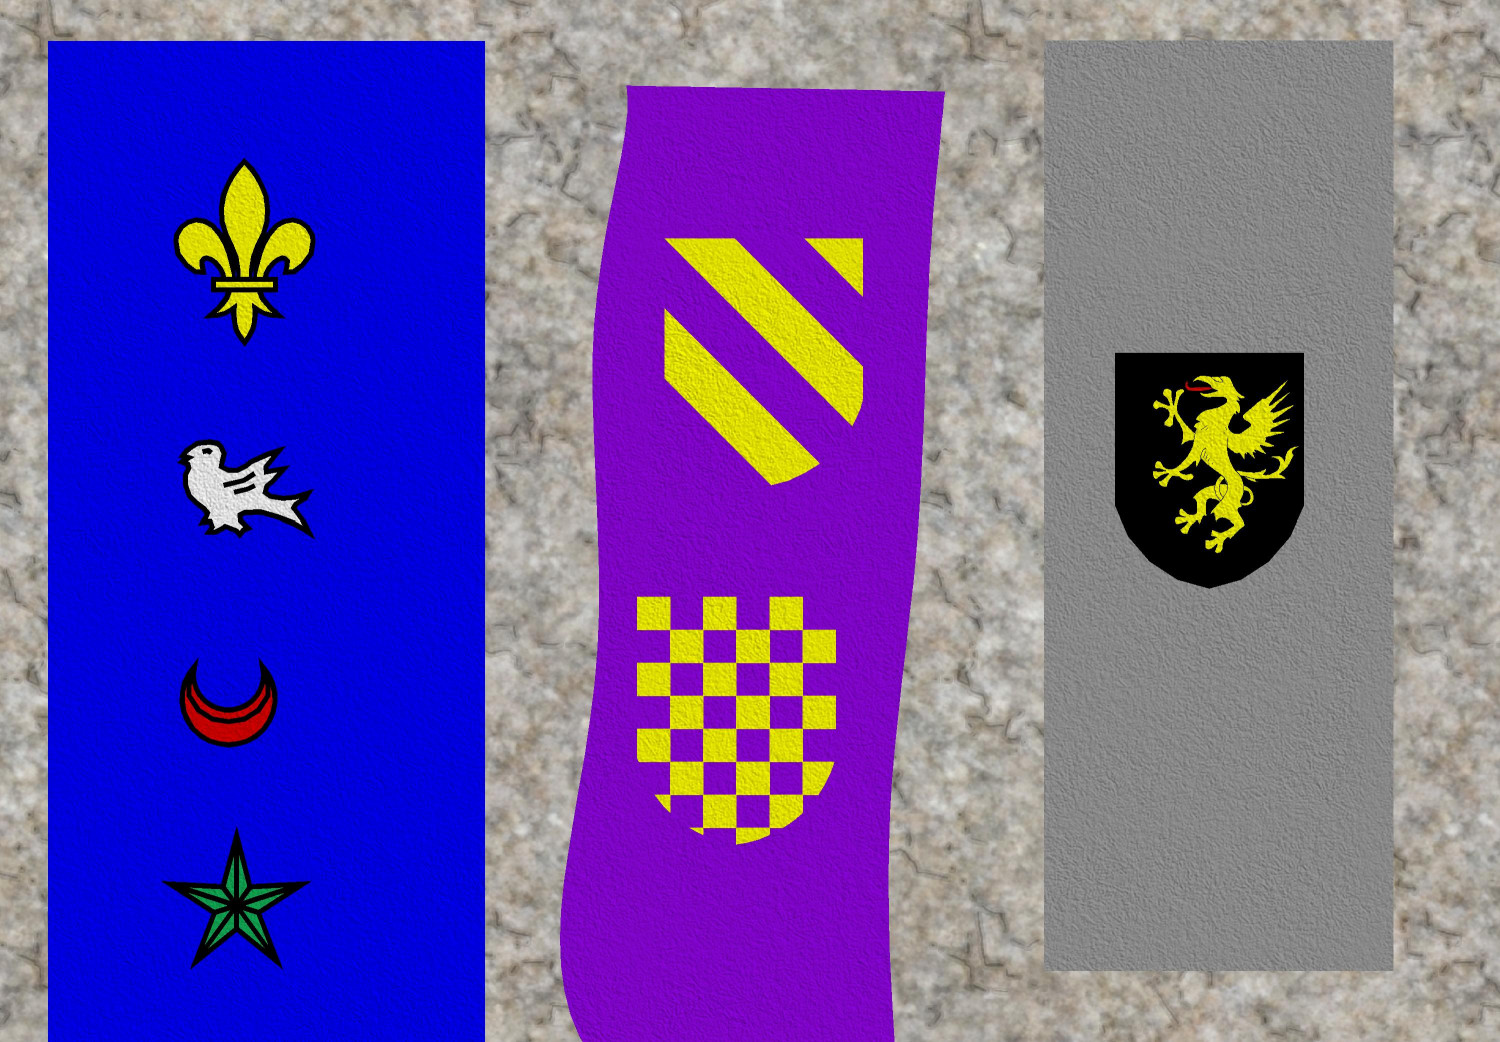
EUREKA MOMENT: CA15 Heraldic Symbols as CA180 Marine Dungeons 2 Brass Inlays
Another revelation that will be obvious to more experienced cartographers here: the TEXTURIZE effect!
I have been wanting to use heraldic symbols stitched onto fabric to make carpets, table runners, banners...and I kept looking in vain for fabric fills. The Modern set includes different colors of carpeting, but it was a little too photorealistic to work with things like Dungeons of Schley.
Through trial and lots of error, I stumbled across the Texture effect and was able to apply it to both a color polygon and the heraldic symbol on top of it to create the effect of fabric with the symbol stitched on. I experimented with a lot of textures, but the one that seemed most "fabric-like" to me was the DD3 Hay_Dry fill. (If anyone knows of a fill that looks more like linen or other woven fabric, please let me know. Maybe there's a good one in an Annual that I have not yet purchased.) And of course, different fills can create the effect of looking like your sigil was painted on wood, or the cobblestone floor (though with more trial and error, I learned that some fills don't really translate well when used with the Texturize effect).
Anyway, here are some heraldic banners or carpets or table runners or whatever:


-
floathing Island and Babel Tower style city
Very cool!

-
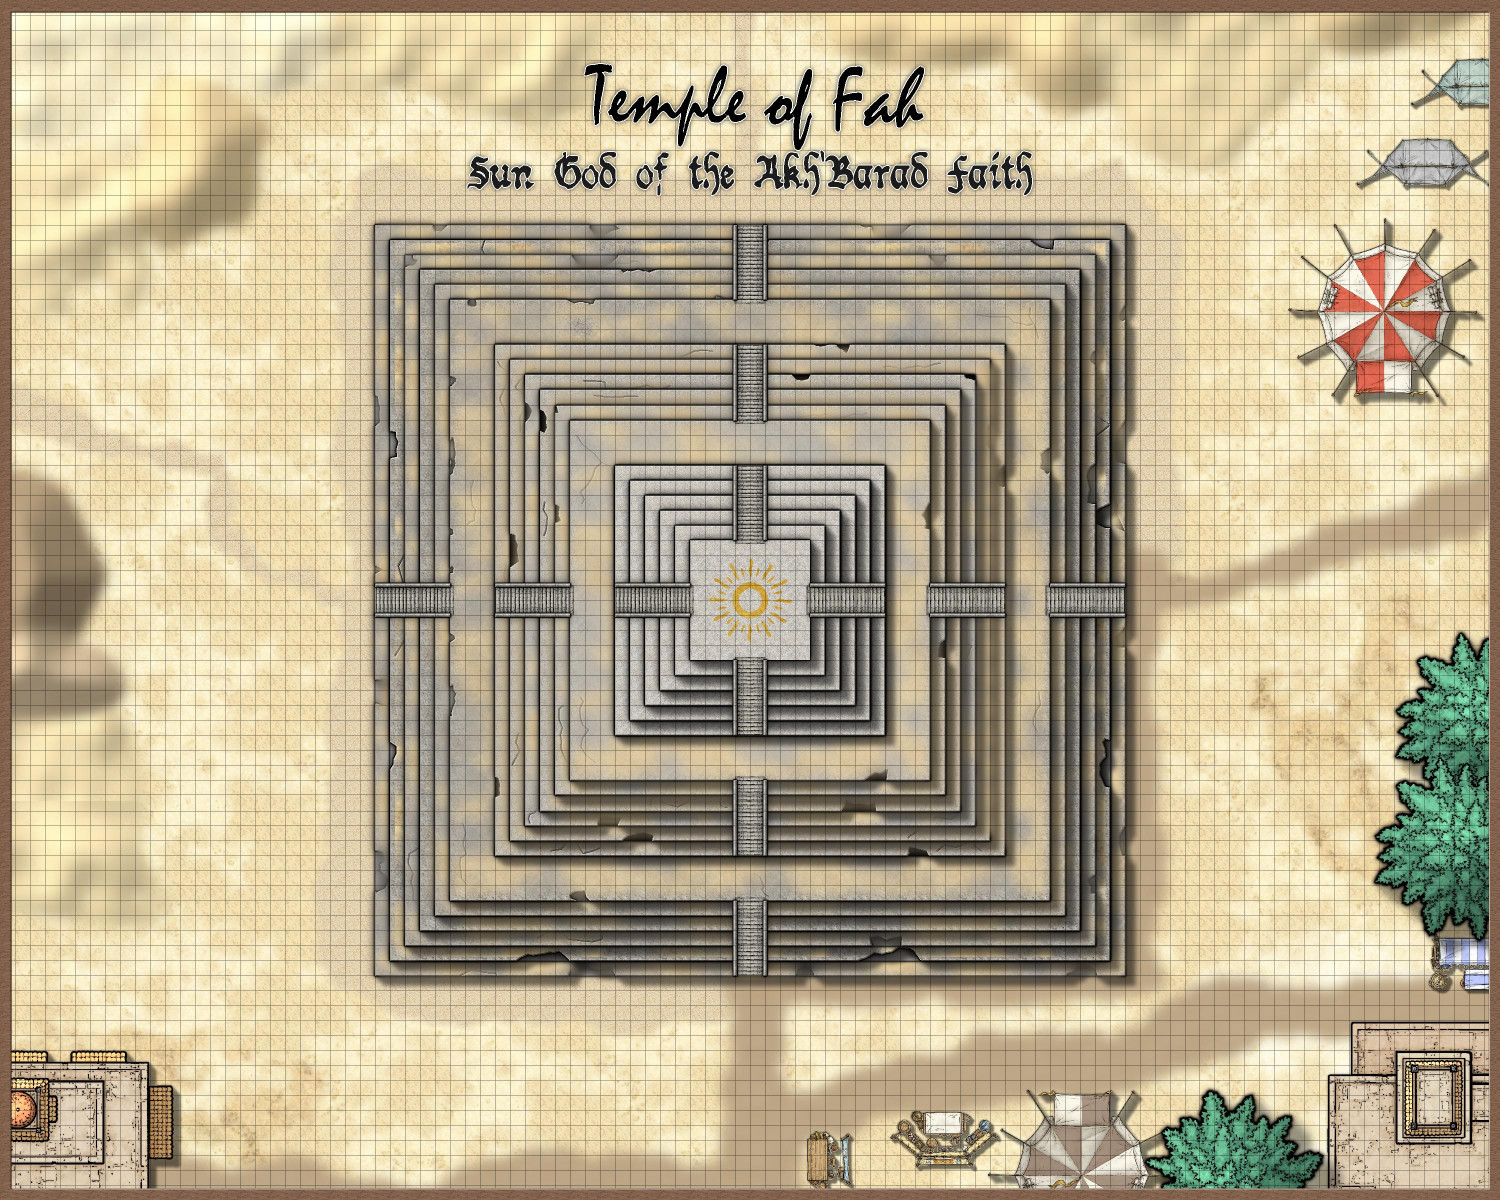
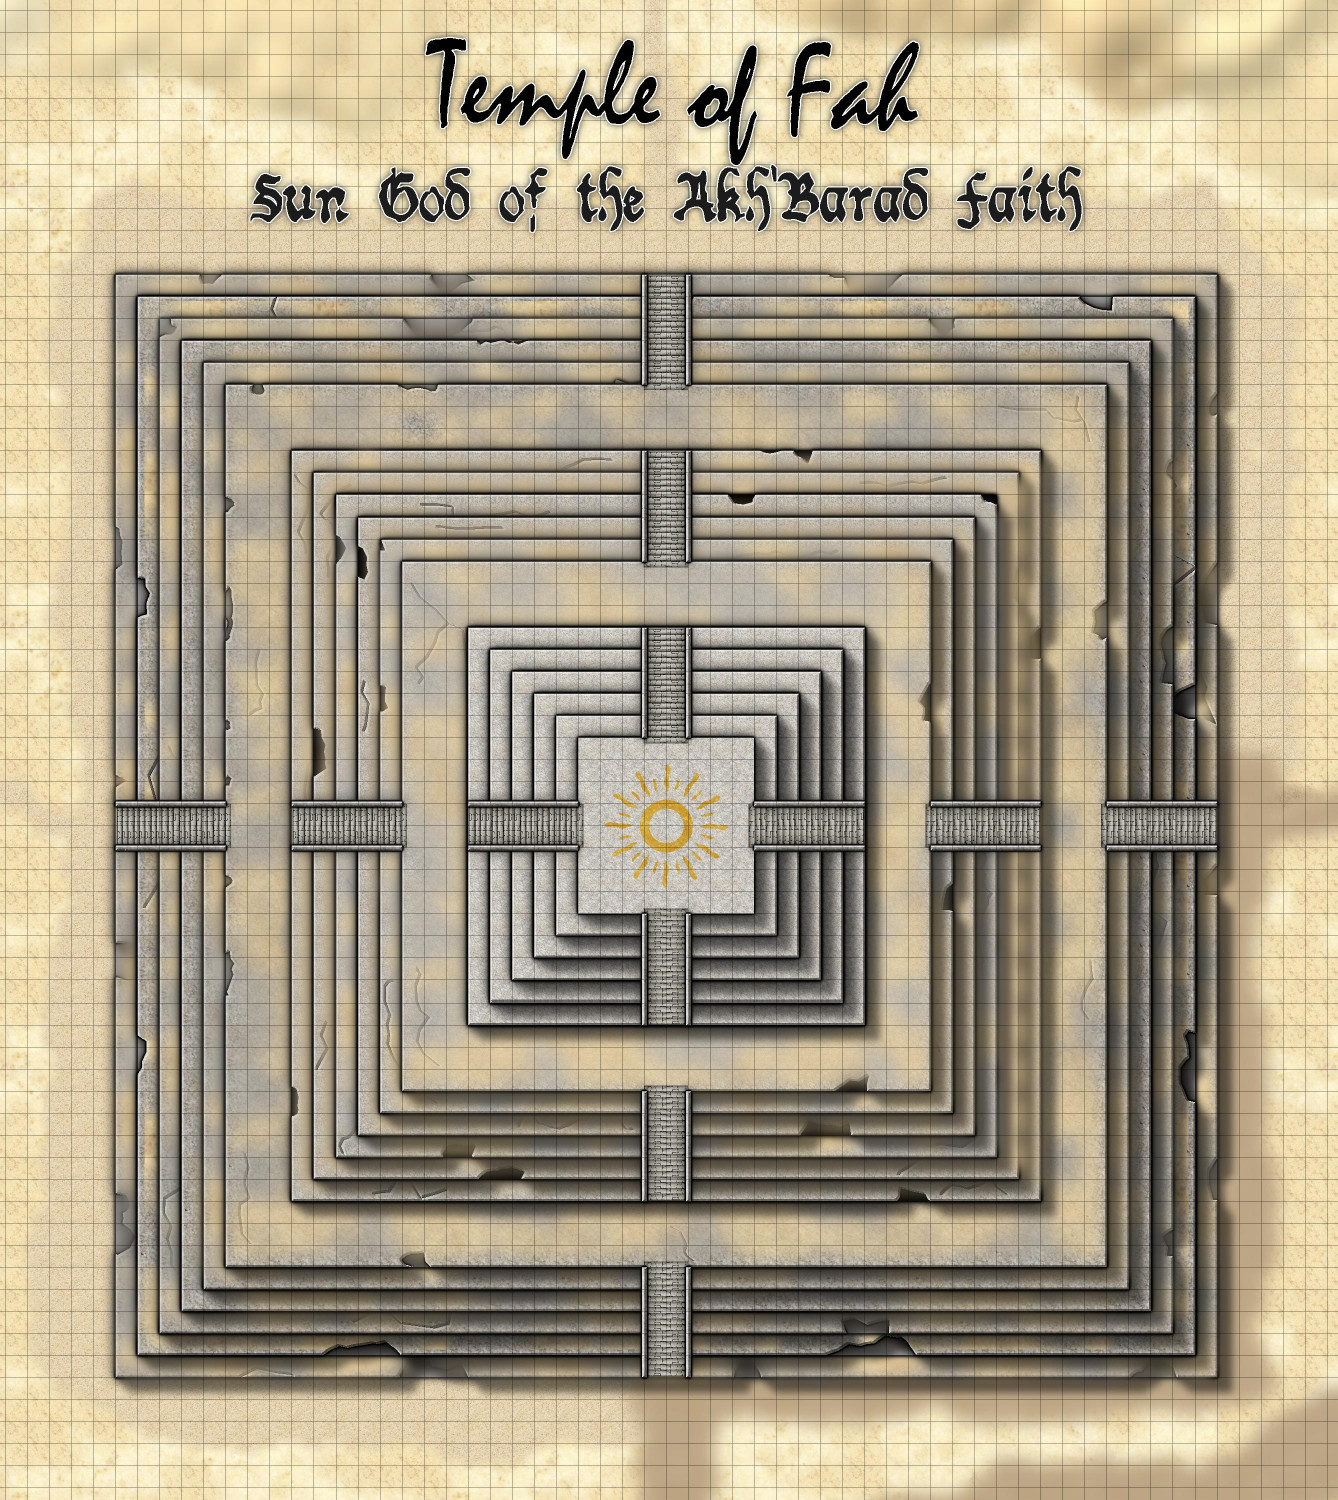
[WIP] Temple of Fah (May Annual: Stairs and Steps)
I tried the color key to nibble away at the textures, and it worked. But even better (and more obvious): I could, and did, add additional sandy patches to fill out the...fill.
But the color key suggestion gave me the idea of using it to nibble away at the temple itself, creating missing chunks (with magenta fractal polygons) and cracks (with a magenta fractal lines). I hope I didn't overdo it, but the nice thing about using the color key approach is that it's a lot easier to remove some of them than it would be to fix moving nodes around, for example.
I had already placed a gold inlay beneath each layer of the temple, but other than the very top, I didn't need it to be gold. I tried changing them to the Solid 10 and Solid 20 fills, but that allowed the pockmarks to return. So I changed it to a brown color and then added a gray inner glow.
If nothing else, the erosion takes your eye away from places where I missed fixing the repeating patterns of the texture.