[WIP] City of Wolfwell Falls (CA211 Watabou City Revisited)
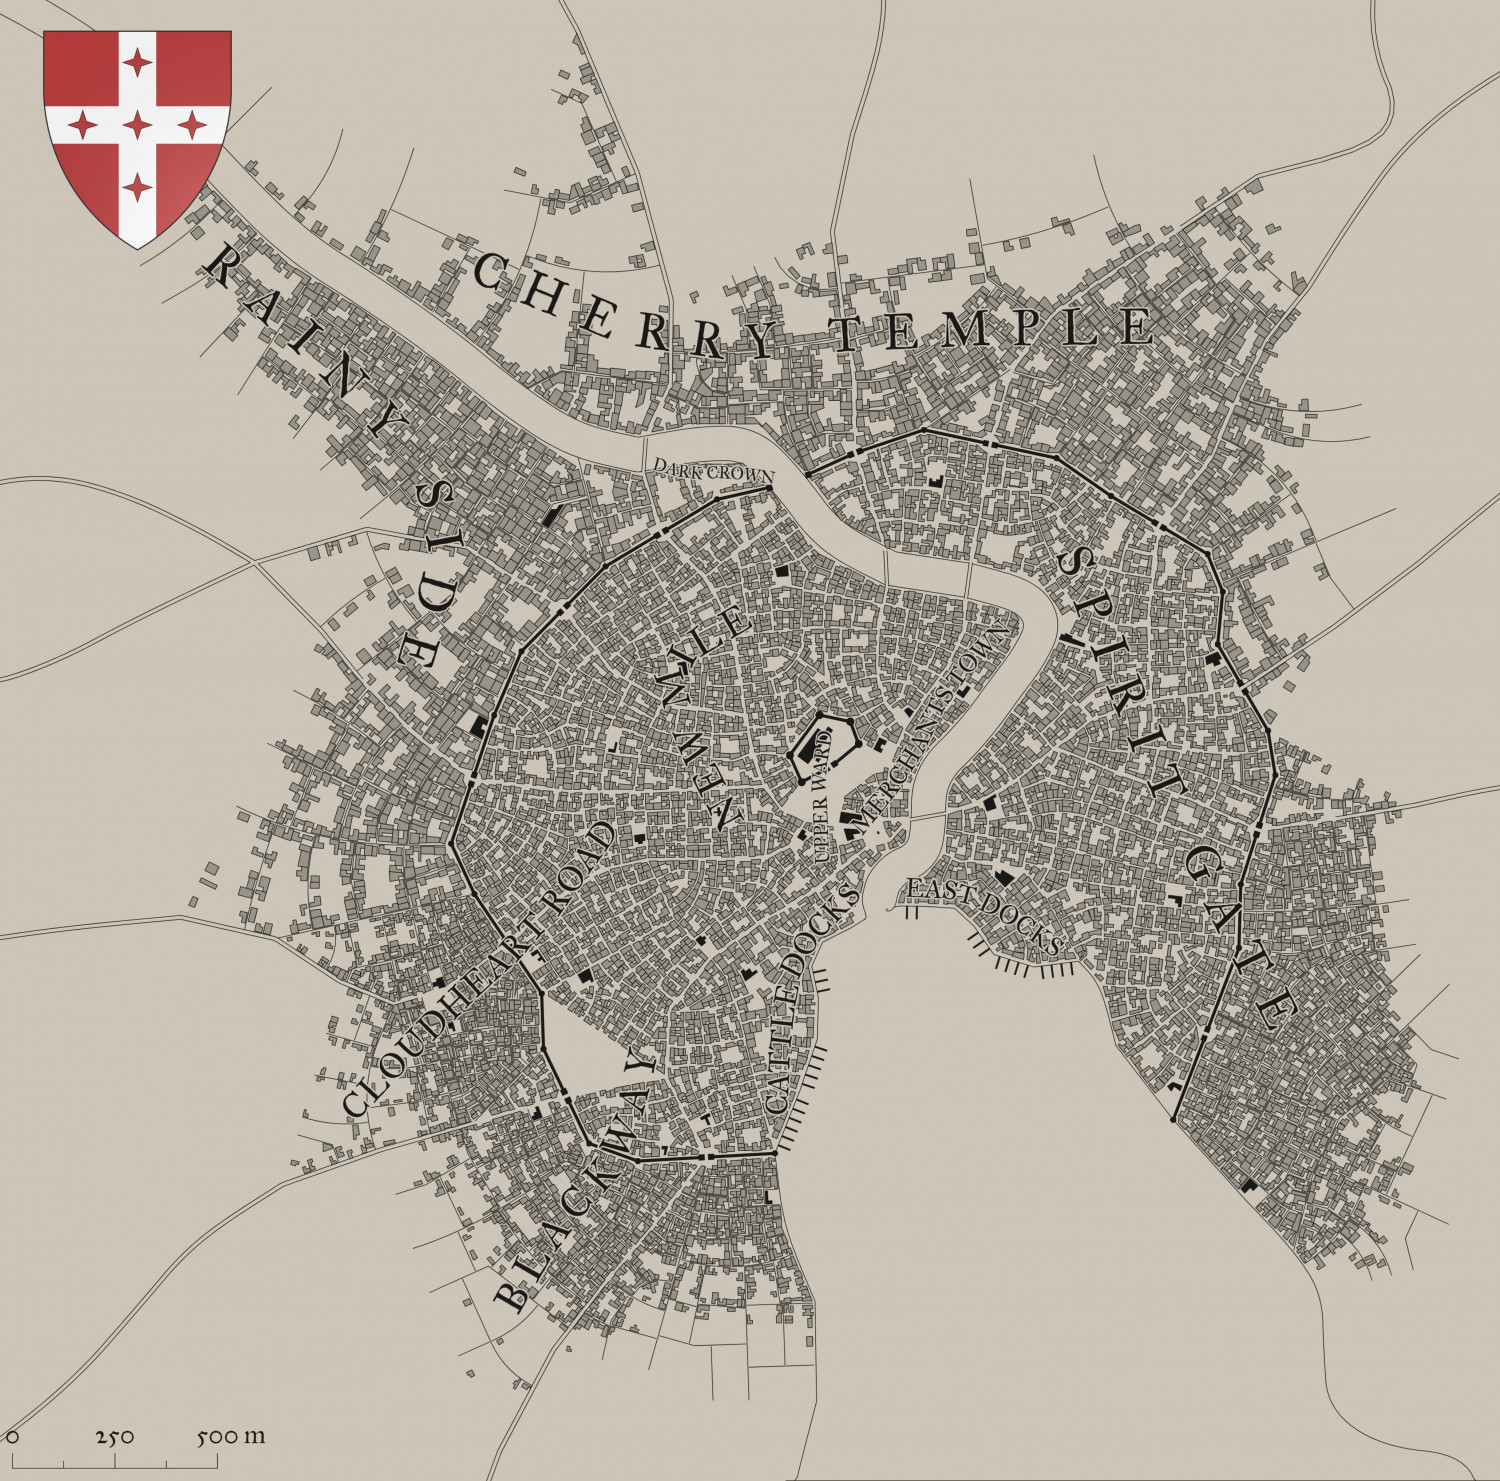
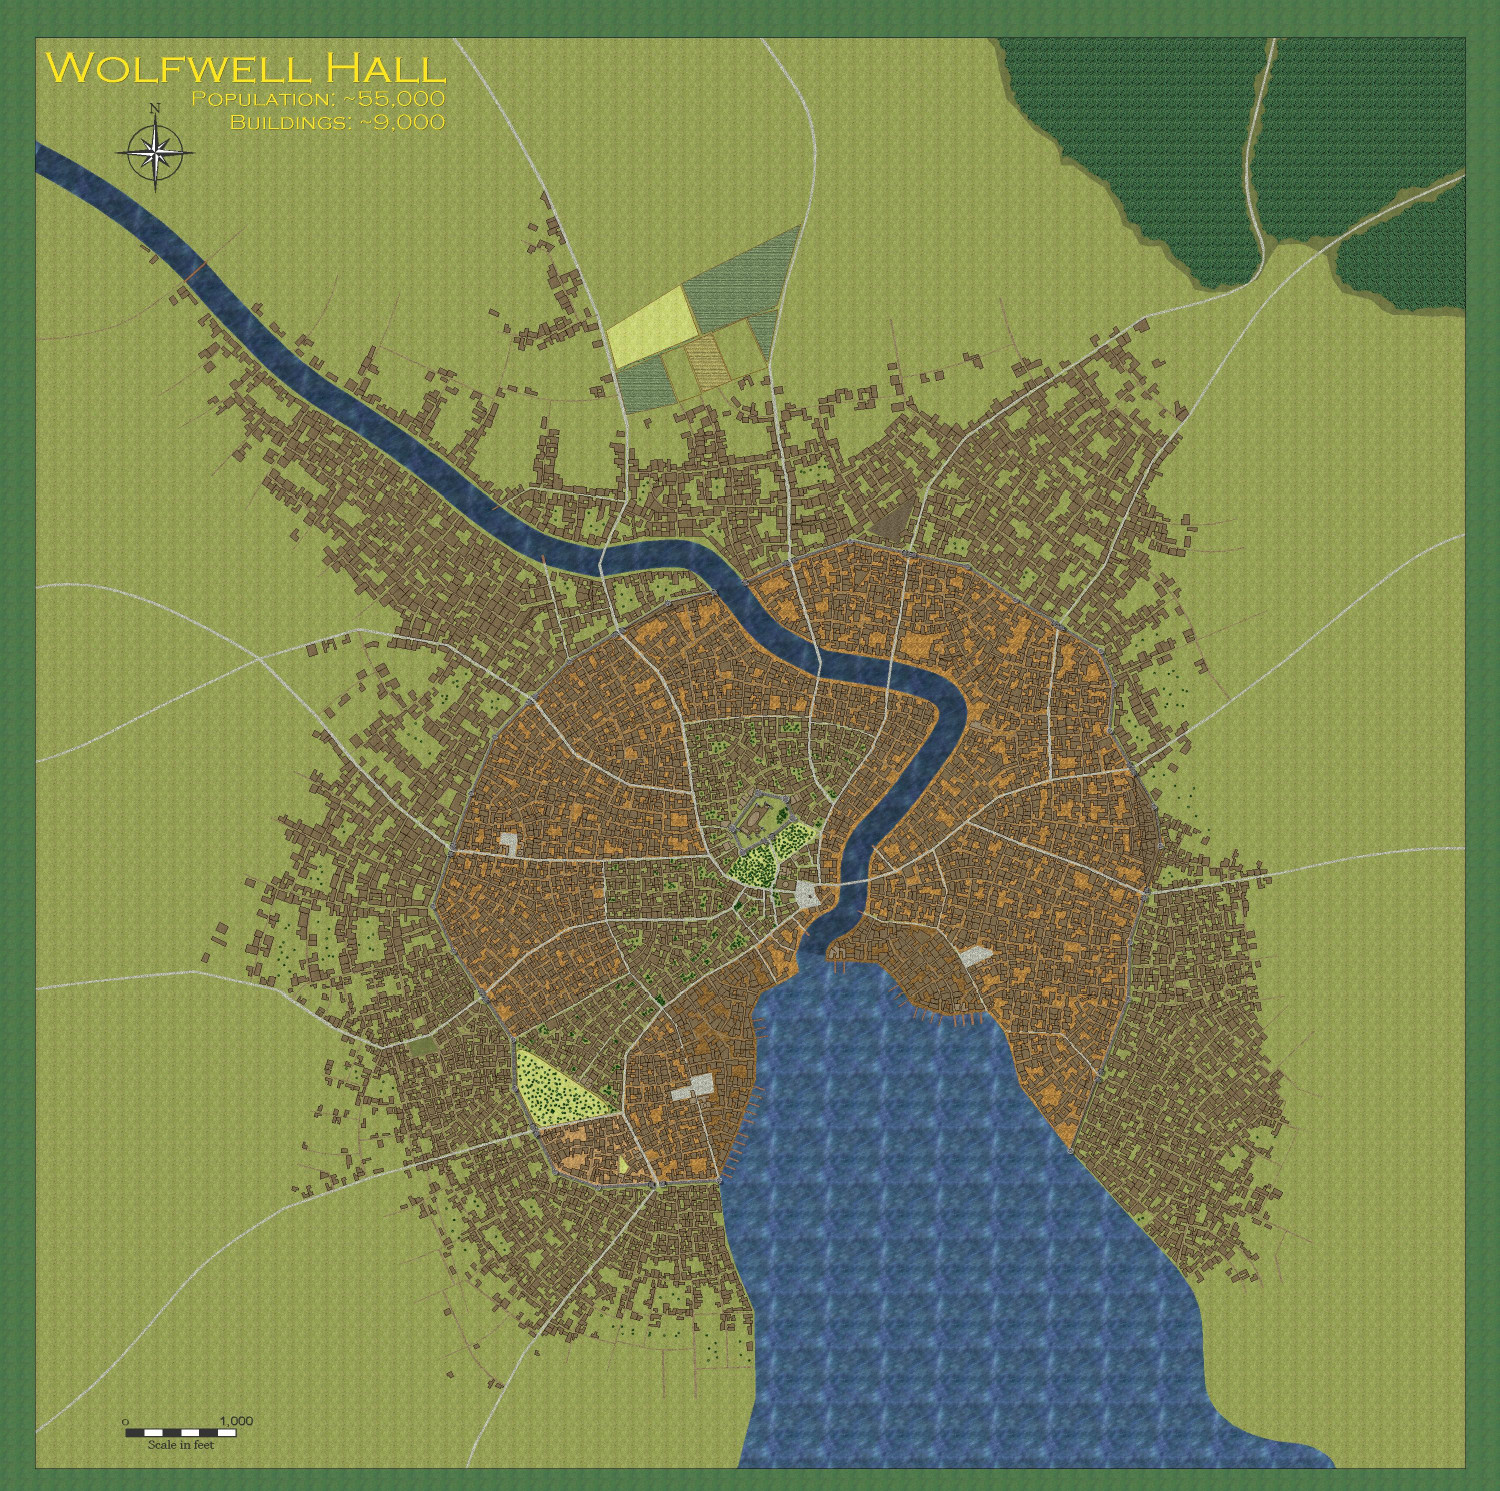
Following my test runs with the village of Greenwood Falls (population 920) and Redway Hill Township (population ~3,500), here's my attempt at a major city: Wolfwell Falls (population ~55,000).
This is what Watabou gave me to work with:
And this is what I came up with:
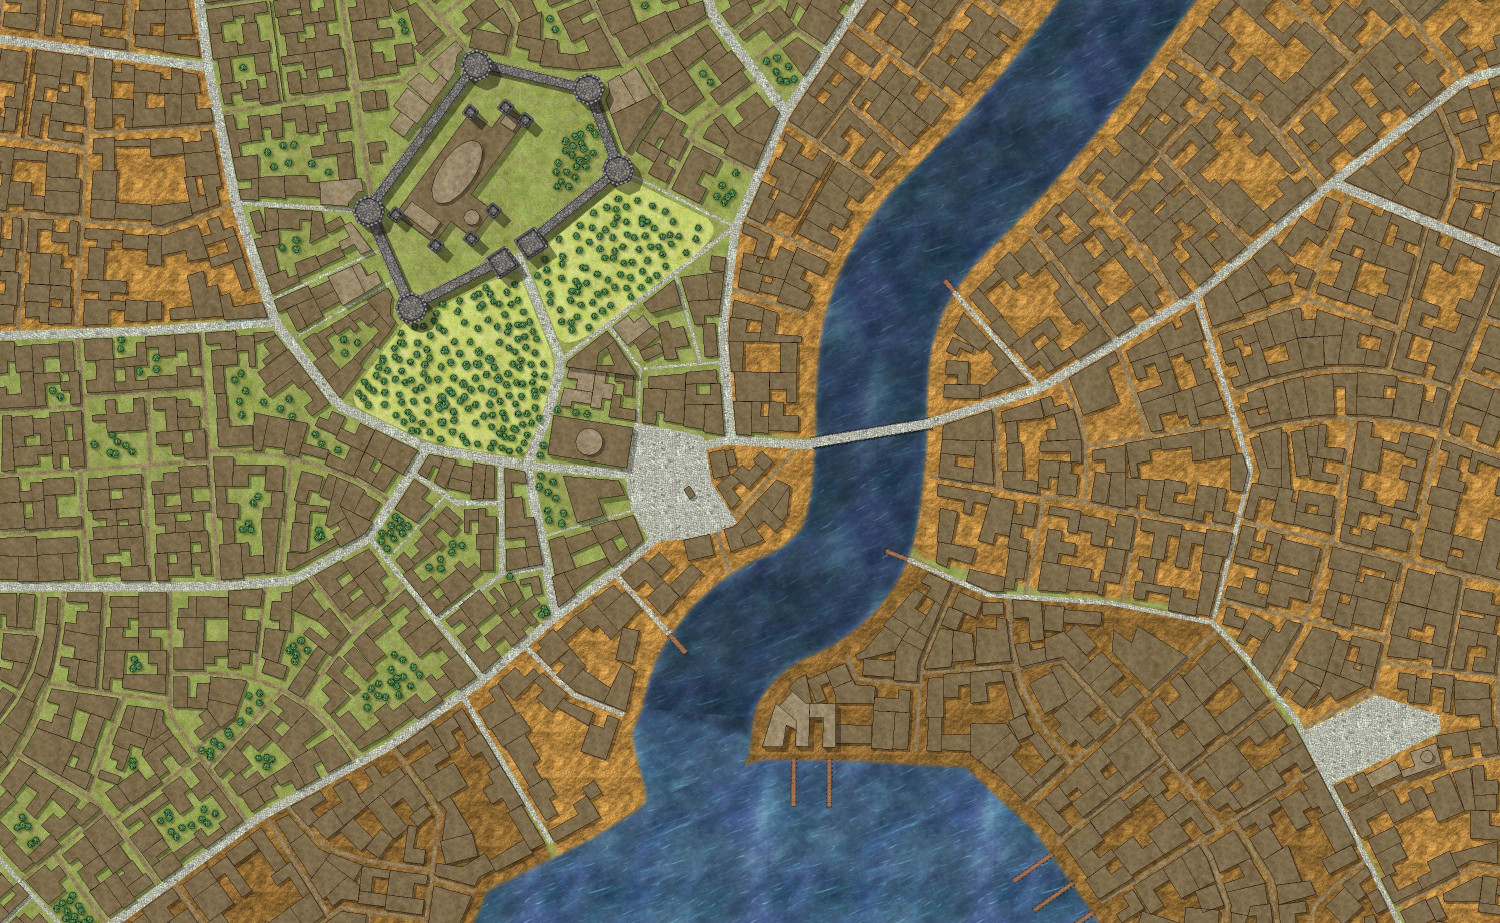
Here's a close-up of the Castle District, which I figure is a bit more upscale.
(I kind of messed up the river there. I when I did the "Change like drawing tool" command, I accidentally wasn't on the River/Water sheet, and I think when I fixed it I messed up the top layer or something.)
The nicer neighborhoods have a lot more greenery. Most neighborhoods have more dirt than greenery, and the area by the docks is muddier.
As predicted in the Redway Hill Towship thread, the longest part was redrawing the secondary roads. According to the Info: Count tool, there are 59 paved roads and 948 unpaved roads! I hope I successfully converted and/or deleted-and-redrew all of the roads. I had to do all of that, and also create a handful of special buildings, before being able to convert everything left to be the regular buildings. If you see any really weird buildings, it might be something I didn't properly convert to whatever it was supposed to be before turning it into a building.
I should draw a lot more fields -- the ones on the north side of the city won't be enough to sustain a city of 55,000 people! (Also, I just noticed that I call it "Wolfwell Hall" on the map instead of Wolfwell Falls. Gotta fix that.)


Comments
Here's a close-up of the fields. The two empty ones were furrowed brown fields. Not sure why those fills disappeared. (I just checked, and they now have a fill style of Hollow. Hmmm.)
I fixed those two fields. I can't even find the light brown with furrows that I thought I used. Maybe I hallucinated them. ;-)
In fixing this, I noticed that the paved road on the left was accidentally on the ROADS sheet instead of the ROADS PAVED sheet. Fixed it after exporting this JPEG.
This is what happens when you miss something that's not a building and then convert everything left to be a building:
In this case, it was a line used to show where the city walls should go. I drew the walls but forgot to delete that part of the line. When it converted the line to a building, it connected the two ends of the line to make a polygon. I used the "Change like draw tool" to change it to a dirt road, which resulted in this:
And then I deleted it, since it was putting in a road where no road ought to be. The same thing happened with part of the north part of the wall.
Oh, the image above also illustrate the super cool automated crenellations in the city walls and in the round and square towers.
The bridges and the piers also have cool support posts:
Oh! That command is new to me. Is it the same as the Shaded Polygons by Edge Angle function?
It only works on polygons, not lines, and I think Royal Scribe has used the line tool, not the polygon ones.
Yes, that true, I haven’t been back to my computer to test, but I used the line tool.
Regardless, I think it’s so cool that the supporting beams for the docks and bridges are automatically drawn in on their own sheets.
You can always change the Draw tool to use another bitmap for the piers. Perhaps I should have done that - me bad. Though I rather like the look of it anyway.
I'm not sure why the furrows didn't align on the fields - did you use the draw tool for that - the one which automatically aligns, or the one that doesn't. And also not sure why the brown field with furrows didn't work. you have to select the bitmap you want AFTER you choose the Draw Tool.
And the Draw Tool to use with the fields with the furrows is Field current fill aligned; not field current fill no macro, or Field current fill fenced.
BTW, @Royal Scribe your big city is tremendous. Overall, how long did it take? And will you be using it, or is it just a tryout?
I used the draw tool Field Current Fill Fenced. I can try redrawing them. Overall, I guess it took maybe five or six hours, off and on, with the bulk of the time going through and redrawing the dirt roads. This was just a tryout and I don’t have specific plans for it. That said, if anyone knows of an unclaimed city in the Atlas with rivers and a sea or Great Lake in all the right spots, I’d be happy to submit it so anyone can use it.
The field current fill fenced doesn't work with the furrowed fields ie, you have to use Shaded polygon by edge on the fields (hide the fence sheet). The macro doesn't allow you to have it work AND have a fence drawn at the same time - don't know why.
Six hours for a city of this size is pretty darned quick.
Yeah, I might be misremembering how long it took, but that feels about right. I got into sort of a zen mode going section by section to redraw the streets.
I replaced the fields with aligned ones. Like you said, the tool to draw them aligned with a fence doesn't work, so I did them without the fence and then used the fence tool to separately draw the fences.
Also, the image in a previous post above with the wooden bridge showed me that I didn't line it up correctly with the road. I could have deleted the bridge and recreated it, but instead I used the node edit to move the road slightly. Decided to add a little pier for fishing while I was at it.
Made a few other tweaks, like adding some roads that connected the unconnected outer roads. I think I'm going to look for a bit of unclaimed land in the Atlas, something about the size and climate zone of France (sunny beaches in the south, snowy winters in the north) to build out places to put my maps.
- Use Extract Properties
 to extract the properties (width, color and fill) of the line.
 - Type PANL on the command line and use Endpoint
 to select the beginning and end points of the polygon.
 - Exit the PANL command and use Erase
 over the center of the polygon to remove the original line.
 - Use SHADEPOLY2 to align the fill to an edge of the polygon.
- Use Numeric Edit
 to make it a "Shade Only Copy" polygon.
I know this is a bit involved but it's the only way I know to align the fills of a line.I have got to try this - sounds great
OMG OMG - it really works - How the hell did you find out about this, @DaltonSpence ?! I wonder if a macro could be written for this @Monsen (the macro king)
I am going to have to have a close look at that annual - especially for things like Crenellations, steps etc. I wish we could get a macro for the lines to aligned poly's though, using the steps you outlined. It would make the drawing tool even more useful. Thanks for this.
This is fantastic! I thought it wasn't going to work for me because I don't have the CA46 annual yet, and thought perhaps those were annual-specific commands added with a DLL. If so, it looks like those commands (or at least the ones I've tested) have now been incorporated into CC3+'s core functionality. I'm in the planning stages of designing a fortress, and these commands have revamped my approach. I was trying to replicate the arrow slit cutouts using the color key cutout effect, which works pretty well, but this is so much easier!
Hmmm, the Castle Walls Toolbar doesn't show up for me when I'm in the Dungeon Menu. Maybe getting that menu installed does require purchasing the annual with CA46? I was able to get some things to work by typing in the commands you listed, though. Never noticed that appendix in the Tome (or maybe I just didn't understand it when I saw it), but now I'm going to print out those two pages for a handy reference. Tonight I may re-watch (for the third time) Joaquim de Ravenbel's six-part tutorial on CA45. Now that I know I have access to the commands, I can practice along with the video.