

Lillhans
Lillhans
About
- Username
- Lillhans
- Joined
- Visits
- 2,008
- Last Active
- Roles
- Member
- Points
- 2,066
- Location
- Sweden
- Rank
- Surveyor
- Badges
- 13
Latest Images
Reactions
-
Mirrored Copies, Symbol Making Hassles...
Setting up a custom mirror drawing tool is worth trying out, also (remember to give it a 90° kick under Options for top-to-down drawing).
It's kind of node-heavy and potentially will rely a great deal on clever node positioning, but designing large and using small tends to work wonders for hiding my own shortcomings!
Nothing beats gluing together well-designed arcs and paths though, I find, and with regular tools there is the option of combining smooth and sharp in a way that the mirror tool doesn't really allow for. Its strength is speed.


-
Mirrored Copies, Symbol Making Hassles...
For question 1, I let an ortho'd and snapped line start at the very tip, and run all the way to the bottom.

So as close as they appear to be, the top end node is not aligned with the bottom end node.

-
Smudge Topography Shenanigans (of Doom)

Because I think that it 100% probably will help me out with that other project.

![[Deleted User]](https://secure.gravatar.com/avatar/c75d9a245b74d9c59be0999ea81ca541/?default=https%3A%2F%2Fvanillicon.com%2F92add7f8c954488718110edc4896ad39_200.png&rating=g&size=200)


-
Simulating a hand-drawn line
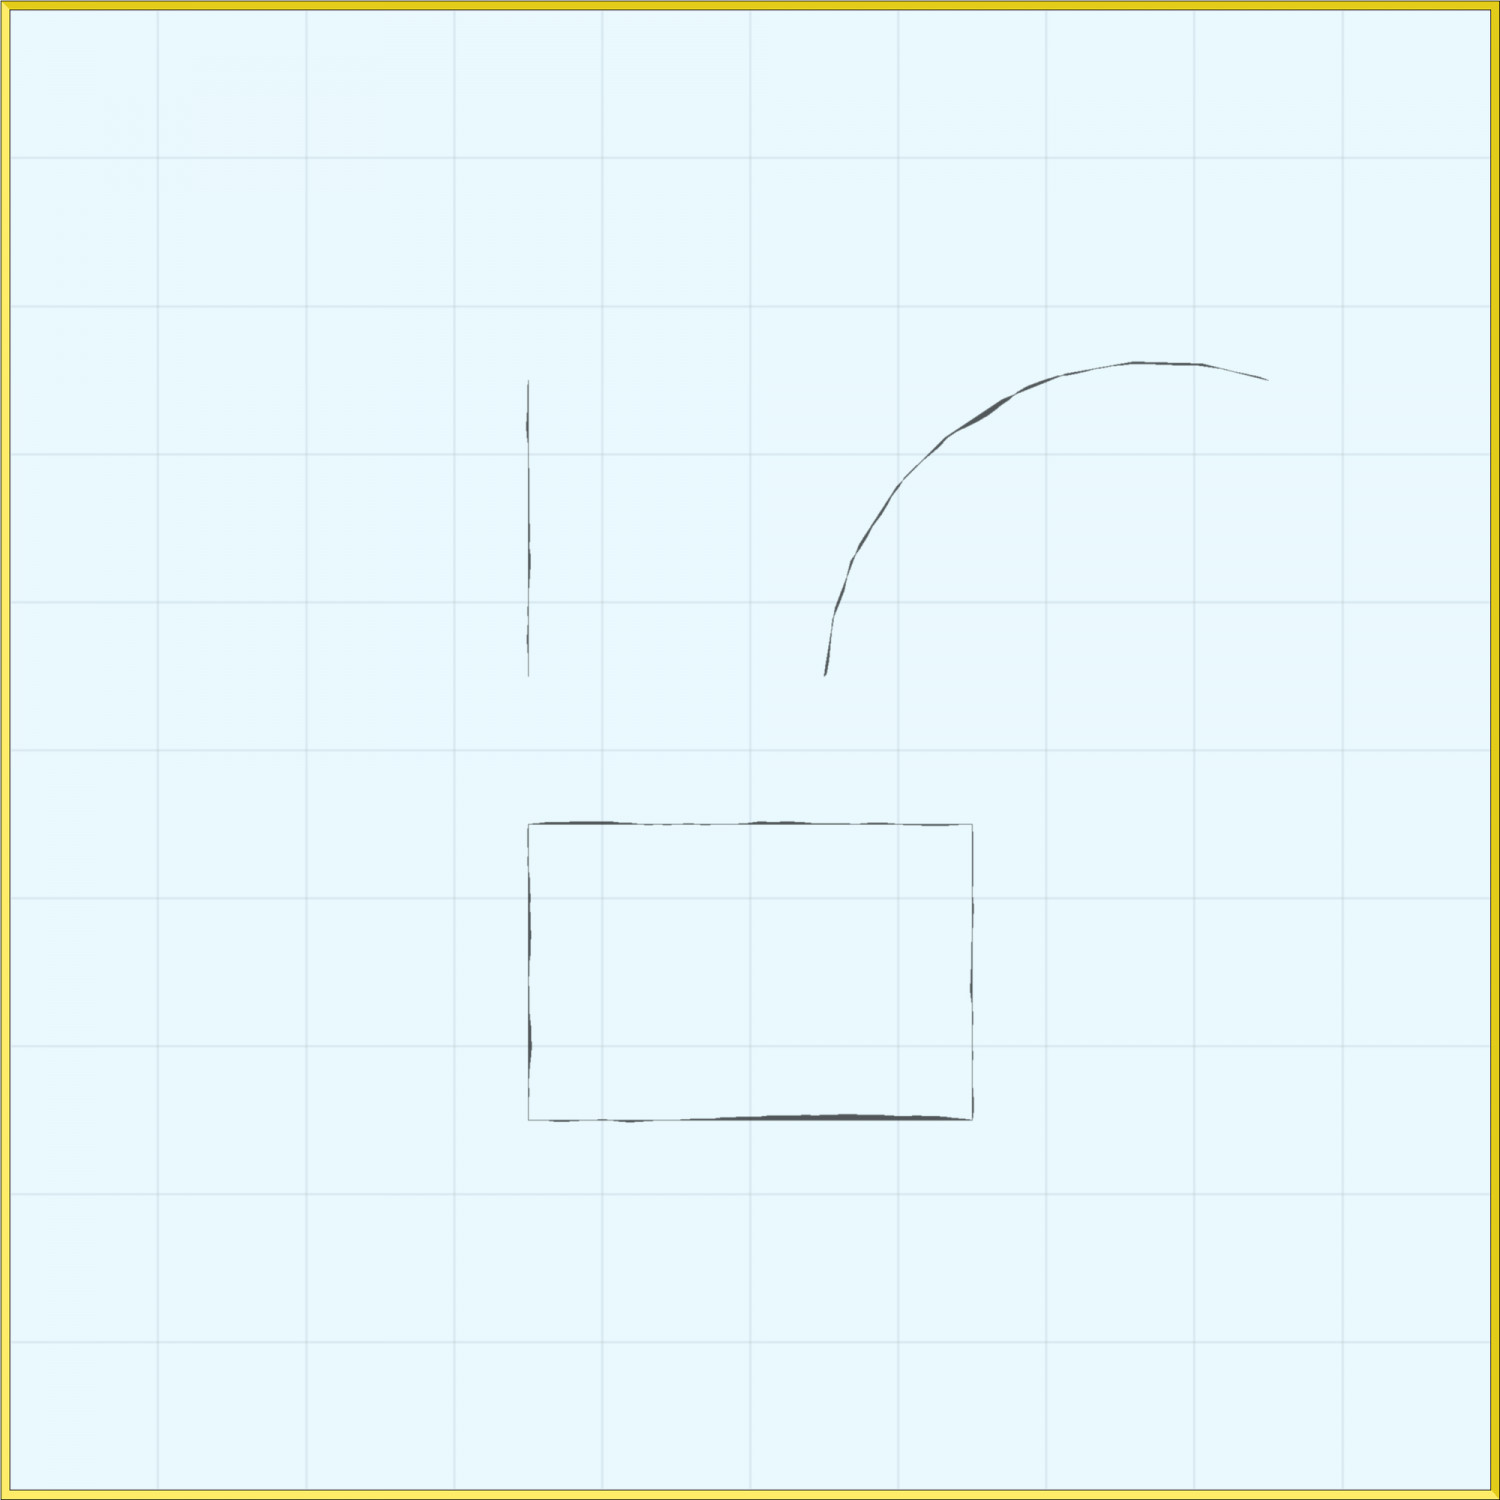
Three polygons in a 5 ft square environment. Arc tool was used for the arc, and then Line-to-Path:d so as to make it possible to Trace the polygon along it. And you can do that with just about any of the line/curve tools so you are 100% not limited to straight lines.
Granted, the longer the path, the more nodes you'll have to put down going back to the point of origin to keep width in check but, as @Quenten has already pointed out, fractal settings of the polygon tool come into play there also.
So if I were to "draw" a straight line I would start with nodes A and B, having dialled the fractal count down to 0.
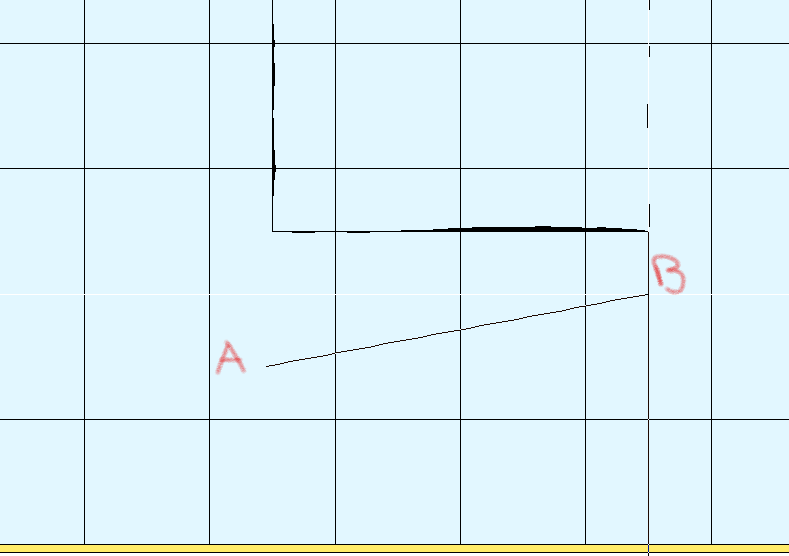
Then, going back I bump up the fractal count and node my way back to A from B.

So the boundaries of the polygon are the 4 nodes A, B, half-way between A and B, and finally back at A. The Closed polygon then, not knowing any better (bless its heart), fills the shape as per your fill settings (Solid of whatever colour of your imaginary pen, ideally).
And the same would go for tracing along a previously established Arc or Circle or Fractal or Curved path.
The rest is just the cunning use of Blur, as pointed out by @Loopysue, and putting your actual drawing skill to use or - as is the case with myself - emulating the drawing skill of others or just tracing over pre-existing imagery.


 and 1 other.
 -
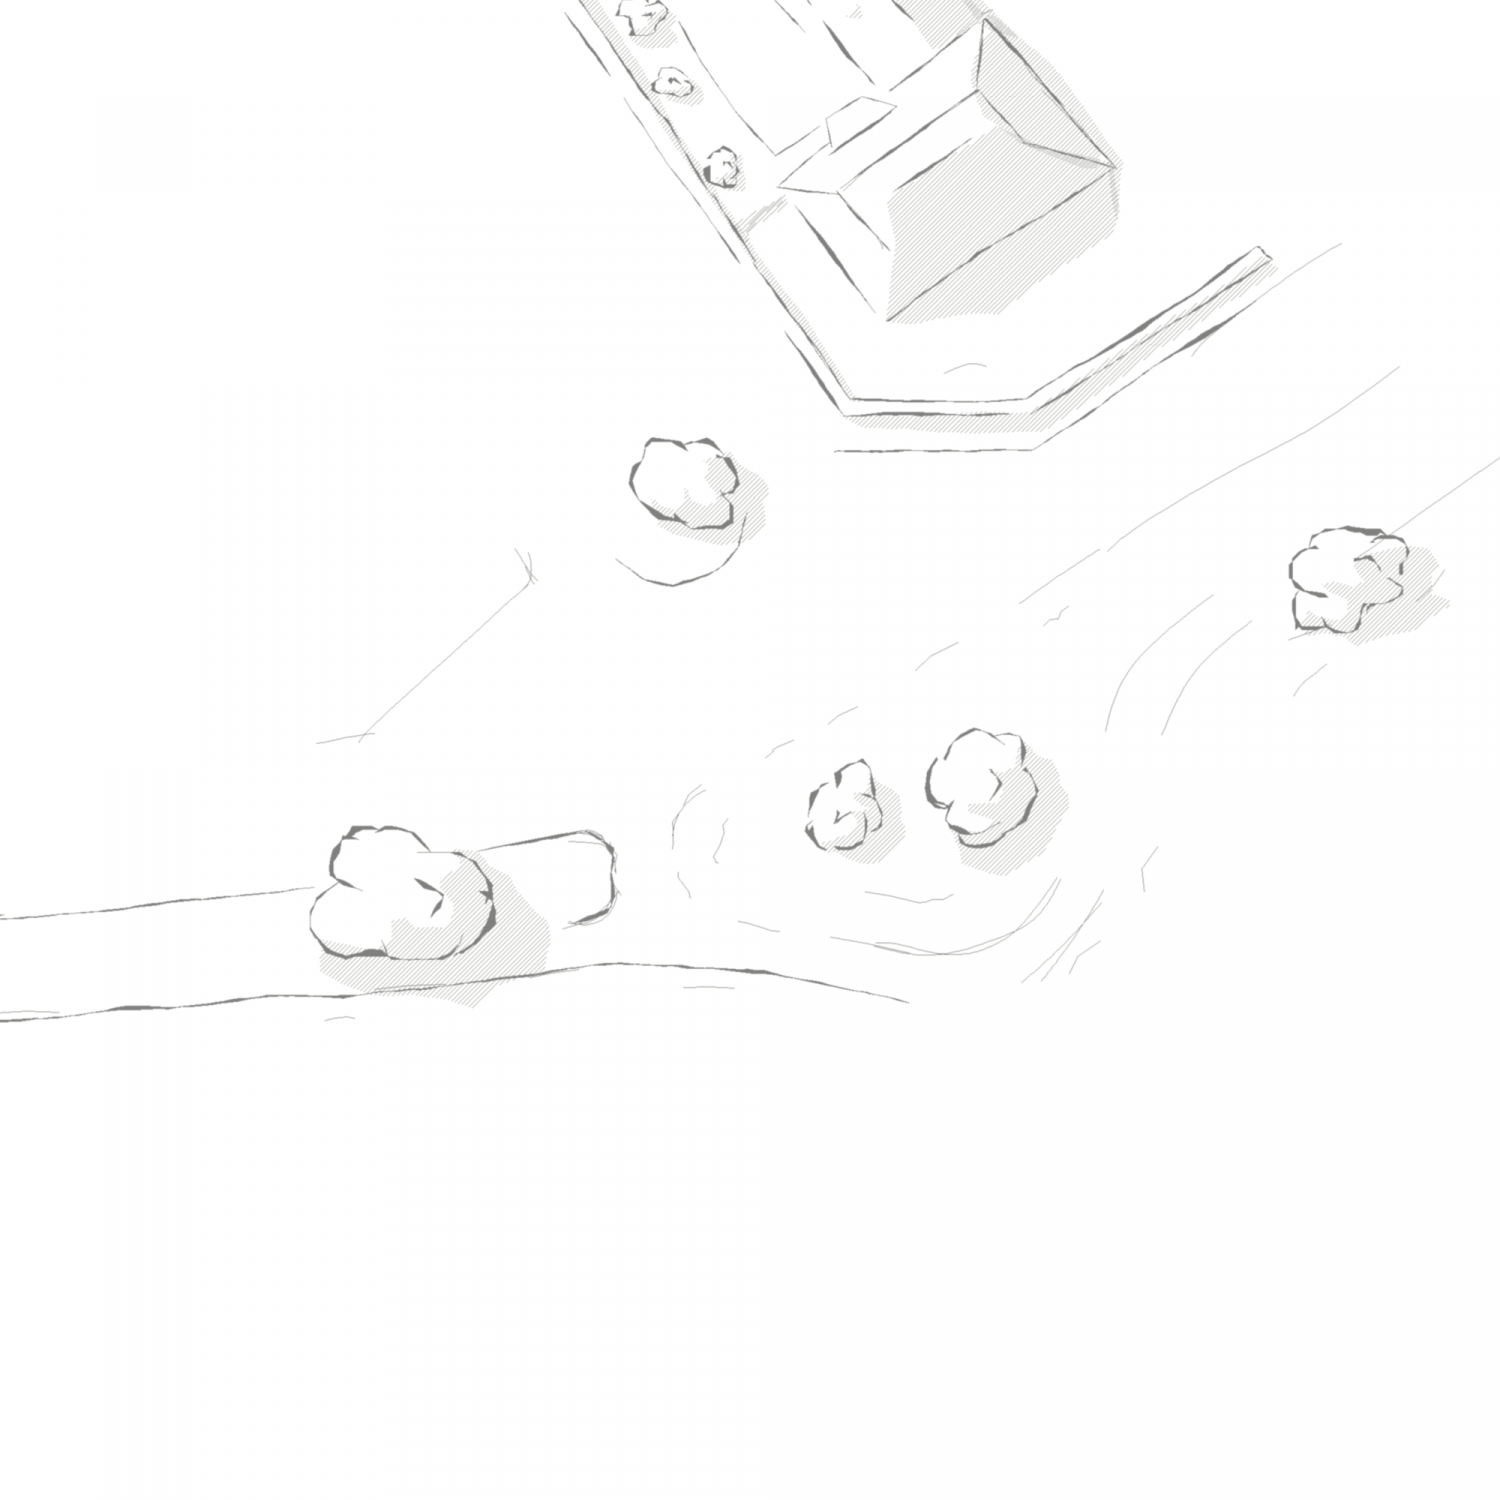
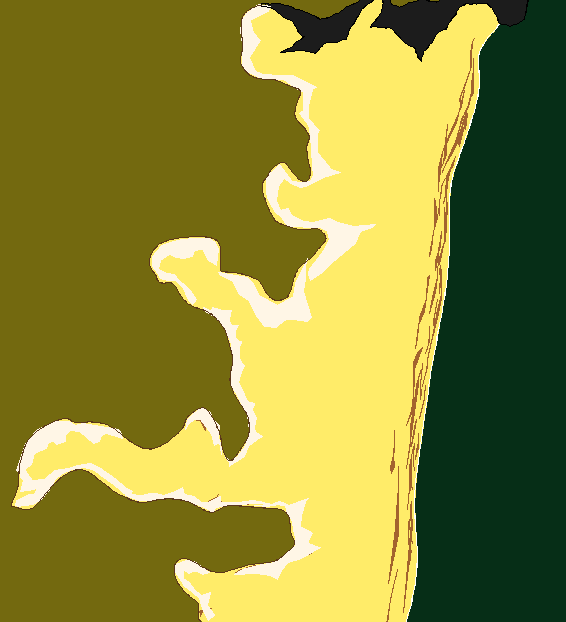
WIP - Water's Edge Exercise Distraction
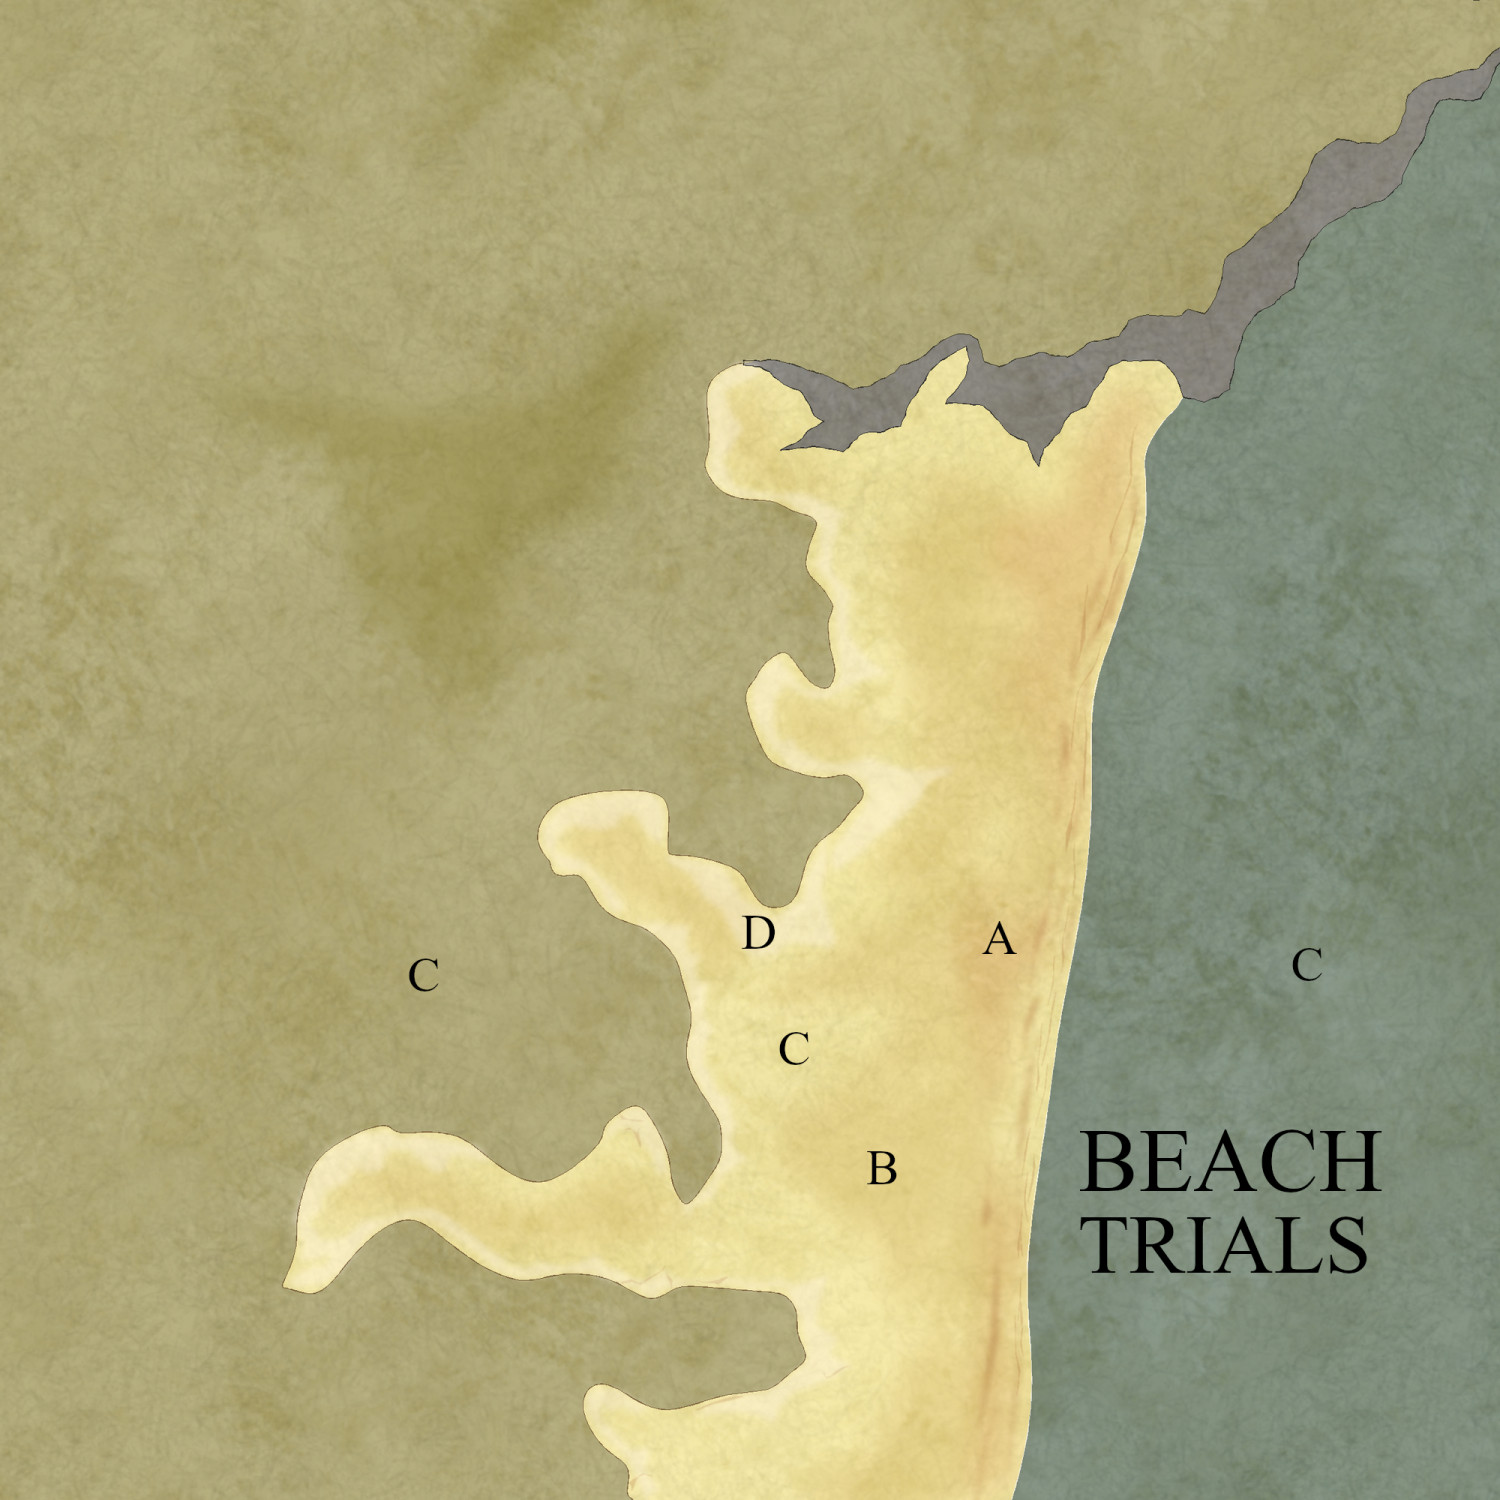
So the beach gets sorted out first.
A+B: different colours on the same blush sheet. It's to the back of the base colour sheet (C) so it's very subtle and with proper blur settings you can get these lovely gradual shifts in tone rather than clunky contrasts.
C: the base colour sheet.
D: a smudge sheet stacked in front of the base colour. Less subtle and apparently has a talent for sand slopes!
The smudge and blush sheets effectively add to the overall opacity of the colour sheets, and at some point that will have an impact on the underlying texture - but since it's effectively texture covering other texture I don't see any real reason why it couldn't work for the grass area topography. The real challenge will be applying the formula in a way that doesn't look like shit, is all.
Smudge sheets and marble backdrop in the open:
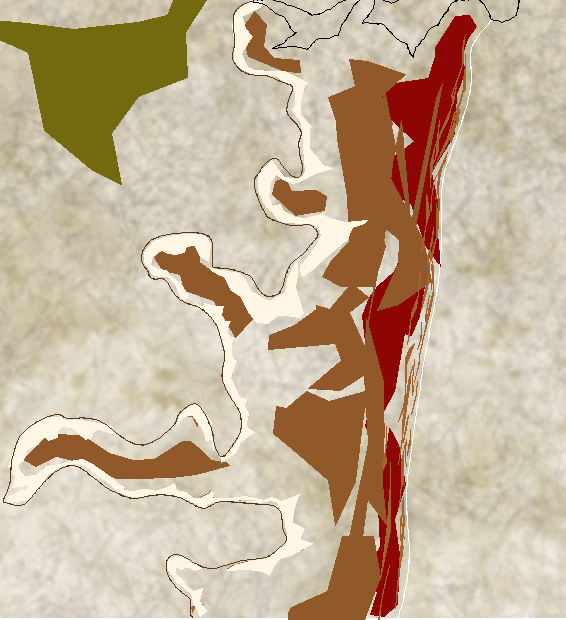
Base colour sheet engaged:
It's a teddybear sat down looking at their smartphone. Obviously.
