Loopysue
Loopysue
About
- Username
- Loopysue
- Joined
- Visits
- 9,992
- Last Active
- Roles
- Member, ProFantasy
- Points
- 9,868
- Birthday
- June 29, 1966
- Location
- Dorset, England, UK
- Real Name
- Sue Daniel (aka 'Mouse')
- Rank
- Cartographer
- Badges
- 27
Latest Images


-
Hello
Thank you! :)
They're all Profantasy styles, though most of the ones in my gallery are example maps for the Cartographer's Annual styles I created. They are separate add-ons and not part of the core app.
If you want to check out the annuals generally (as I am only a relatively minor contributor) I made a page of links here: Annual links
Annuals are purchased as a year block of 12 or 13 issues.

-
conflict with explorer.exe during setup
That is very strange. I have to say I've never heard of anything like that with CC3 myself.
But they will sort it out. Don't worry.
-
Using 'Perspectives' - First Attempt
Pretty good for a first attempt :)

-
conflict with explorer.exe during setup
I have 2 PCs and much prefer Win 10 on the older machine. If it was possible to run Win 10 on this new machine I would.
Let us know how it goes if you try the suggested remedy above?

-
how do I set up two floors when both have the same footprint?
Sorry - I realised that after I posted the comment.
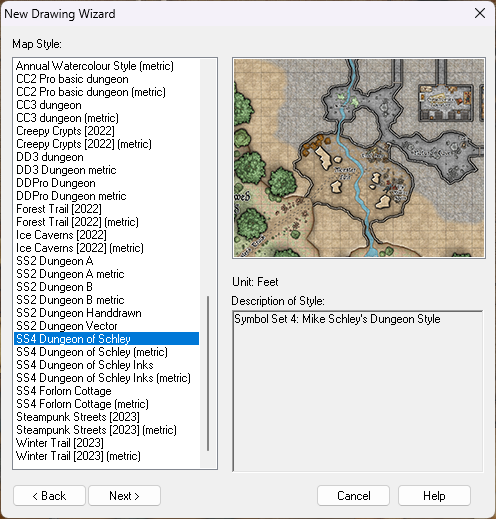
However you can still make a multi-level map from scratch using the New Map Wizard, like this:
New map (chosen style is SS4)
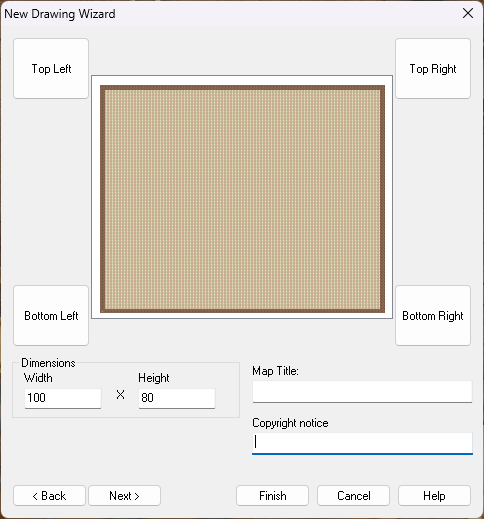
Set your size
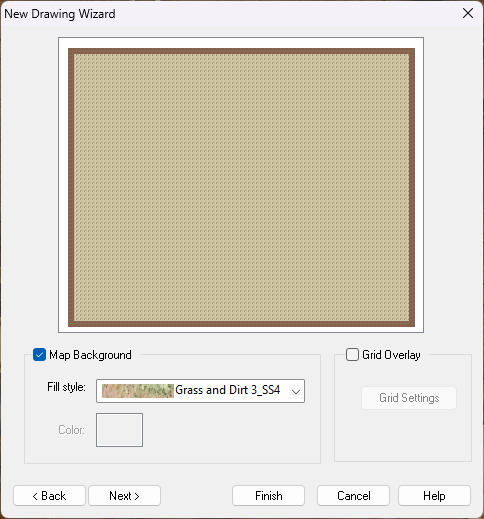
Pick your background
The next dialog is the one where you set up your multiple levels. Consider what naming scheme you want to use, how many levels, and whether you want a roof drawing or not.

When you click finish from this last dialog pick the folder where you want to save your map. Better that it's a folder than just a general destination like Documents. Perhaps a subfolder of documents? The reason it's good practice to use a folder for this map all on it's own is that the moment you click save CC3 will create a collection of hyperlinked drawings in that subfolder. This collection needs to be kept together to preserve the links between them, which is much easier if they are isolated from everything else and all together.
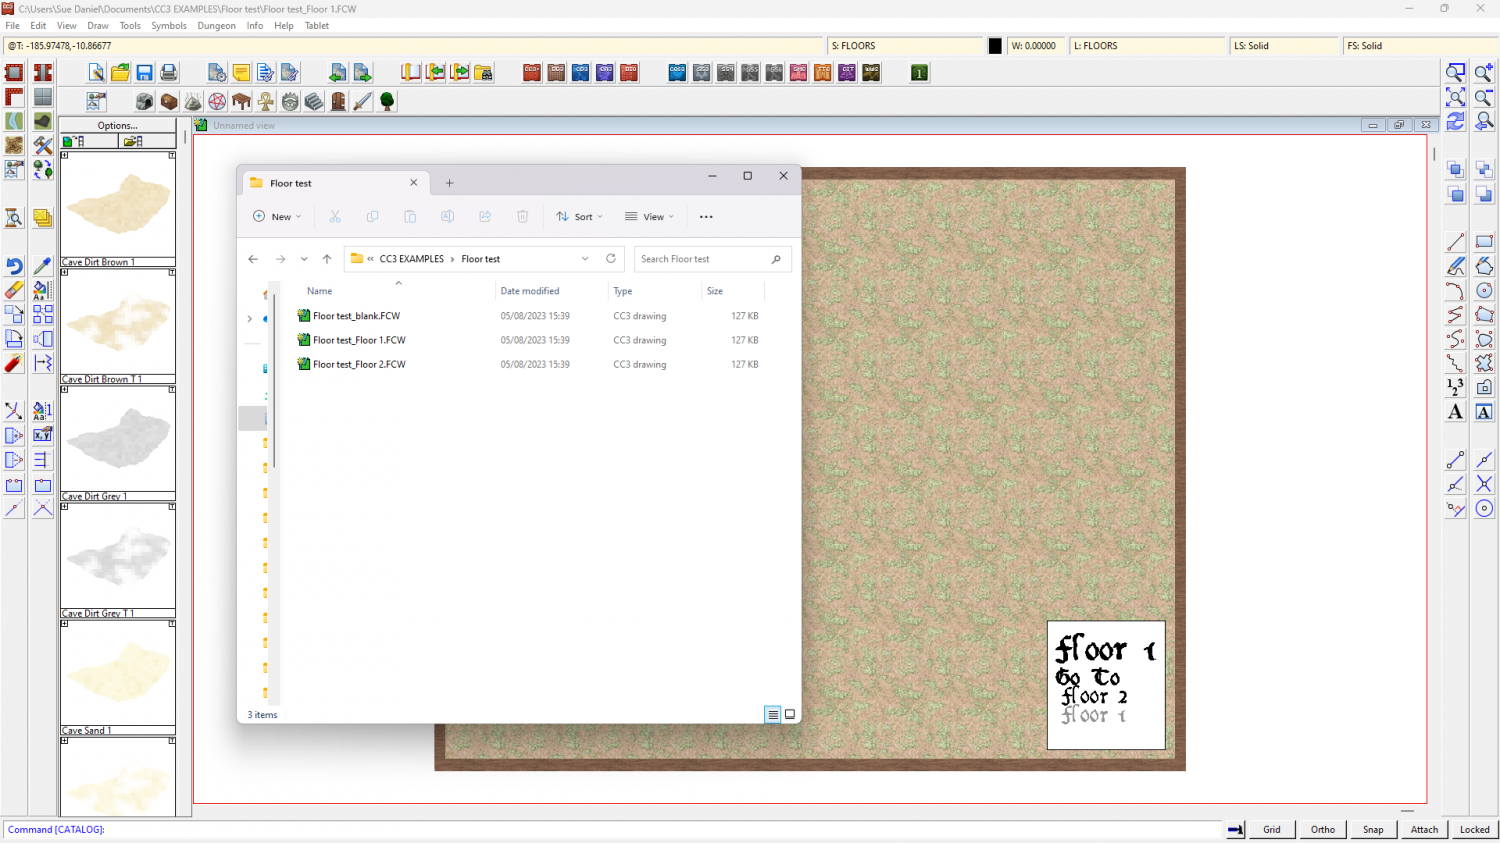
I have a folder called CC3 EXAMPLES in my Documents folder. This is where I keep all the maps I use to illustrate things on the forum here and on the FB page. I've just created a new subfolder in that one called "Floor test", where I will save this file as "Floor test"
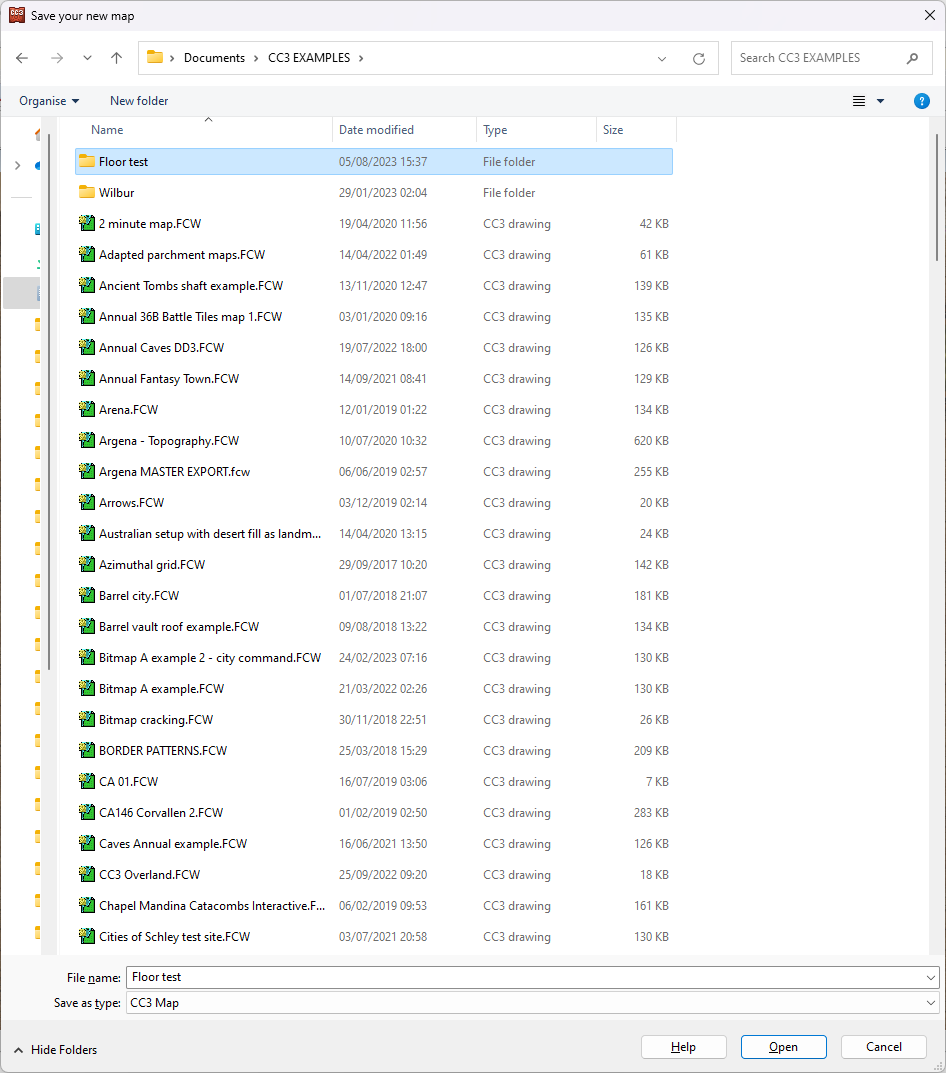
When I open the folder there are 3 files in it. 2 are the 2 levels I wanted and the third is a spare floor level in case I decide to add more floors. I can move between the maps using the hyperlinks in the white box bottom right.
When you get to this point make sure you are on the ground level (Floor 1 in this map) and draw your map just like you draw any other map, and show just the ground floor.
When the map is done hide all but the walls and floors and any stairs you might want to take to the next level, and copy them using the origin as the copy origin.
Then click 'Floor 2'. You'll be prompted to save the map you are leaving. Do so, or your work won't be saved.
When Floor 1 closes and Floor 2 opens you can then paste the walls and floors, using the origin as the paste origin.
Once you have pasted the walls and floors you can use change properties to change floor fills, and edit internal walls as you see fit.
I hope that helps.
-
my Tunnels and Trolls world so far
Don't get so tied up with planning that you just can't draw for planning.
I think that's what causes artists block.
If you get that, just draw some crazy stuff and have fun.

-
How to make the line of "default cave" darker and wider
Ok, thanks.
If you want to make the wall thicker, hide all the other sheets and use Change Properties on the wall alone, giving it a wider line width.
If you want to make the sheet effects more prominent (the glows and shadows), you can edit each effect singly to give them larger widths or blurs. To do that, open the Sheets and Effects dialoge and pick the sheet, then pick the effect you want to edit, and click the EDIT button on the right next to the effects panel.
-
a personal wish-list
Ah, I see.
Maybe generate a temporary grid using 'Hex or Square overlay' in the Draw menu, and count the squares?
CTRL+Z to undo the grid once you've counted.
-
Bridgetown - An SS6 experiment.
This is going to look really great when you're finished, I'm sure :)

-
Castle Crimson and Reveler's Way
Lovely map :)
You can see the details better here than on the FB page.
The fields between H and D have no edge fade on them, but I think that actually enhances the map as a whole - a bit of contrast against all those around with faded edges. It must be one of those very immaculate farms!