

Annual Old School VC
 SkidAce
Traveler
SkidAce
Traveler
I must be doing something wrong. When I start a new map using the template Old School VC, it doesn't draw a grid within the room or the cavern like its supposed to.
If I start a map from the example CA12 Example 1.fcw in the Issue 12 folder, it works fine.
Sure, thats a work around, just use a saved example as a template, but I want to know what I am doing wrong, so i can start a new map with various sizes or background colors properly, and have the grid show up in the areas I draw with the drawing tools.
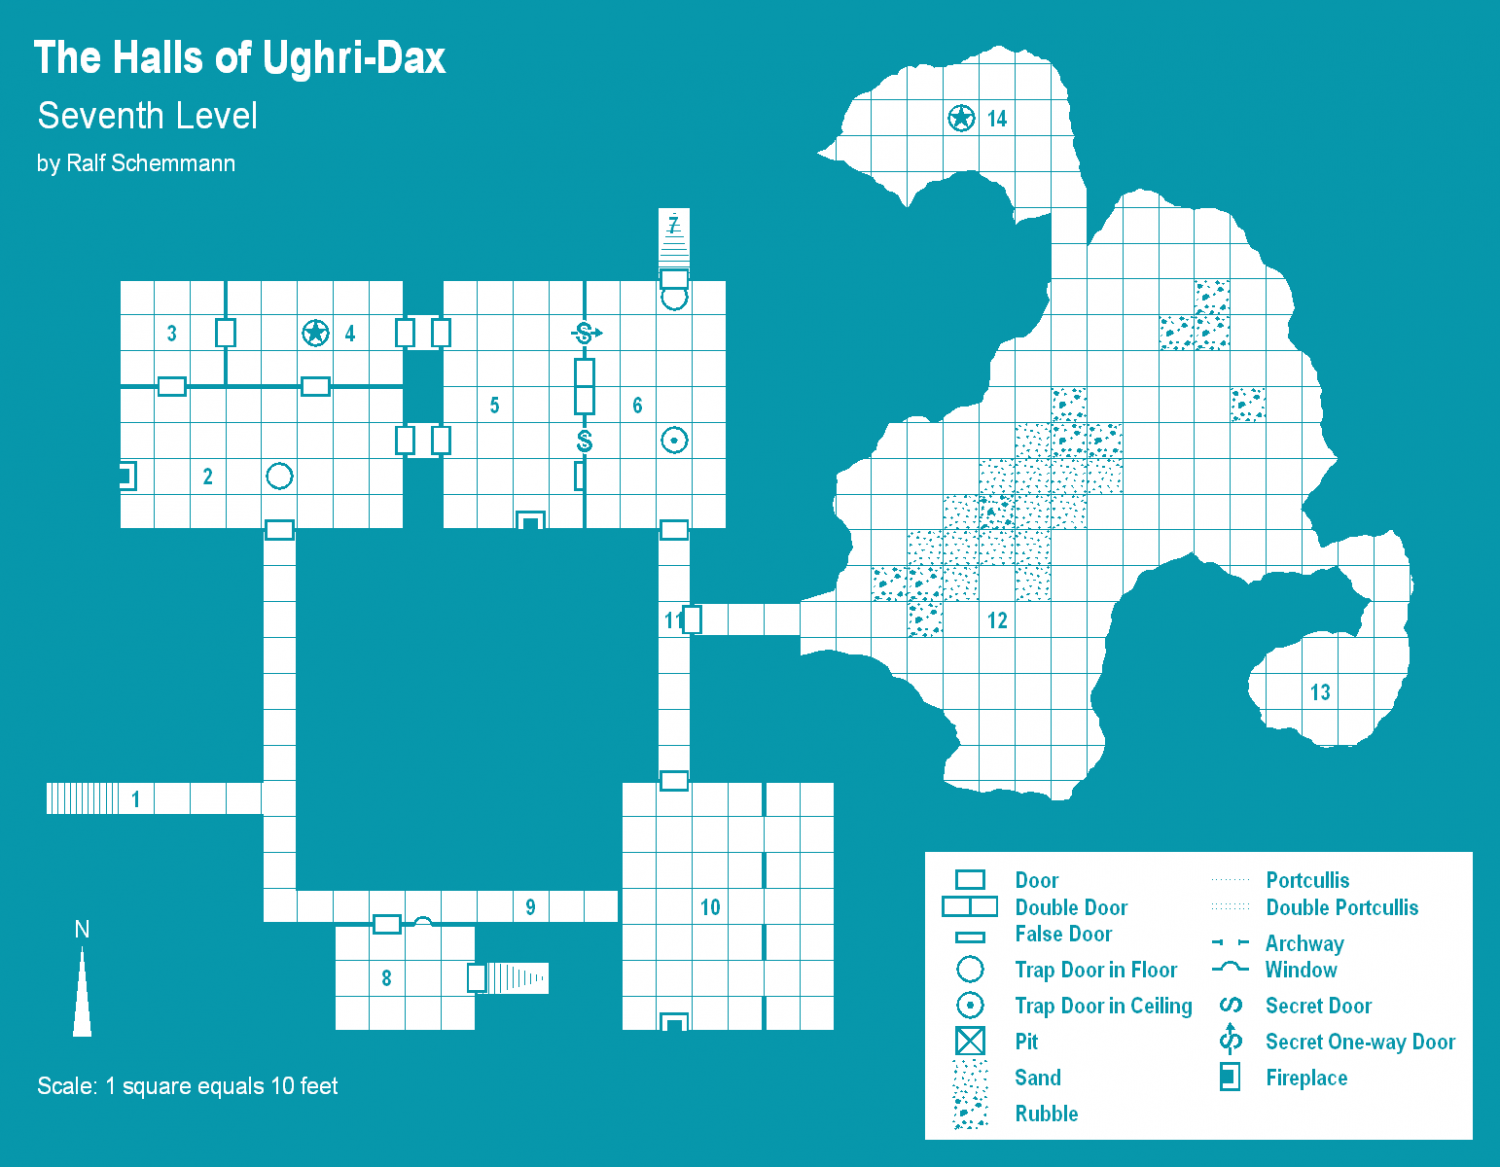
Picture of example map that works, but new from template doesnt.
Comments
I don't think you are doing anything wrong.
The template appears to reflect the end page of the Mapping Guide, which describes the process of making a new style from an existing one.
I can't find a template that matches the example map, but there is no reason you can't create more maps using the example map the way you have before.
Could you explain how drawing a room or a cavern and then it has a grid works then? i.e I know it works off of the copied template, i dont know why or how.
If its no trouble...
I have a modified colour palette, so it's not the same blue on my screen.
There's a blue grid that covers the map on that example map. Here it is with everything else hidden. Because it's the same colour as the background you can only see it when a white floor is drawn behind it.
wow, so simple. Thanks!
Like most CC3+ mapping styles, this older-look blue style doesn't have an automatic grid built-in. You need to add it once your map's finished (so you know where the grid needs to be).
To do this, make sure you have the active Sheet set as GRID, and the active Layer as HEX/SQUARE GRID, and that the Layer isn't Frozen (uncheck the "F" box if it is). Also make sure Colour 68 is selected (the default blue colour for this style).
Then open the drop-down menu Draw => Hex or Square Overlay... which brings up this pane:
Check the "Square grid" radio button, set the "Grid spacing", and then decide if you want labelling per square or not (if not, just uncheck the "Labelling" box), and decide if you want to add a new snap grid for your grid lines.
You then have two options.
The "Apply" button places the grid across the entire map within the Map Border. For this blue style, that usually works fine, because the grid is located to appear above the white floors Sheet, but below things like the map symbols and text Sheets, so the unwanted part of the grid will blend perfectly into the blue background and not be seen.
Alternatively you can choose "Select points", and then use an existing snap grid - or by eye if you're very confident about doing that - to click once to start placing the grid. Then expand the grid over your map, to fit exactly where you want it to be (even if that's just a room or two). Once the other corner's in the correct spot, click again to complete placing the grid.
As the information pane shows, you can alternatively add a hex grid or an isometric one, if you prefer.
Typically, the grid so drawn will have very narrow, zero-width lines. These often look fine on screen, but in an image export or a printout, they can often vanish, so you may prefer to change that width to something a bit larger, maybe 0.1 feet or more. Make sure the GRID Layer isn't Frozen, then click the Change Properties button (mid-left side panel on the CC3+ drawing window), click on a grid line, and then right click for the information panel, on which click "Do it", which will let you adjust the line width, or any other parameter of the drawn grid.
Hope this helps!
Thanks for the details, greatly appreciated.