

Ricko's Questions
 Ricko
🖼️ 107 images Mapmaker
Ricko
🖼️ 107 images Mapmaker
I'm sorry to bother you with such a simple question (so you can see how knowledgeable I am about the program).
How is it possible to resize - enlarge or reduce - the default terrain in a drawing?
When I try to resize as I do with png images, the result is not satisfactory.
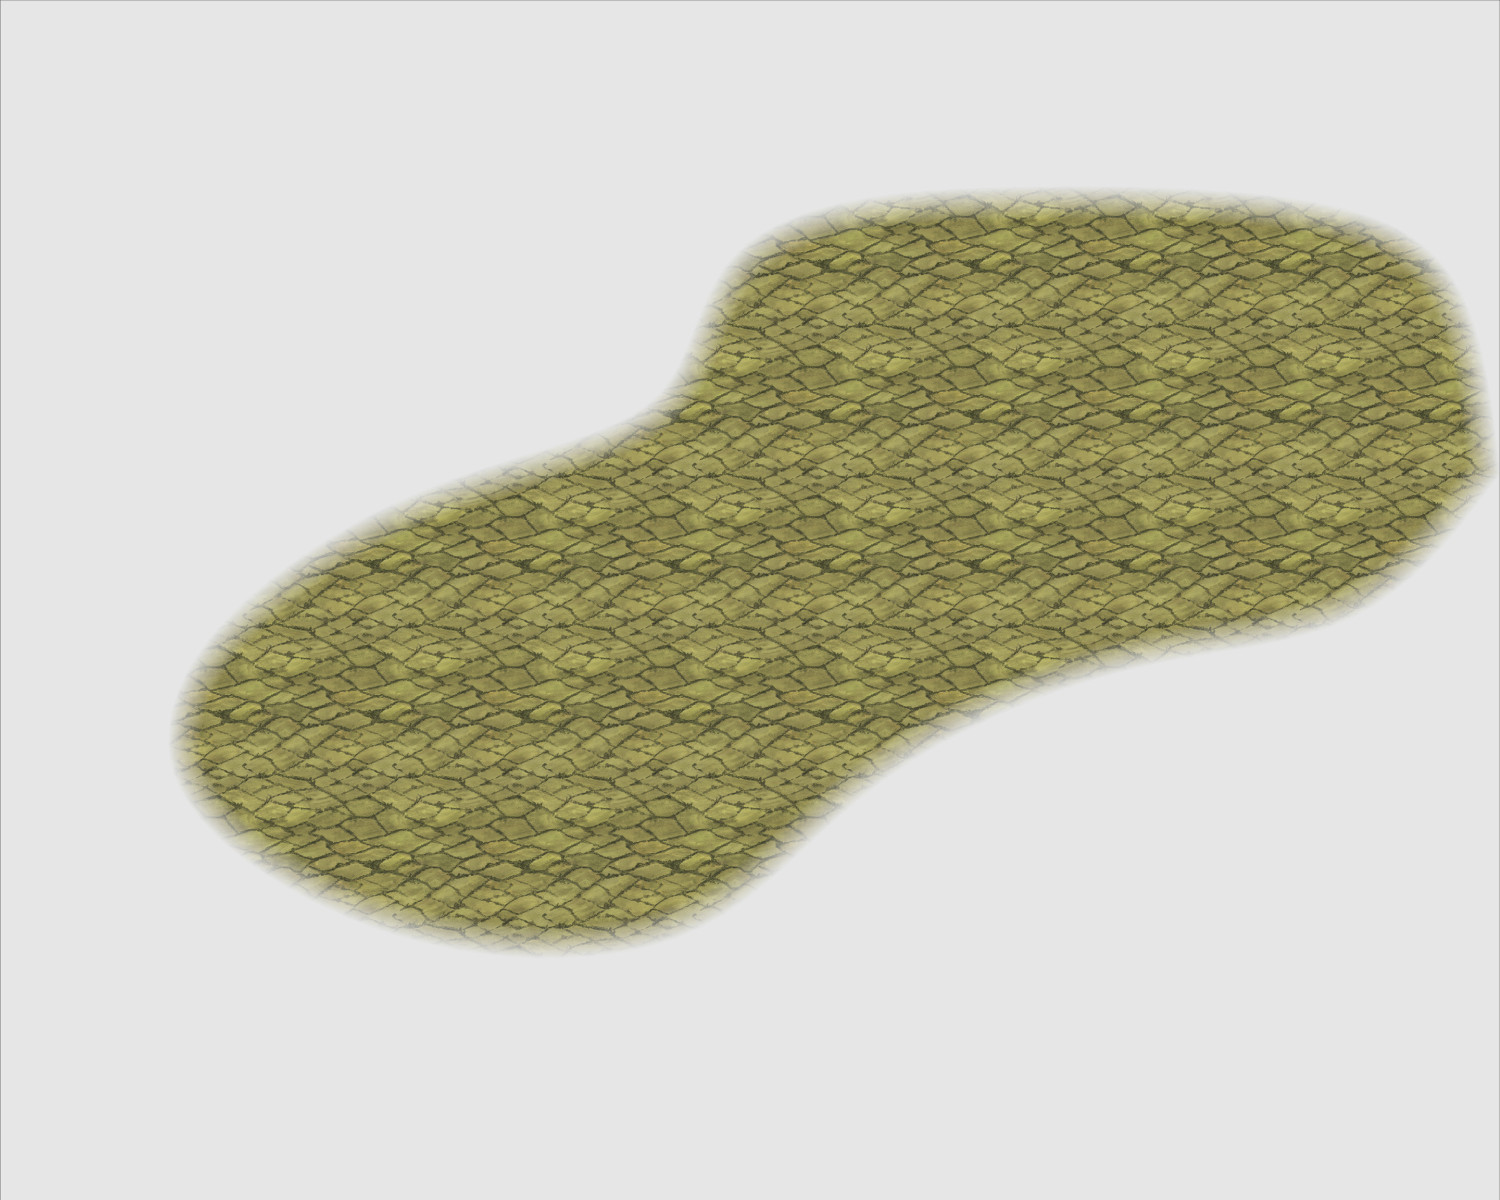
Illustrative Image
Thanks
Comments
Do you mean scale it?
If you do, open the Fill Style dialog and pick the fill you want to alter from the dropdown list,
then adjust the hieght and width accordingly.
To add on to Sue's answer, If you need several versions at different scales, you can clone a fill style definition by first picking the desired one to clone, then hitting the New button in the dialog, and give the clone a name. Now you have two versions of the same fill, which can be scaled independently. You can then make another drawing tool that uses the new version of the fill to have two drawing tools with the same fill at different scales.
This week's query is another extremely complex topic - at least for me. 😅
How can I change the points of the dotted Roads so that they are uniform (and less spaced)? I also don't want this Morse code from the example, short - space - short - space - long.
So, to the best of my ability, I went to custom drawing tools > custom tool properties > linestyle and, like a troglodyte, I tried them one by one without success in finding what I "want".
Thank you very much.
Dotted lines don't always behave the way you want. Most often, if you have longer bits in the line you can try fractionally adjusting the nodes using the move node tool. It's a fiddle, but a handy tip is to use as few nodes as you can for the line you want.
Ok, I understand. Any other way to bring the dotted lines closer together and make them more united? I see that some styles have the dotted line closer together.
For example, leaving the road with small dots like the Wyvern road.
https://forum.profantasy.com/discussion/14175/community-atlas-map-for-the-duin-elisyr-area-doriant#latest
A few weeks ago in one of the live mapping sessions Ralf actually customized the lines on the map.
I'll look over them and see if I can find the episode where he describes that function.
I found where he talked about dashed lines. About 44 minutes.
Hope this helps.
https://youtu.be/Aq2Vh5oz05Q?t=2698
Thank you very much Don and Ralf <3 . My dream has come true :)
Super happy I could lead you in the right direction to Ralf's video.
Too late to be of much use now, I realise. However, dashed lines, even when you've adjusted the settings to give suitable lines and spaces, often need minor tweaks after drawing them, as has been mentioned already. As Sue said, simply adjusting one node on the line by a few pixels is often enough to stop the unwanted "looong" line segment, or occasionally removing one node, although I find the line adjustment method is more reliable, and easier to correct. Of course, you have to check the whole line, because correcting one spot may create problems elsewhere. So again, I often draw any lines like this in shorter stretches, to keep such difficulties within manageable limits.
The problem seems to be commoner when you have a couple of nodes quite close together in one part of the line, so again as Sue suggested, keeping the number of nodes overall as low as practical, will likely help. (Except when it doesn't, of course 😉!)
This topic has already gone off topic. So change the topic name to Ricko's Tough Questions. 🤣
This way I save it in my bookmarks, and all my questions about using the program, and it's also easier to find.
I'm using the City of Cthulhu for this small map for a friend's campaign.
I'd like to know how I can export the file in the highest quality possible, since exporting with JPEG Quality gives me a small, pixelated file on the street lines when I zoom in below 100%.
This will be for an A0 print.
Thank you very much.
Did you try the large exports annual?
I don't know what this is @Don Anderson Jr. 😬
Here are my save settings. What's missing?
Ricko asked: I'd like to know how I can export the file in the highest quality possible, since exporting with JPEG Quality gives me a small, pixelated file on the street lines when I zoom in below 100%.
This will be for an A0 print.
I tried a couple of tests using the "Save As... - Rectangular Section JPG" option in CC3+.
Ordinarily, I use a small amount of antialiasing on JPG exports, generally 30% to 35%, and forgot to turn that off, which meant the export failed! So I tried again with Antialiasing turned off.
I suspect the single key thing is to ensure the final export size is set to for A0 paper, so I turned that up to 119 cm. This is my settings pane:
And then I ran the export. The final file size is about 66 MB, but this is a sample zoomed-in to be 100% and then resaved as an image the Forum will accept (so it's smaller than the true 100%). However, when I was zoomed-in at that level, there was no pixellation whatsoever on the roads. This is that smaller image, but using the above settings:
I think all you really need do is ensure the final image size matches the paper size you want the export for print to be - A0 in this case. Good luck!
thanks 🤘
@Wyvern In Print Size, you entered 119 centimeters for both height and width. Since the A0 paper is 119 x 84 cm (rounded), shouldn't the width be 84 before saving?
Sorry to be late replying. The simple answer is "no", because the render export will always use the larger value for the larger map edge in a rectangular JPG export, and hold the other to the correct proportion accordingly.
This may mean having to switch the orientation before printing, depending on exactly how the image is to be printed, but when creating just the image file, that's irrelevant.
I always put the same value in both, because it save me worrying about which edge might be marginally longer in some almost square maps, or (and this is more likely!) me entering the wrong value for the obviously longer side because I forgot which box was which in the export pane!
So to export to, for example, A3 with measurements 29.7 ("30") x 42 cm I enter the largest number (42) in the cm values in Print Size and it would be like this, taking the largest cm measurement for the different print sizes in family A?
Keep in mind that using the largest measurement for both only works if your map is in the proper aspect ratio starting out. But if you make a square map (or any other map that doesn't have the correct aspect ratio compared to the paper aspect) that you just want to fit into the paper, you'll probably need to use the lesser of the 2 measurements instead, otherwise it won't be correct.
Being able to ignore one of the measurements and just let CC3+ handle it is a good and time-saving thing, but it does mean the map must meet the expectations.
When you say "correct aspect ratio," do you mean 1000x800 or anything that keeps that 10x8 ratio?
And if we are doing a square map, just put in the same values for the X and Y coordinates?
Correct aspect ratio compared to the paper size you exporting to. For example, if you have a 1000x800 map, your aspect ratio is 10:8, but a standard A-size paper is closer to 10:7. So if you just blindly type in 297 mm for both dimensions, the exported image will be 297 by 237.6 mm, which is larger than the 297x210 mm of an A4 paper. (I didn't account for margins here)
CC3+ automatically calculates the other dimension based on the aspect ratio of your map, not the paper.
Of course, if you don't mind it getting a bit large and simply resize it down to fit the paper on print, then using the largest value works, but if you want it accurately, then you have to actually make your map in the right aspect ratio from the beginning, or you need to also calculate the lesser value so CC3+ can export an image that fits within both the dimensions.
Yes, I was assuming the correct aspect ratio, based on how Ricko had drawn the map here, because that was to fit an A0 sheet. Should have said that though! Luckily, we have a Monsen always ready to swoop by with helpful additions like this 😁!
How can I import Terrain Bitmaps from another issue into the one I'm currently working on? Does anyone know of a post with a step-by-step guide on how to do this?
Thank you very much.
https://www.youtube.com/watch?v=xSNNT6CjaMw
I've added a link here to a video where Remmy explains the process with images (easier for me than just a text explanation).
Try this advice post on getting bitmap fills into your current drawing.