Forest Trail project - part 2
 Loopysue
ProFantasy 🖼️ 41 images Cartographer
Ok, so there's already been a bit of work for this part of Forest Trail, but it was tacked onto the end of the part 1 thread. I've had serious PC problems which are mostly resolved now, but work has been a bit slow.
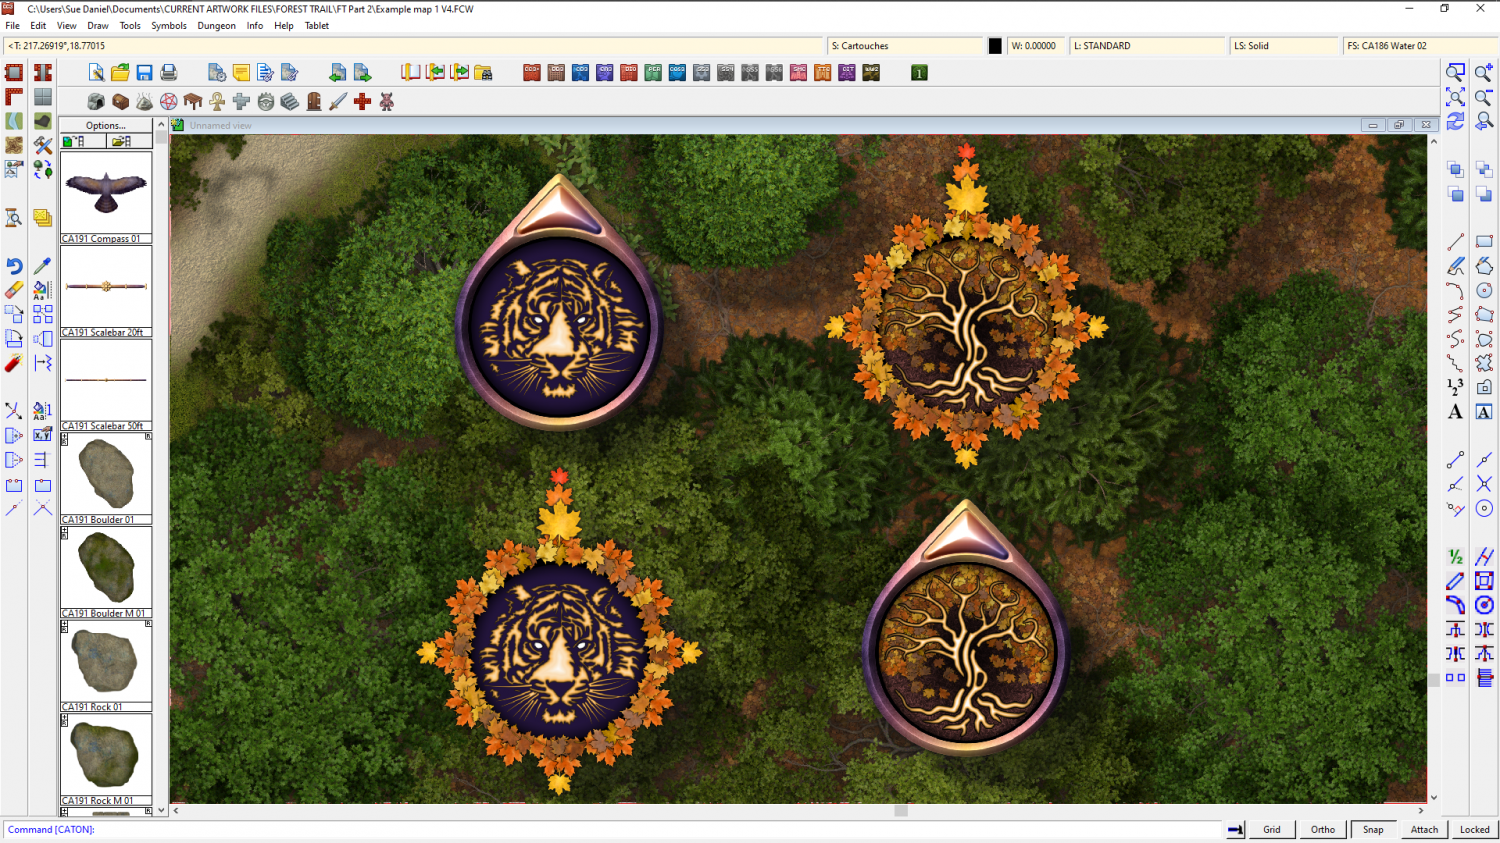
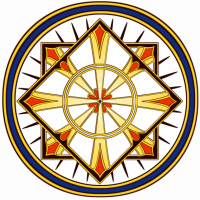
Still working on the waterfalls, but while everything was in upheaval I decided to add a couple more compasses to the style. I couldn't decide on the design so you've ended up with interchangeable parts.
Tagged:


Comments
I am not sure what you have got planned and I know you don't have a lot of time, but things I would like that I don't see in part 1 that would be good:
Oh dear, Julian. The work on part 2 focussed primarily on waterfalls and cliffs. I've lost 3 weeks work because of PC troubles (blue screen of death) and now there are only 13 days left to the handover deadline.
I think you will find there are some pine trees, and there are already 2 different colours of water. Caves are easy to do (see below)
My main focus in the last fortnight before handover (some of which is dotted with unavoidable appointments and other interruptions), is to sort out the rapids and flow marks for the water, but I will see if I have time to do a square tower.
I don't see any pine trees in part 1. I just see the fluffy trees.
There must be some bug with my download. I looked at the water. I technically see that there is blue and green. However, the water just looks like mud when I place it on dark brown. I tried light brown, and it does show green. However, it looks like grass. Moreover, the blue water also looks green. I think because it is all being drawn on the same sheet with the color adjustment.
I will try downloading it again and go through the PDF instructions to see if I can now have pine trees and blue and green water.
Julian, maybe you have transparency effect on ?
For pine trees expand the collection of trees and you should see them. They are: Tree 06, Tree 07 and Tree 08.
The water is mud coloured because of the sheet effects. Go to the WATER sheet and uncheck all the effects. They are only there because I thought the water looked more realistic that way. It doesn't mean you have to hold the same opinion as me ;) Also don't forget that once you've got rid of my effects you can add any one of 3 colour modifying sheet effects to that sheet to have the water any shade you like.
The tree symbols were too small, which was why I could not see the pine. If I make them much larger, I can tell the difference.
I reinstalled and that helped with the water. Before, there was no difference between green or blue even with the effects off. It now seems that how it looks is dependent on what is underneath it. Also, the base fill for the blue and the green are almost identical. So, when I use them, they look almost exactly the same with the blue just being subtlety darker.
I think the maps posted by others are using the creepy crypts water, are careful about how is below the water, or are messing with the sheet effects. That is why when I played around with the water it wasn't looking anything like the maps I've seen posted.
Like I said earlier - you can take the effects off if you prefer water to be a specific colour. And yes, it does depend on what is underneath. Generally speaking muddy streams exist but usually there is some kind of stone, pebble or boulder stuff under a river that isn't too stagnant.
The trees are as large as they can be, given that they are already so large that they do noticeably slow the app down. They're probably among the largest symbols I've ever made. However, the cliff symbols in part 2 are even larger. I'm hoping they won't cause too many problems!
Oh yes - there is another riverbed fill in part 2 with boulders already in it. You can see it in the last screen shot I showed above.
None of the attempts look anything like the rich green I see in the image you posted even with the riverbed. I was expecting the drawing tools to produce that, but I think you must be using symbols.
The issue with the trees I think is that I used the default map size, which is probably way bigger than intended for such a map. That is why they looked tiny. Smaller maps now means larger trees with much more detail.
I forgot, when I use any of the grasses, they do not go to any of the grass A, B, C, etc. sheets. Instead, it creates a new sheet called grass. This makes it render above everything else. Not a huge deal as you can move it, but if different grass styles are supposed to go to the already existing grass sheets, then that should probably be fixed.
This is the only effect that affects the colour of the water on that sheet. The water itself is laid over a stone texture for the river bed (which may be part of part 2). In the waterfall pool it's laid over a new Riverbed fill. I can't remember how I did the water in the example map for part 1, but you can find out by examining the map.
No symbols were used in the river. This is a shot of the new riverbed texture. I was right - the stone textures are both in part 2, but there is a riverbed texture in part 1 that is fairly close in colour to these 3 new ones.
About the grass sheets - the thinking behind making all the grass drawing tools go to GRASS* (anything beginning with GRASS) is that you can pick which one you want to use, though this must be done before you pick the drawing tool to work. For there to be a specific grass sheet for each shade of grass there would need to be 5 grass sheets, and even then you would be a bit stuck if you wanted them in a different order in one place on your map than in another place on the same map. But if you want you can edit the drawing tools and add the other 2 grass sheets.
You can edit the grass terrain drawtools to put the various grass textures on different sheets. Doing so will keep the new sheet in each map you create as you are editing the tool itself so it's not tied to the map.
Time is close for handing over Forest Trail part 2. Profantasy have rescued me from the nightmare of a broken PC just in time to try and finish a slender version of the issue, so I've finally managed to get some of the water stuff done.
Still on the fence in regards to the water effects, but glad that you have a working PC again.
Plus, I'm very much looking forward to those Dungeon-scale cliffs. :)
Thanks :)
What was it about the water effects?
@Loopysue They look a bit like cobwebs in the example picture, which is probably due to the green water and rocks underneath.
Also, the contrast between rapid, foaming water and perfectly still, clear water in between looks unnatural, as do the sharp "non wavy" water edges towards the lower left of the screen.
The rocks under water look great, but maybe some kind of blur - effect and "rougher" edges would make the water look more "flowing".
half-submerged half-exposed stones, with or without moss to create the foams, might be interesting.
Interesting points, EukalyptusNow :)
Ricko - good idea. Maybe. We'll see if there is time. I also want to have a crack at a couple of bridges in these last 4 days.
Well, I decided to leave the rapid symbols as they are - webbing and all. In addition, though, I've made two white water fills that seem to work ok with them to give quite a different impression.
I've also done some work on a bridge.
I'm tinkering with proper stepping stones to go with all types of river, but there are only 2 days left now and these are proving quite difficult to draw.
Stepping stones would be good. Currently, I use the polygon tools to draw what I want and then put in a stone fill. I then use a bezel effect to make it look like a stone. Having already made stones to pick from would be nice if it can be done.
There were meant to be stepping stones in the first part, but they were very last minute and got left out. They were also not very good - hence the redrawing ;)
@Loopysue Thanks a lot. The water looks great with the new fill.
Will there also be an undamaged bridge, without the hole? The damaged one looks great, but an undamaged bridge symbol is a lot more versatile to use...
@JulianDracos Another method for creating stepping stones is to use the same rock symbol twice: One copy in the "underwater" sheet, and a smaller copy on top, on the "above water" sheet, to show the dry part. Might also work with polygons.
@EukalyptusNow You're welcome :) Those two fills were more of an accident than anything else. I play with making textures when I'm thinking, and those two just cropped up - one a modification of the other.
The bridge is in sections anyway, so you can built it with or without the damaged section.
The method you suggested for the stepping stones is one that I created as a multisheet symbol used in one of the example maps for part 1, but for some reason I forgot to add them to the catalogue. I'm currently experimenting with specifically drawn ones, but it is difficult to draw stepping stones that fit all 3 states of the river (calm, fast and white water). There is now just a bit less than 2 days to go to handover, so these are not a definite inclusion.
Well, I've more or less wrapped this up, so this is a slightly reduced version (though not much reduced) of the map I've been working on all this time so you can see what's in part 2.
It looks like there are rocks at the waterfall up top. Are those part of the cliff symbol, waterfall symbol, or separate rock symbols?
Those are built into 2 of the 6 waterfall symbols.
Tempted to say "cliff and the shadows" here, but that probably just dates me (and will likely prove too obscure for the youngsters hereabouts...) 😉🎤🎸
Moving swiftly on - well done, Sue! 😁
Thanks Wyvern! :D
I had to think a minute before I remembered, so I'm old enough to both remember them and then forget them again.