Fractal Terrains 3.5.1 (USING: CA155 Mapping Guide - The One Day Worldbuilder)
Greetings,
I must say that I am rather frustrated that the work arounds for Find River are nearly impossible to sort out. I will begin by saying that I have followed the instructions though when I bring the finished Wilbur *.mdr back into FT it appears normal until I "Burn In to Surface" then I get a seam which suggests some whacked out altitude which I think screws things up.
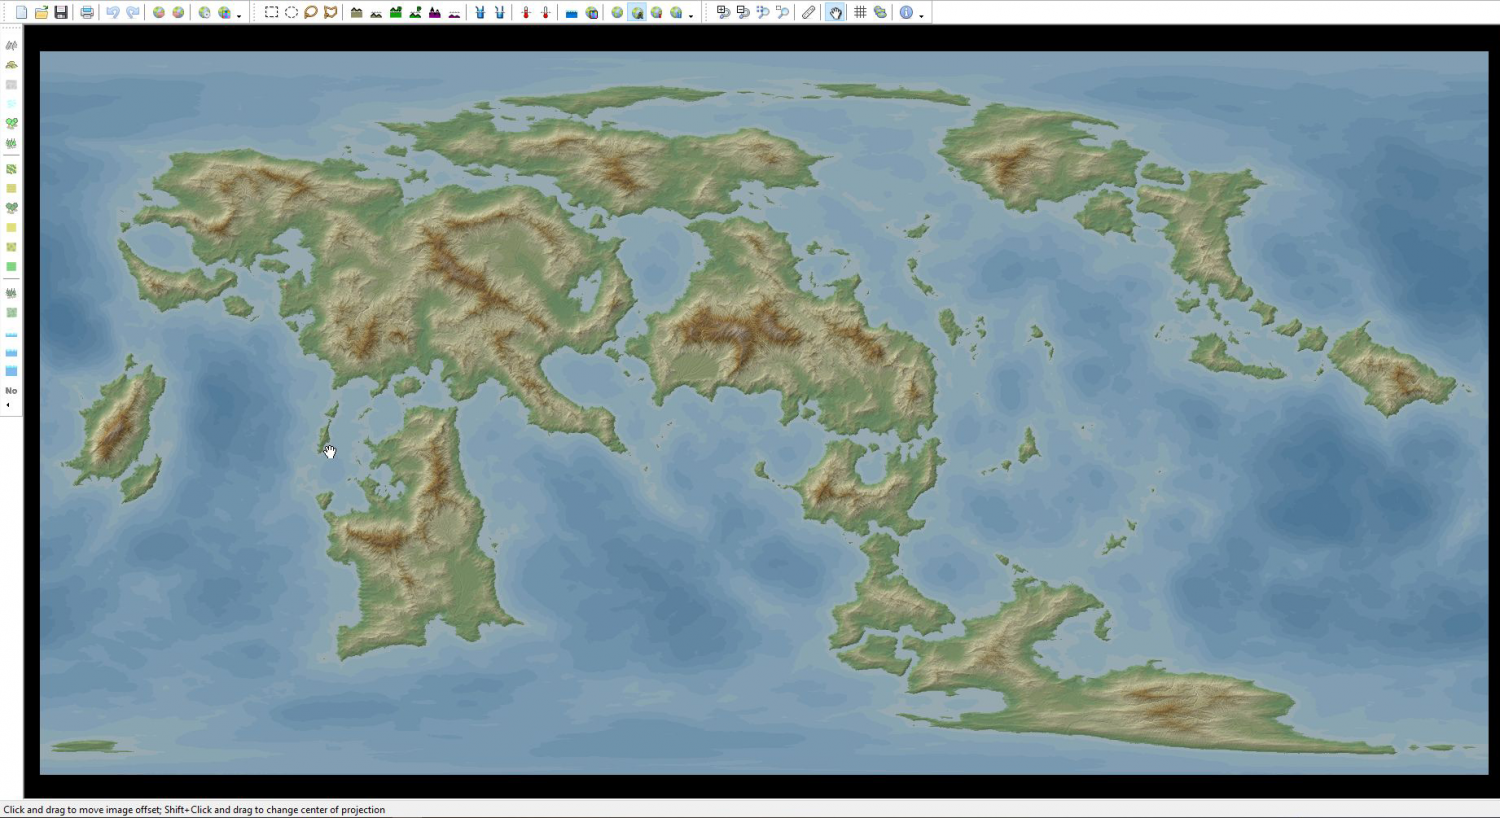
Wilbur to FT3+ (not burned)
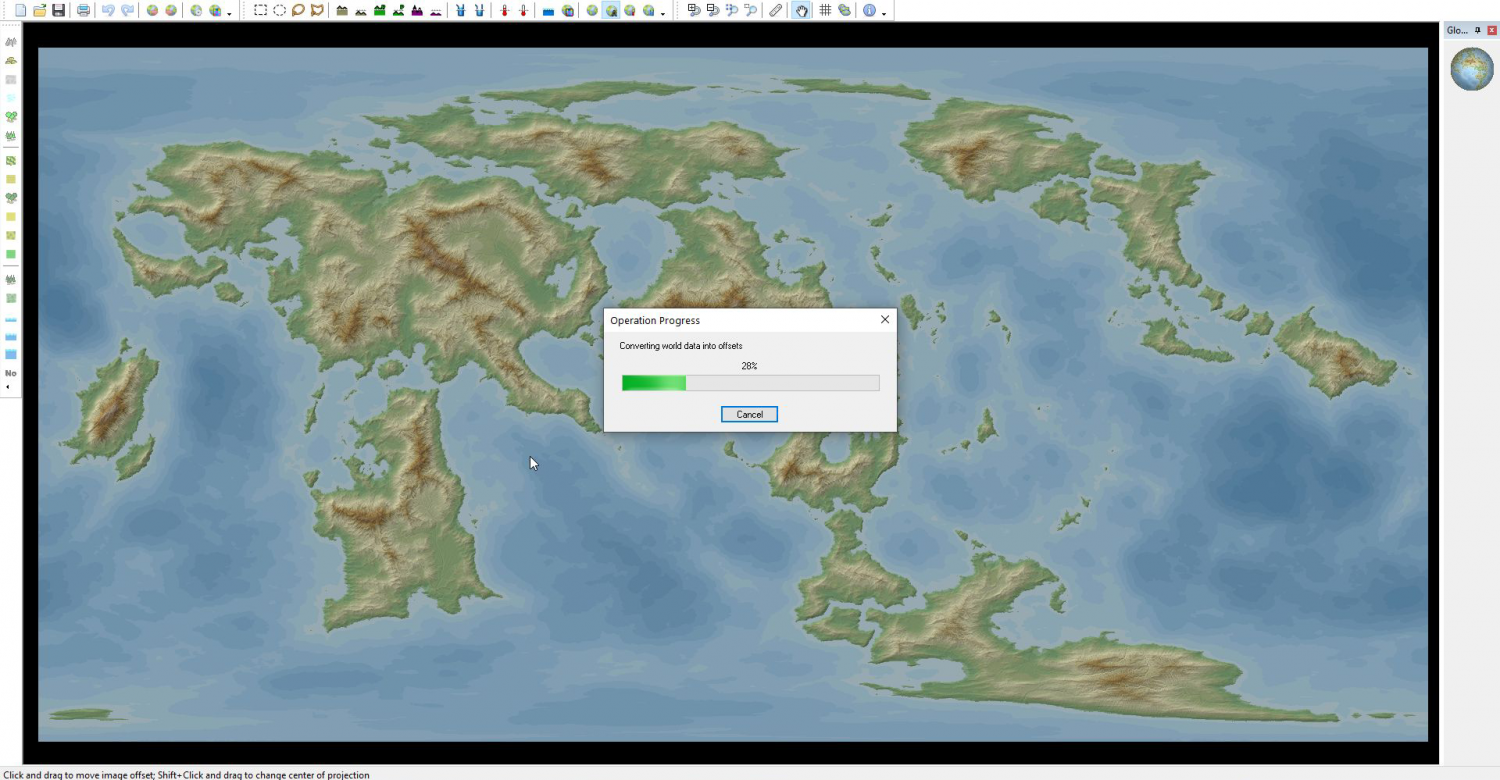
Burning In to Surface
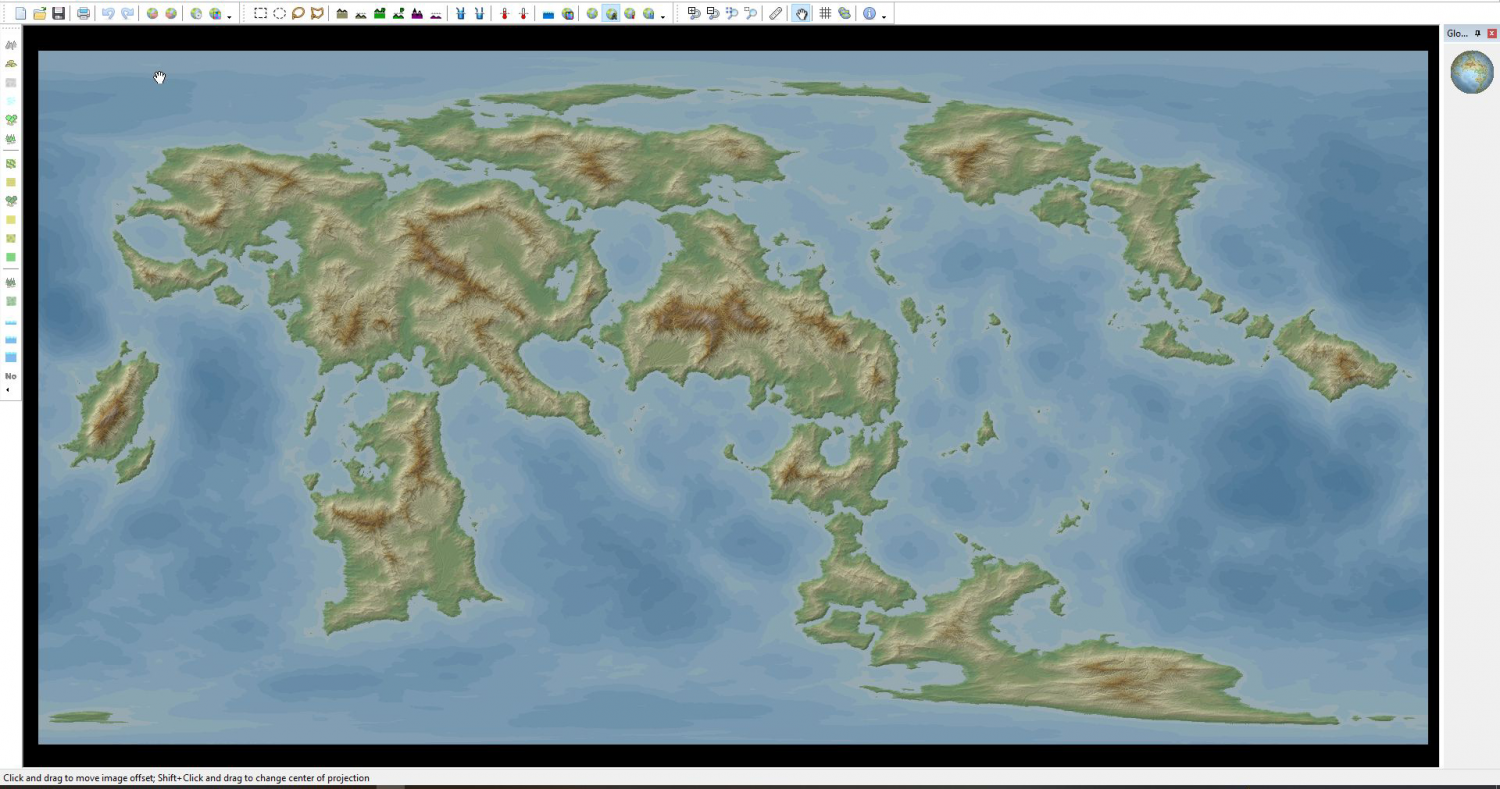
Once Burned Seam Is Hidden Into Left Edge Of Image
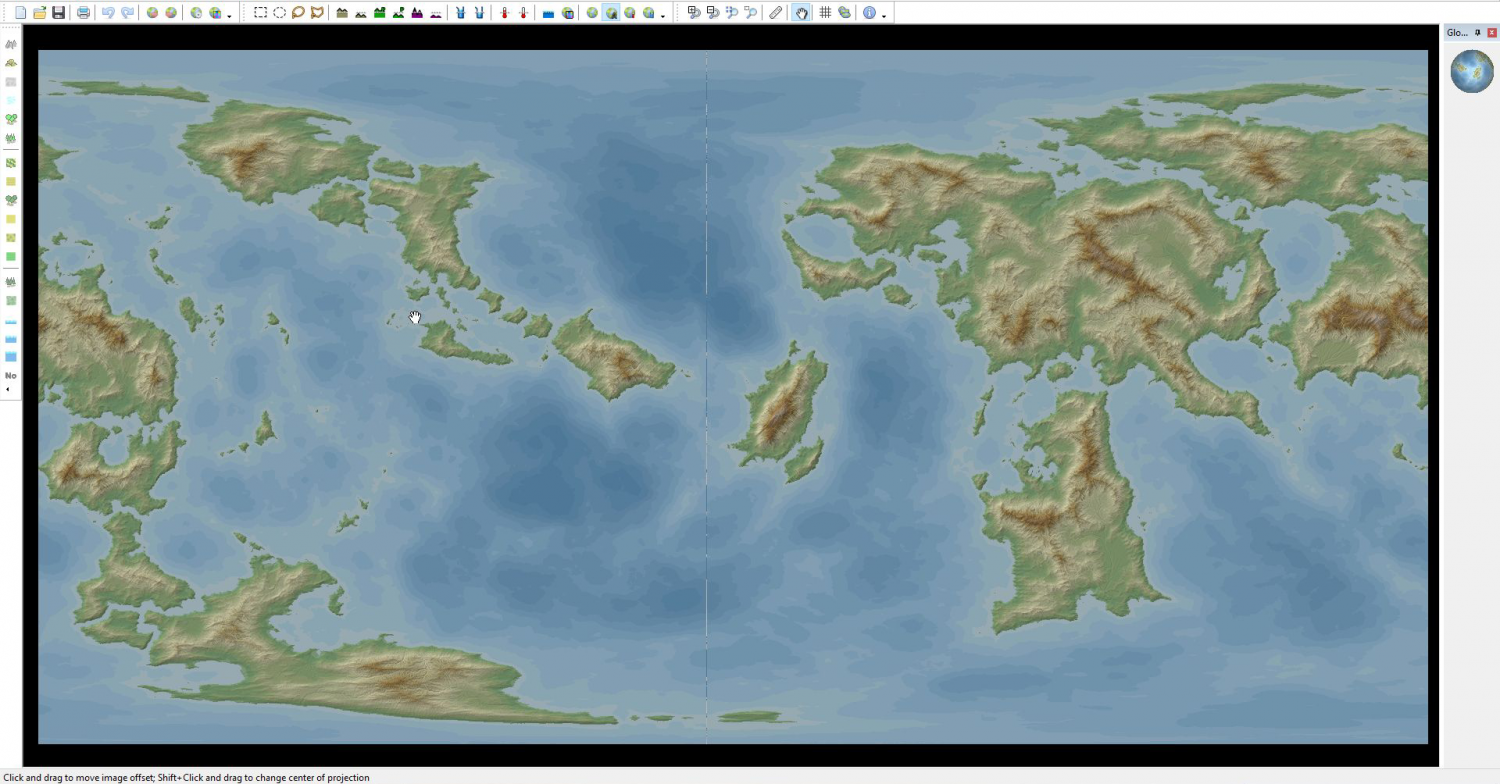
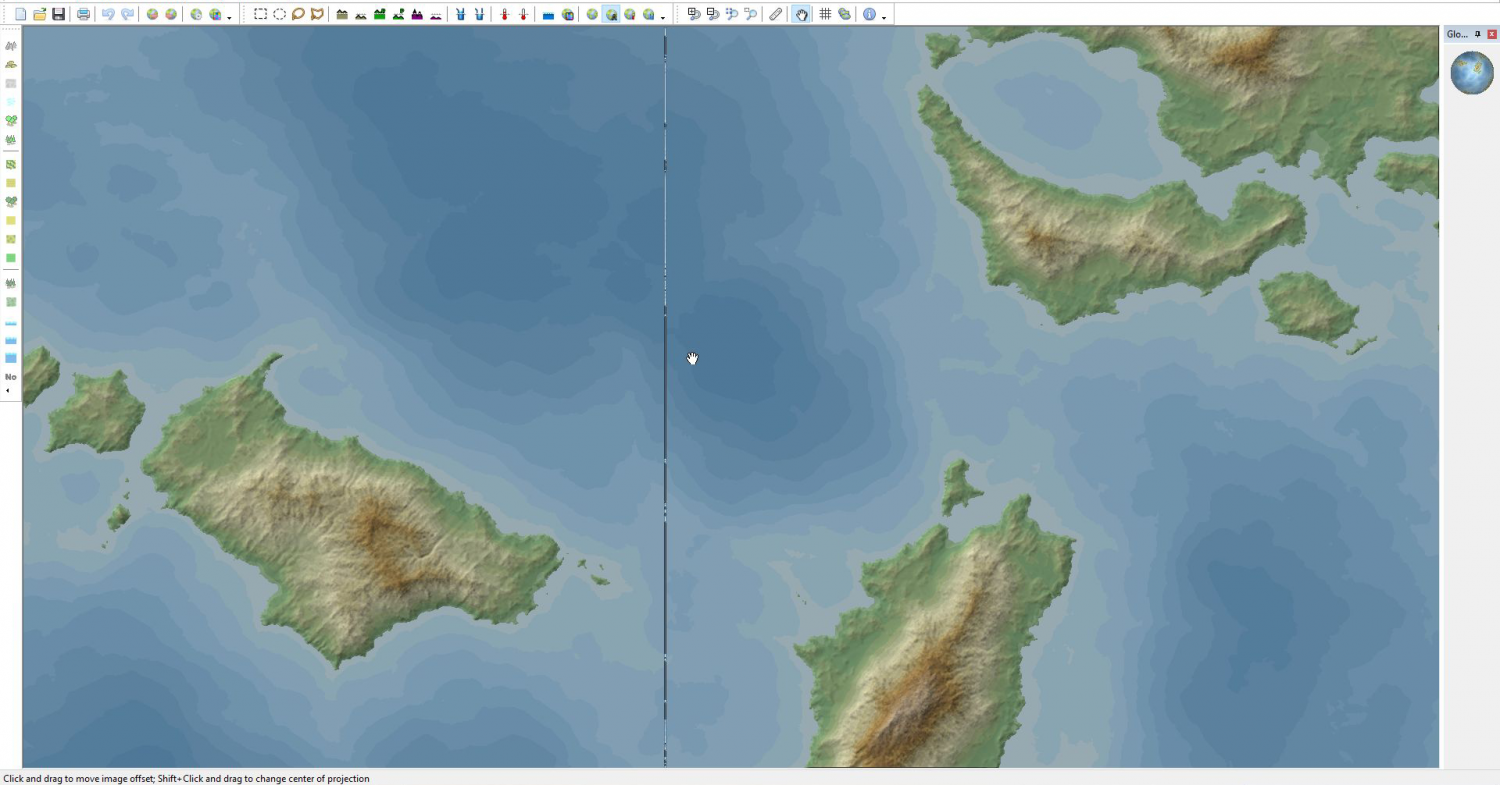
Rotate Globe & Seam Is Visible (Click To Enlarge Picture)
Rotated Globe (Close Up) & Seam Is Visible
Close-Up (Wilbur Erosion As Per Tutorial Worked Fine - River Beds Laid Out)
I have no idea how to effectively select or modify or crop this seam out of the map. I have experimented with trying various options Globe Set (Various Options), etc., and occasionally I manage to get Find Rivers to work but Jeeze there has to be a very SIMPLE FIX. I wish there was a select feature that allowed you to being above image (like PhotoShop) and drag down across the entire map (thin select it) then crop or even a heal feature to mend it... anyway - Any Help Out Be Appreciated. I even have Photoshop... just worried how to import and export so it works in FT3+
~TE~
PS: I wish older versions of Fractal Terrain 3 and Wilbur were easily available for download as the guide was 2022... so maybe tutorial works (or not an issue) with previous versions. It appears there is no upgrade or support for these products and others have had the same issues.
----------
Fractal Terrain V 3.5.1 & Wilbur 1.90.00.00


Comments
There's a good chance that column of errors came from Wilbur. An easy way to find out in Wilbur is to use Filter>>Other>>Toroidal Rotation and give an X Samples value of 1000 or so and a Y Samples value of 0. This operation will rotate the vertical seam at the edges of the surface about 1000 pixels over.
If the seam is immediately visible in Wilbur, use the rectangle selection tool (Select>>Selection Tools>>Rectangle Selection Tool) and select a few pixels around the offending column. Using the Filter>>Morphological>>Median filter with a window of about 5 should pick the most likely pixel near the affected column, effectively removing the outliers. You can also paint it over manually using something like the Clone tool sourced from very closeby. Save the MDR and use the rest of the import process and that bad column of data should be gone.
If the seam isn't visible in Wilbur, you may be able to fix it in FT by adjusting the import options. After you read the MDR file into FT3, you'll see lots of options on the Binary Data dialog, including a "File Data" section. Change the Width value to one less than it shows you. For example, if the MDR is 4096x2048, use Width=4095 and leave everything else the same. Reducing the width like this will chop off the last column from the input data.
Thank-you, fortunately, I have numerous save files to work with and thank-you for explaining some of the less know features and their locations (less know to me at least, lol). I look forward to giving these suggested fixes a try. I greatly appreciate your help.
FOLLOW-UP: I have not had a chance to rerun through the processing in Wilbur though I did attempt the *Import Options* Fix you suggested (-1 on width and it chopped off the last column from import perfectly). Since, I know this works, it is easy enough to create the original in FT with a +1 width in the future.
I look forward to trying some of the other Wilbur based options as well. Thanks, again, for this simple and great fix.
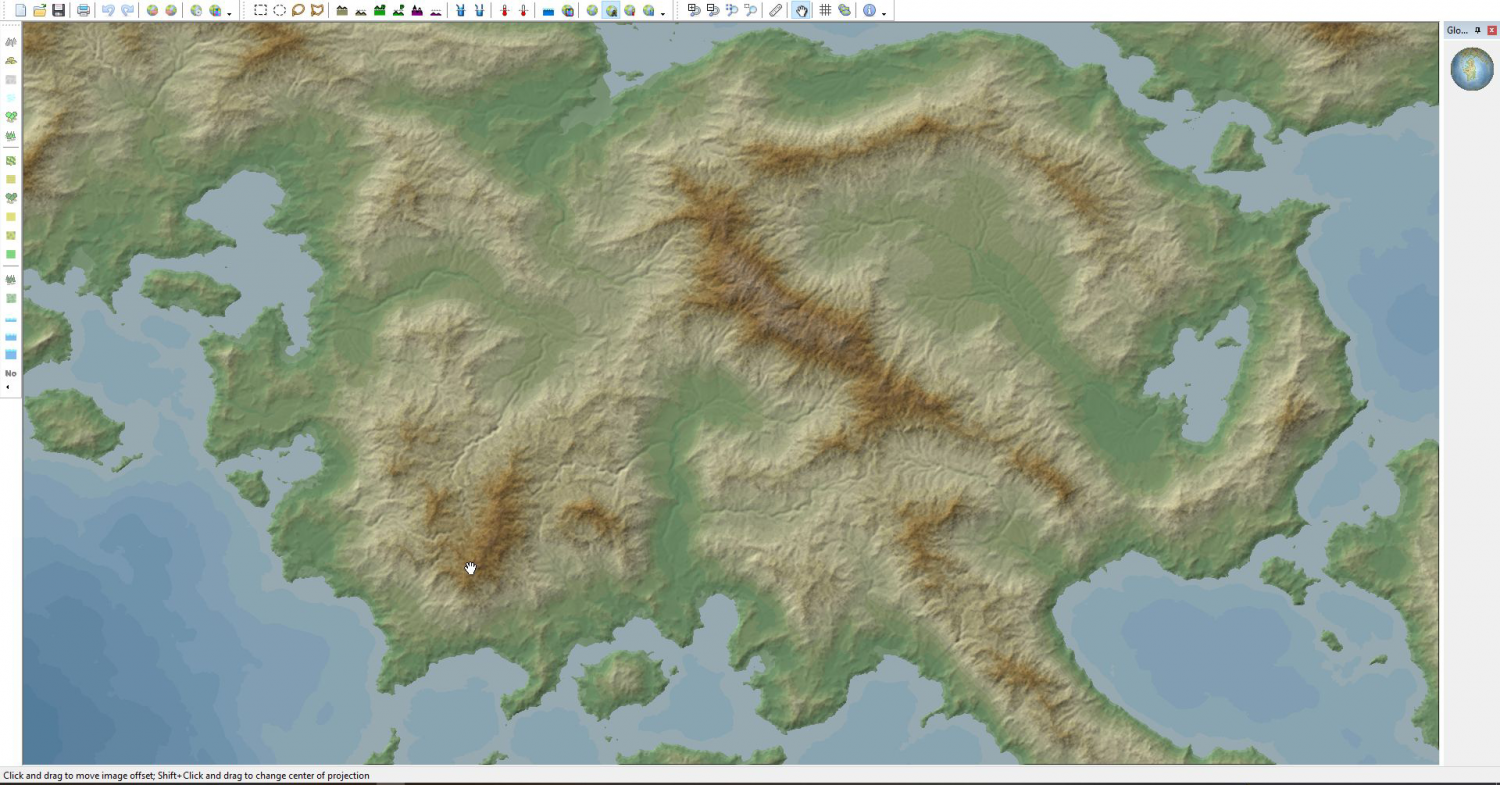
FIX: Imported Into FT (Using -1 Width Fix) - Worked Like A Charm - Thanks Joe