Loopysue
Loopysue
About
- Username
- Loopysue
- Joined
- Visits
- 9,987
- Last Active
- Roles
- Member, ProFantasy
- Points
- 9,864
- Birthday
- June 29, 1966
- Location
- Dorset, England, UK
- Real Name
- Sue Daniel (aka 'Mouse')
- Rank
- Cartographer
- Badges
- 27
-
WIP: Lost Temple of Ankun-za Level 2
I was once told that it was good to have a decent area to fight in. I don't know how true that was, but the gamer who wanted more space to play around in was very satisfied with my modifications, which meant I had one reasonably large room.
What is the scale here? Some indication would be good. Either a grid or a little white square to show 5 or 10 ft square.
-
Live Mapping: 3D Modelling Symbols
-
WIP: Manor house (problem with walls)
Looking good :)
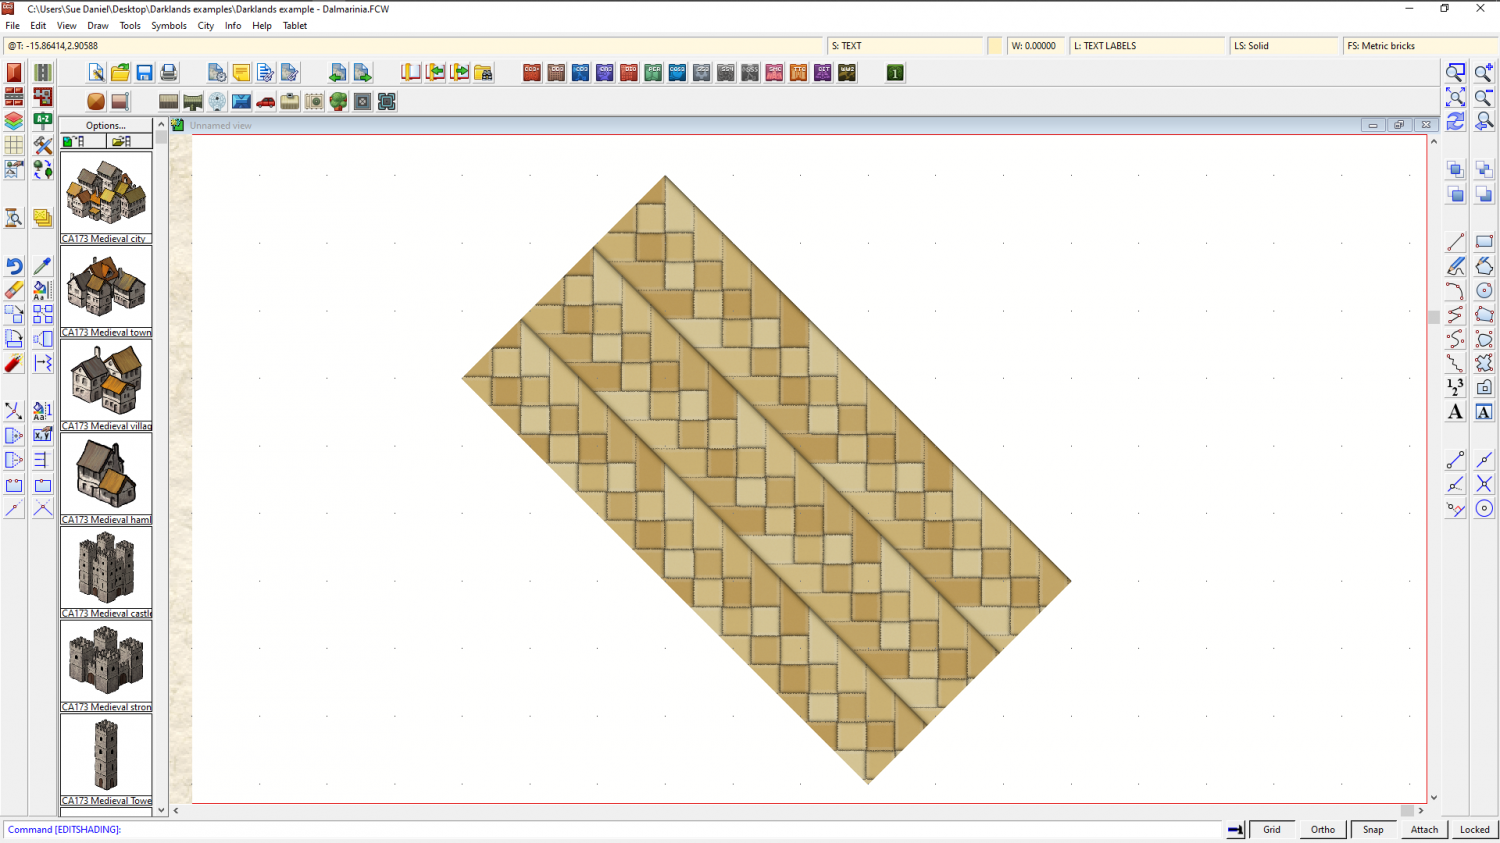
Do you know that you can align the floorboard fills in those rooms that aren't perfectly aligned with the usual compass directions using Shaded Polygon (Angle by Edge) from the right click menu on the Polygon drawing tool on the right? (providing that floor isn't all one polygon). You get the tool and click the long side of the floor with it and the fill is instantly aligned to that edge.
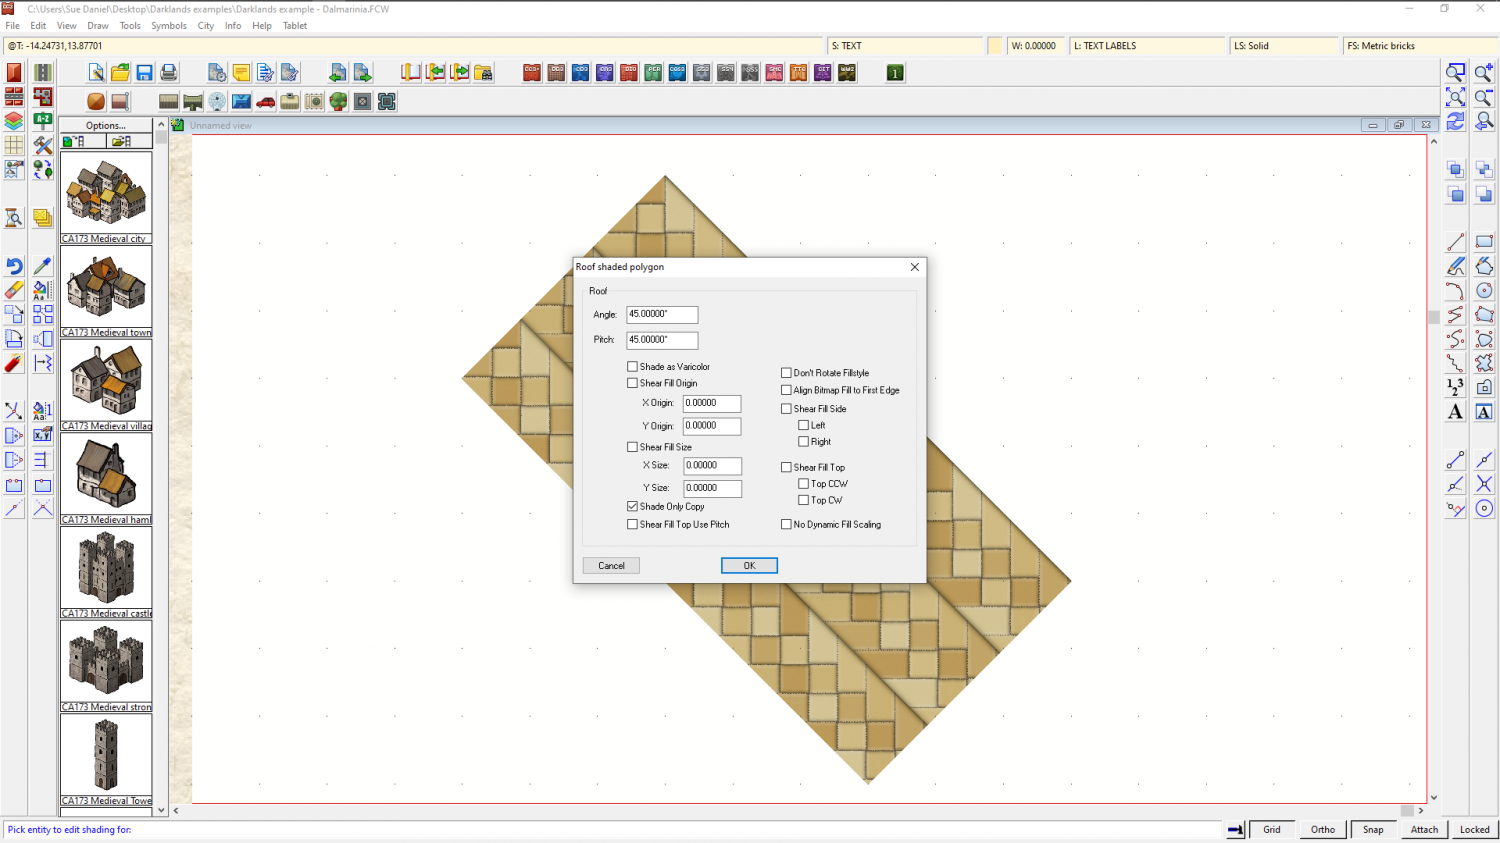
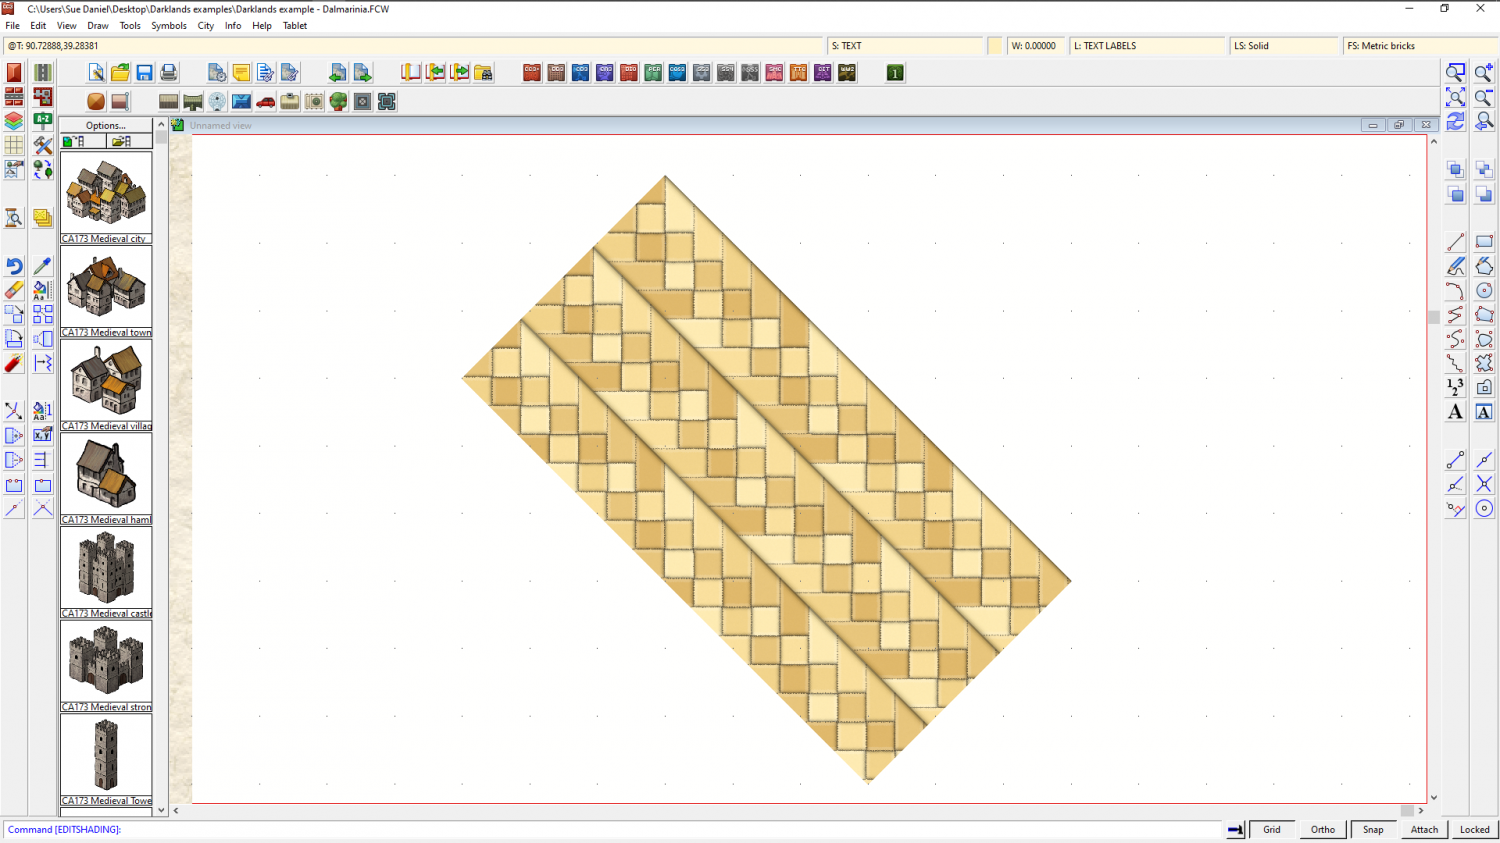
The tool was originally intended as a roof shading tool, so each one of the floors now has a pitch like a roof. That is why they will have gone darker or lighter than they should be. Then when they are all aligned you type EDITSHADING, and pick them one by one and check the little box where it says "Shade only copy" and they will lie flat again.
-
Hello
-
[WIP] Cliff City B&W
Thanks :)
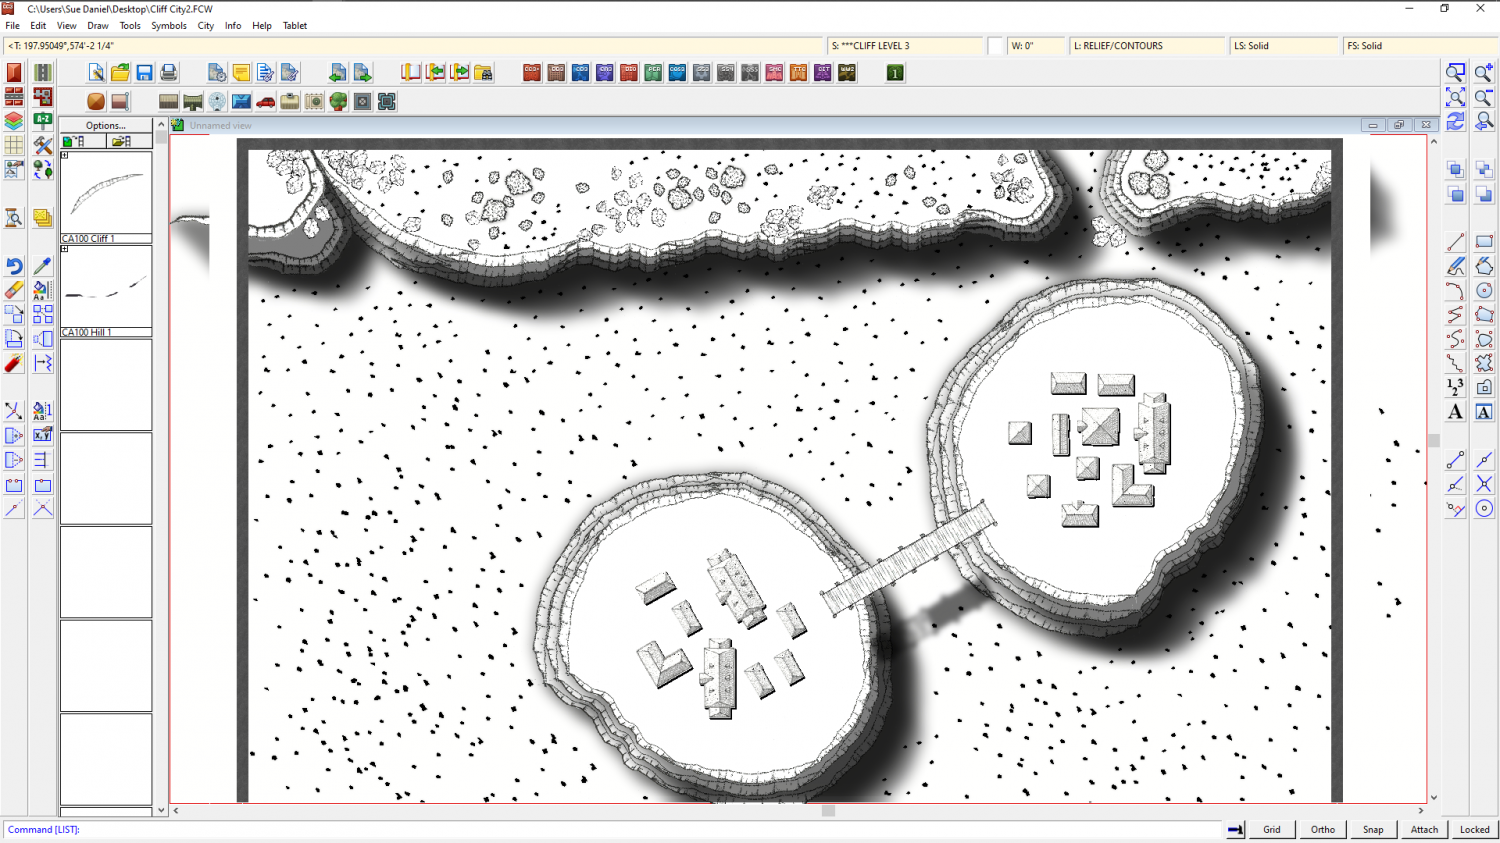
I had a look at all the sheets you made to get the effect right, and where I've jumped in at the end of it all I decided it was probably easier if I did a fresh setup for myself, but making use of the symbols you pasted. So this is your map as you drew it, but with adjusted sheets and effects settings.
I'm hoping this was the effect you were after?
What I did to it is summed up by saying that I moved all the cliff symbols for the base of all the cliffs onto one sheet called CLIFF LEVEL 1, and drew a white polygon to cap the top of that level and stop the shadows showing on the inside of the cliffs on the same sheet. I then moved all the cliff symbols from all the map that represented the second level of the cliffs to a new sheet called CLIFF LEVEL 2, and drew a white polygon cap for that level too. Same for all the level 3 cliff symbols.
I moved the 3 new sheets down to the bottom of the map so that everything else appears on top of them and adjusted the shadow effects so that they blended better with each other (more blur). There are a couple of tree symbols I guess you wanted to put on the cliff itself, but which now appear to be floating because they are no longer under the shadow of the cliff 'above' them, but you can make a new SYMBOLS LEVEL X sheet (where X is the level number of the cliff they are supposed to be sat on), and move them there if you prefer.
I hope this has helped. You were nearly there. Things will get easier with sheets and effects as you go on.


