


Loopysue
Loopysue
About
- Username
- Loopysue
- Joined
- Visits
- 9,968
- Last Active
- Roles
- Member, ProFantasy
- Points
- 9,853
- Birthday
- June 29, 1966
- Location
- Dorset, England, UK
- Real Name
- Sue Daniel (aka 'Mouse')
- Rank
- Cartographer
- Badges
- 27
Latest Images


-
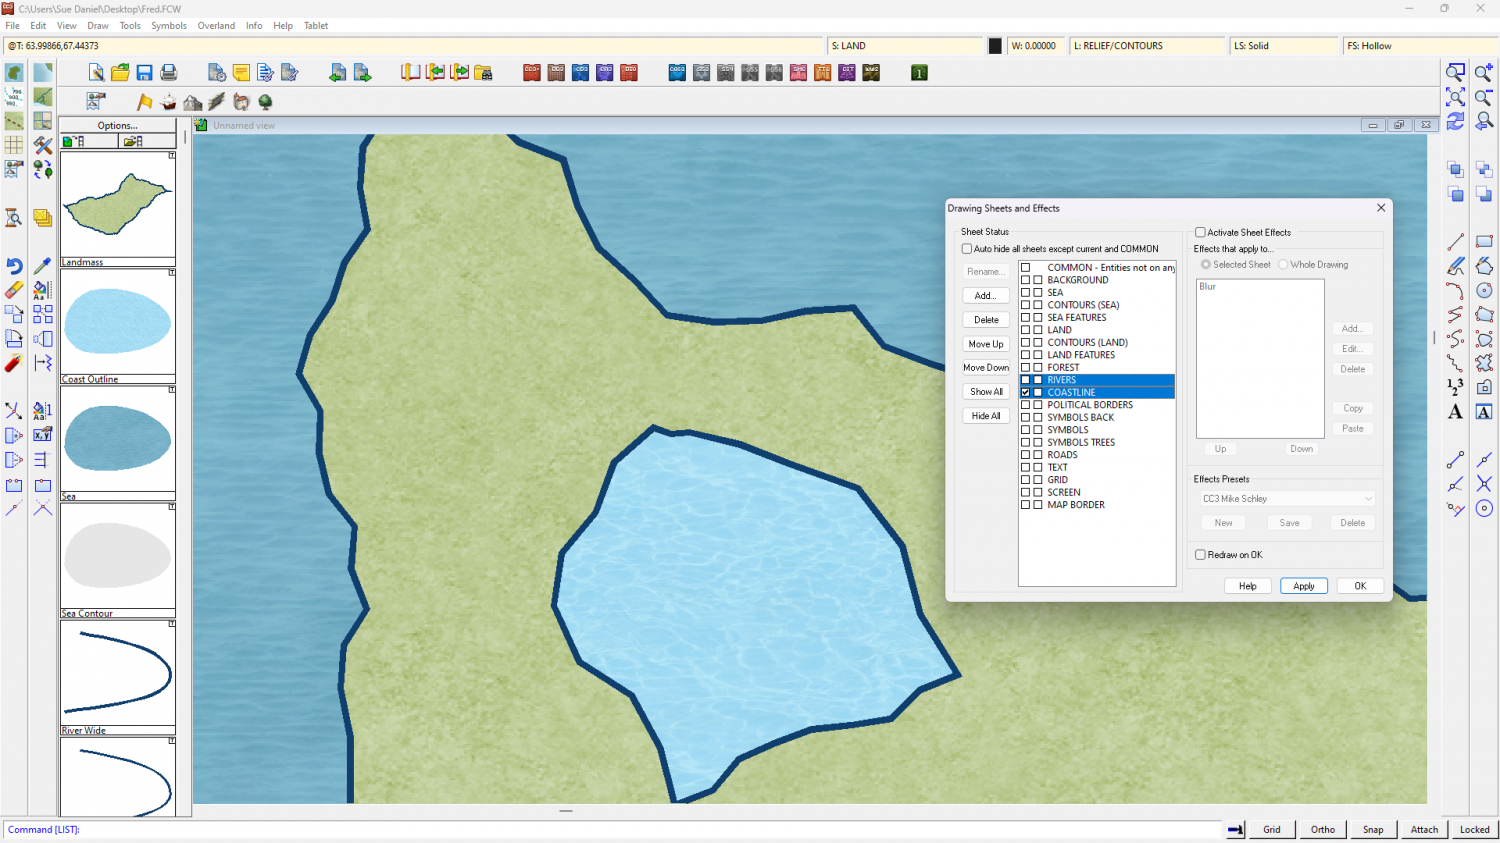
How to edit lake borders
In this style the outlines are entities in their own rights and separate to the land and lake polygons that contain the corresponding green and lighter blue textures.
Both outlines are on the same COASTLINE sheet, but the sheet order means that where the land polygon is below the coastline, the LAKES are above the coastline. So half the width of the line around the lake is obscured by the lake polygon.
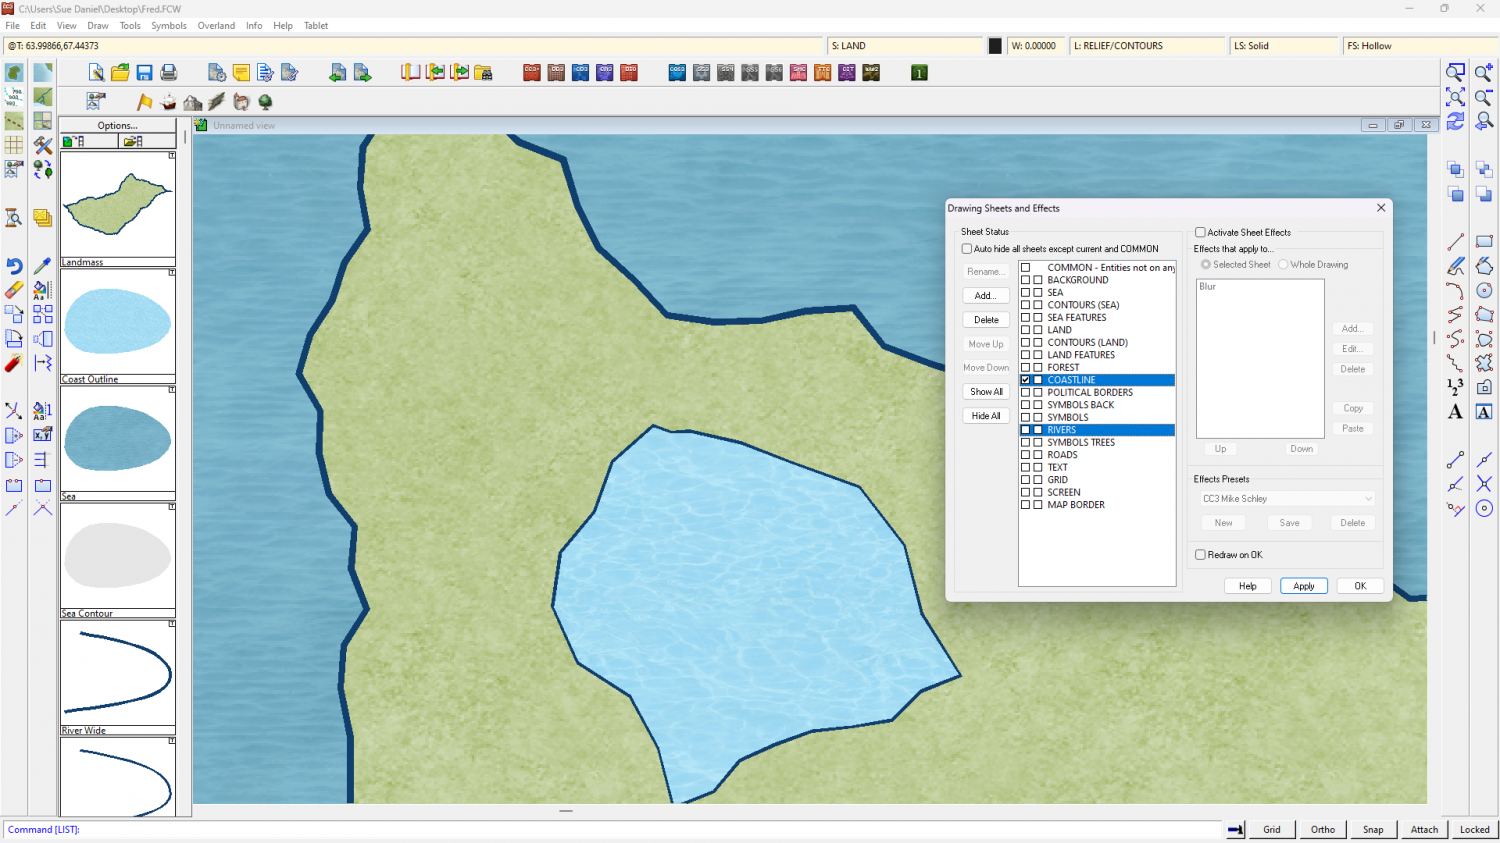
If you move the RIVERS sheet up to just above the COASTLINE sheet the coastline and the line around the lakes will appear to be the same width.


-
[WIP] Trying to design a barrel roof
I'm not aware of any purpose made app that will do that, but I've always done mine using the method described in the Tome starting on page 407, where the instructions are given for how to do it in GIMP - a free bitmap editor.
In a nutshell the apparent pitch of the roof is dictated by the amount of blue in the map file, while the direction it faces is controlled by the amount of red. The combination of red and blue creates a strangely beautiful 'map' of the roof that CC3 uses to shade the otherwise flat bitmap image of the tiles, or thatch etc.
To create a barrel roof map file you would have to use a gradient for the blue, but once you understand how it works it's not impossible to make your own.
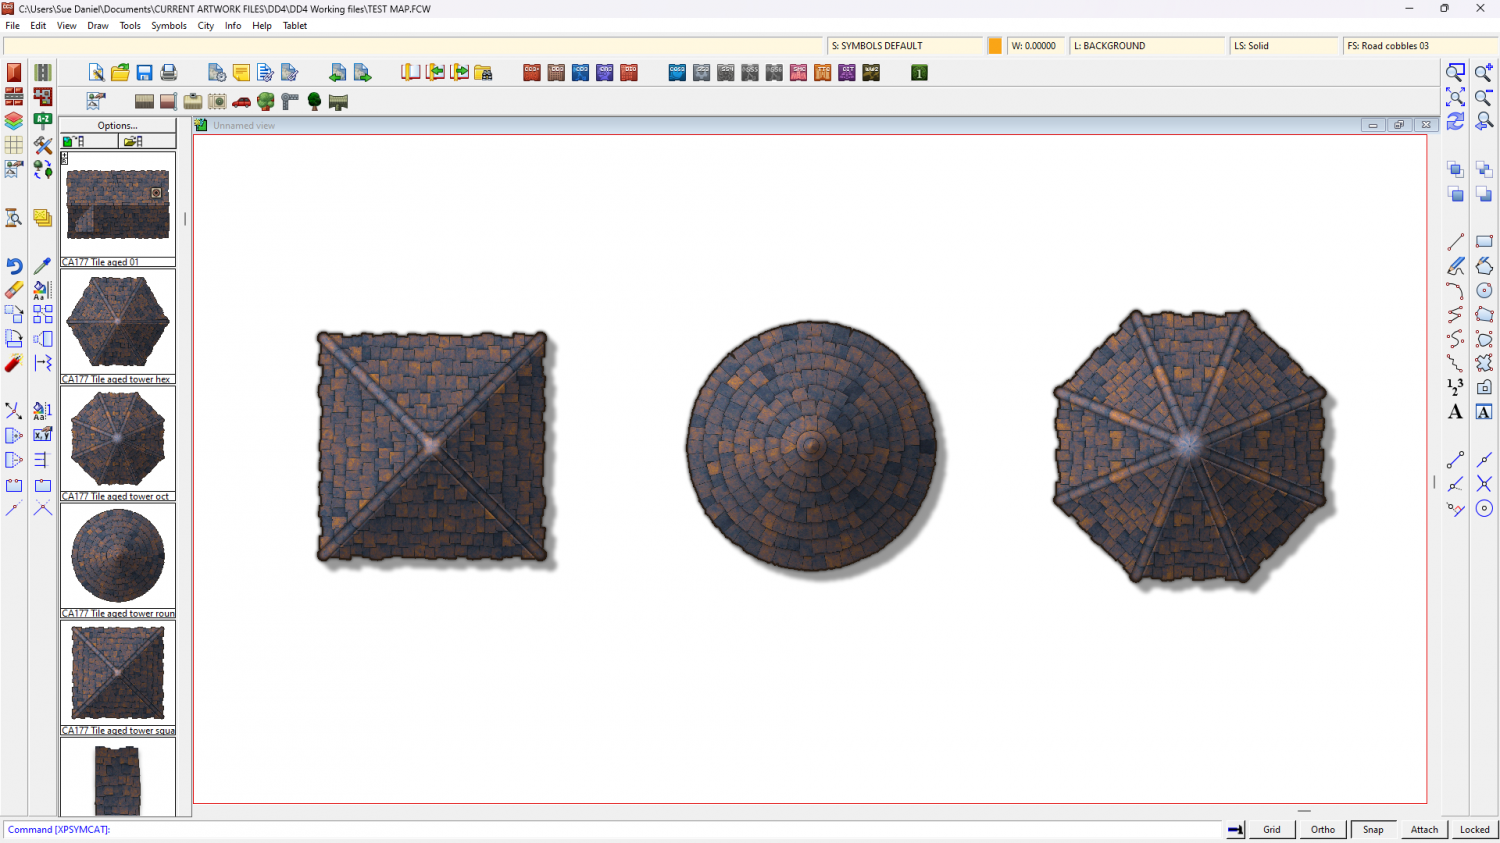
In this shot I took of a couple of the building symbols in Darklands City, you can see how the red factor of the purplish map files changes in a radial pattern from 0 red to 255 red in an anticlockwise fashion (RGB values). And you can also see that the corresponding roof bitmaps are flat as pancakes until they are combined with the map file in CC3.

All in all, for a one off barrel roof in a single map like this it might be too much time investment to go as far as making a proper bitmap symbol with a map file for shading, so shaded polygons can do a reasonably good job.
The result in CC3:

-
Expanding a Map
In the File menu you will find "Resize Drawing Area". This command will open a small dialog in which you can enter the new desired size of your map. When you hit OK the background, screen and map border should all stretch out to the new size, leaving your original map content anchored in the bottom left corner. If you want it placed centrally you will then have to carefully box select the contents of your map and move them to the new centre.
This command is very successful with newer styles, but since it is a new command it doesn't necessarily work that well with older styles, so it is as well to save a copy of your file before you try it.
If you have a resize error just shout again and we can guide you through the process of adding the relevant map note and making sure the screen, background and map border are all on the correct layers.

-
[WIP] - King's Shire - critique sought.
I showed all the sheets and hid all layers except the MAP BORDER on the Area Map and discovered there were 6 entities there. One was a screen. That's the white thing that goes around the outside of the map, and it belongs on the SCREEN layer, not the MAP BORDER.
I put it on the SCREEN layer, but that still left 5 entities on the MAP BORDER layer. However, these were all either lines or polygons with exactly the same extent, so I deleted all of them and replaced them with a single black hollow rectangle of exactly the same extent using the snap grid. It's possible that you may have accidentally copied pieces of the original MAP BORDER while you were working on the map. To prevent this happening I have frozen both those layers with everything in the right place.

Try exporting this version:
On the Winholme map I found the green lines demarking the MAP BORDER on the MAP BORDER layer were outside the extent for some reason. Not sure how that might have happened, but I have moved them back into place using the node edit tool with ATTACH turned on to snap them to the actual corners.
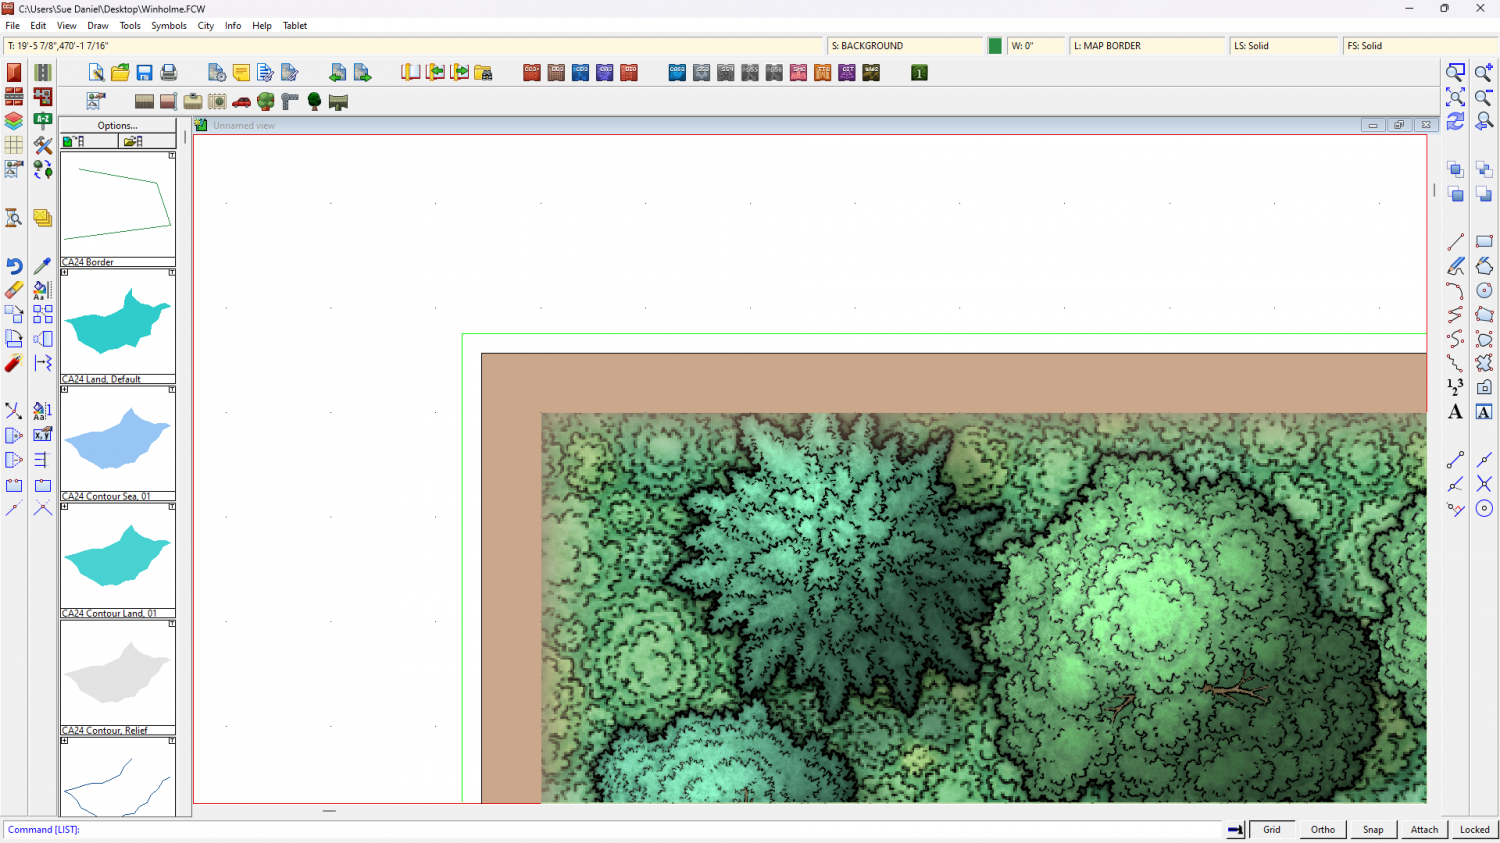
Try exporting this one:
-
Trouble understanding and accessing styles
CD3 Bitmap A Bogie is not an official Profantasy style. Its part of the Bogie's Mapping Objects installation and relies on you also having CD3 installed. From the screen shots you are showing us it seems you might not have CD3.
The answer to the second question is yes you can assign more catalogue files to each button in a map if you want to. Remy shows how to do it here.
If you want to examine the contents of any catalogue file you have open you can right click over the symbols pane to open it up across the window. Right click again to close that view.

