


Quenten
Quenten
About
- Username
- Quenten
- Joined
- Visits
- 8,061
- Last Active
- Roles
- Member
- Points
- 3,088
- Birthday
- November 29, 1950
- Location
- Australia
- Real Name
- Quenten Walker
- Rank
- Mapmaker
- Badges
- 16
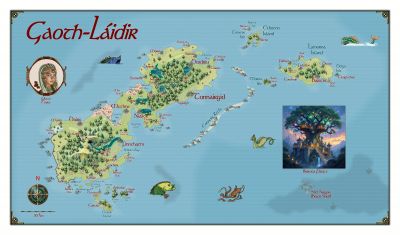
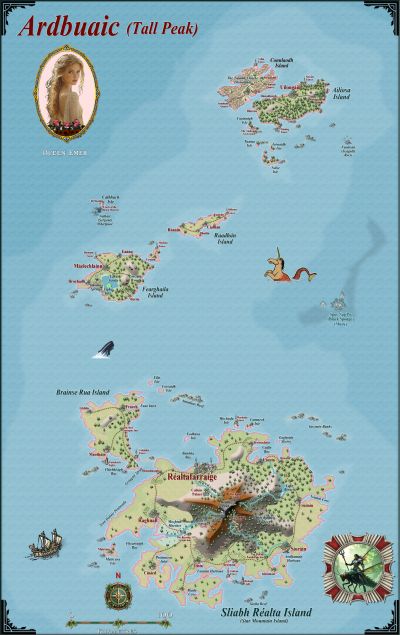
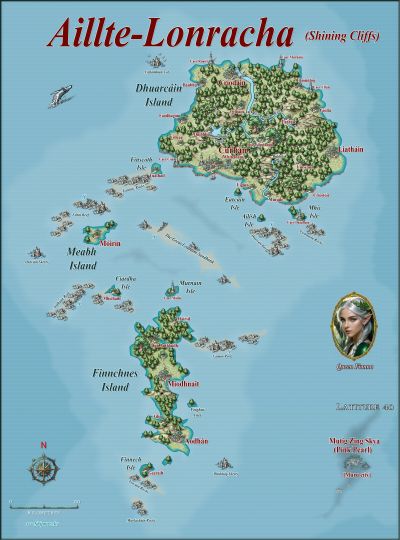
Latest Images
Reactions
-
Creating large cities without crashing
My advice is to show only all the buildings by hiding all sheets without Buildings on them, then dividing the buildings into various districts suing layers. Then hiding all building layers except the district you are working on. And the more bitmap symbols you use, the better - i know it takes longer, but the map will actually look better as well as run better.
Here is your FCW with the buildings divided into 5 separate layers - North, South, East, West and Central. You can hide those layers except for the district you are working on. I suggest you use bitmap buildings for at least 20% of the buildings you have in the map - just delete a few houses here and there and use bitmap ones instead.
Incidentally, I had no trouble or even much of a delay in redrawing the map with all buildings showing, with Sheet effects on.


-
Making outlines thicker?
What i do is add the outline like you do, then press change properties, then P for prior, and make the outline whatever colour, sheet, line thickness, line style i want. Also important to press solid in the change properties dialogue if you change the thickness from 0 to anything else

-
Reinstalling - query re Symbol Set 3 modern & Cosmographer Pro
Sue, your lineup is missing Perspective, and Token Treasury 2

-
[WIP] City of Wolfwell Falls (CA211 Watabou City Revisited)
It only works on polygons, not lines, and I think Royal Scribe has used the line tool, not the polygon ones.
-
Problem with combining path
First I had to cut the two areas to delete the lines joining them - which was a bit tricky. Then, I have used SIMPLIFY, with unit of 1, successfully combined the two, then fractalized with depth 40, number of times 1. The main mass is in red.
I suggest you use Glow, outside, colour 66 with appropriate blur size, and strength as 100 to give the coastline effect, rather than a separate coastline sheet. This cuts out the problem of nodes too close together.
I hope this helps.
