Loopysue
Loopysue
About
- Username
- Loopysue
- Joined
- Visits
- 9,974
- Last Active
- Roles
- Member, ProFantasy
- Points
- 9,854
- Birthday
- June 29, 1966
- Location
- Dorset, England, UK
- Real Name
- Sue Daniel (aka 'Mouse')
- Rank
- Cartographer
- Badges
- 27
Latest Images


-
Room for improvement?
They look good to me :)
I am a little concerned about the way the grey tone one will turn out in print. This style isn't designed specifically for BW reproduction and may look a little flat unless the printing quality and the paper are both pretty good. Try printing it out on paper of similar quality first. If it looks bad, try increasing the contrast a little, or even using a tone curve on it in a bitmap editor.


-
And like a bad penny, I keep showing back up!
When you install the update you will probably get a message that tells you you have a newer version installed. If you do, just ignore it and carry on installing the update.


-
Change the contour of a landmass to a predefined path on another sheet
Stage 1
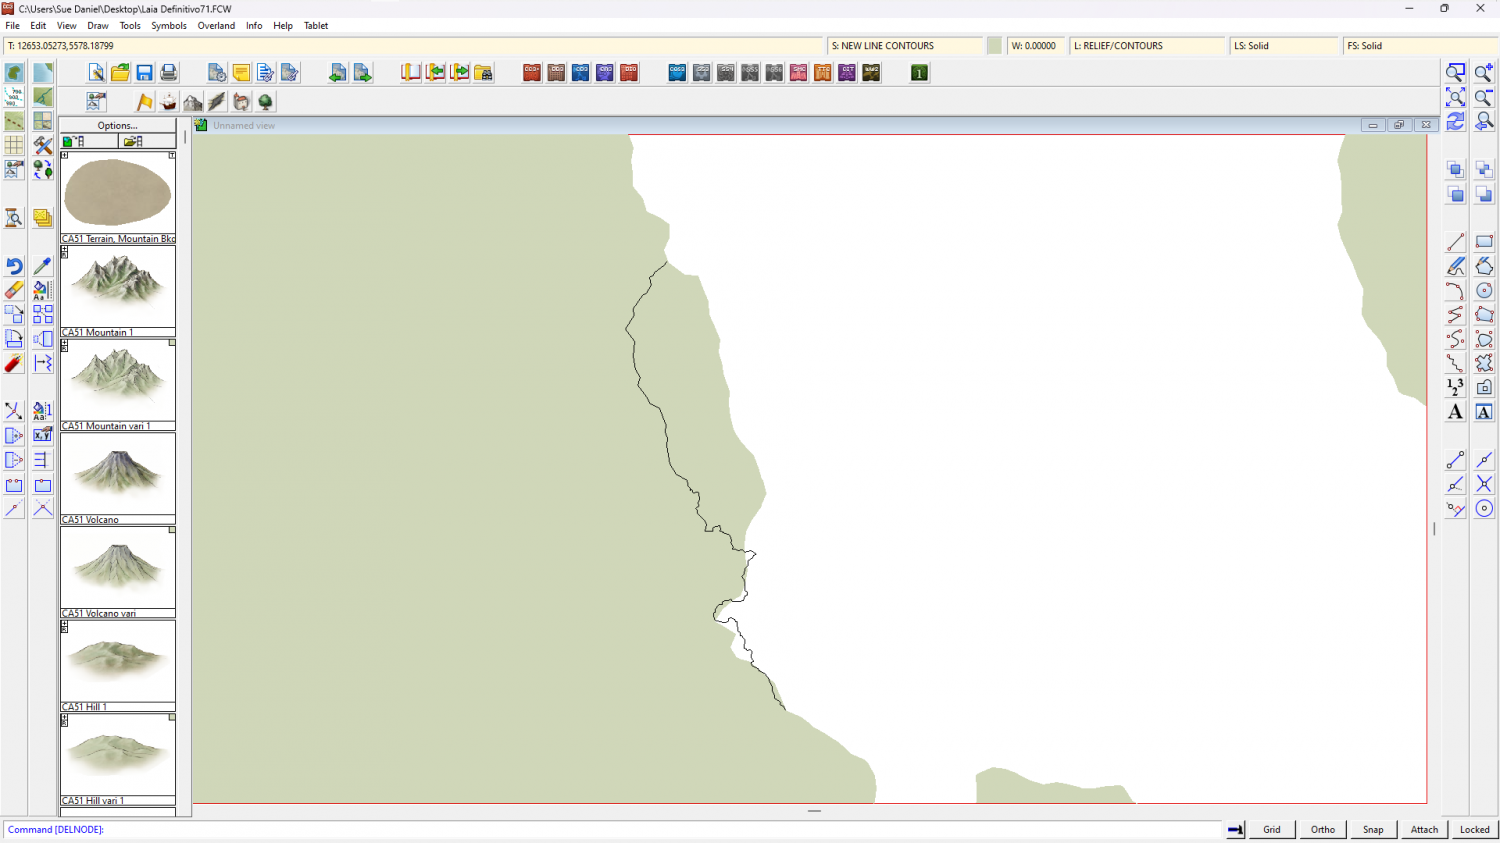
I exploded the land polygon because as an export from FT3 it was automatically a 'multipoly', which means you can't edit it or trace it. Then I hid the land and trimmed that black line down to just the wiggly side so I could see what I was doing.
As a side note to that simplified instruction - although I had picked the properties of the land before I exploded it, so that the exploded polygons would have the same properties as the original multipoly, they had a line width greater than zero, so became outlines rather than solid polygons. I put that matter right using Change Properties on all the bits of land to reset the line width to zero.
Stage 2
Next (and because I'm not great at using the editing facility of drawing tools) I decided to use the Land, Default drawing tool to trace the original landmass, breaking off the tracing at either end of that wiggly black line and tracing that instead of the original coastline in that area to close the polygon. The default land drawing tool uses a different fill colour to your original land mass, which is coincidentally convenient to show the result.
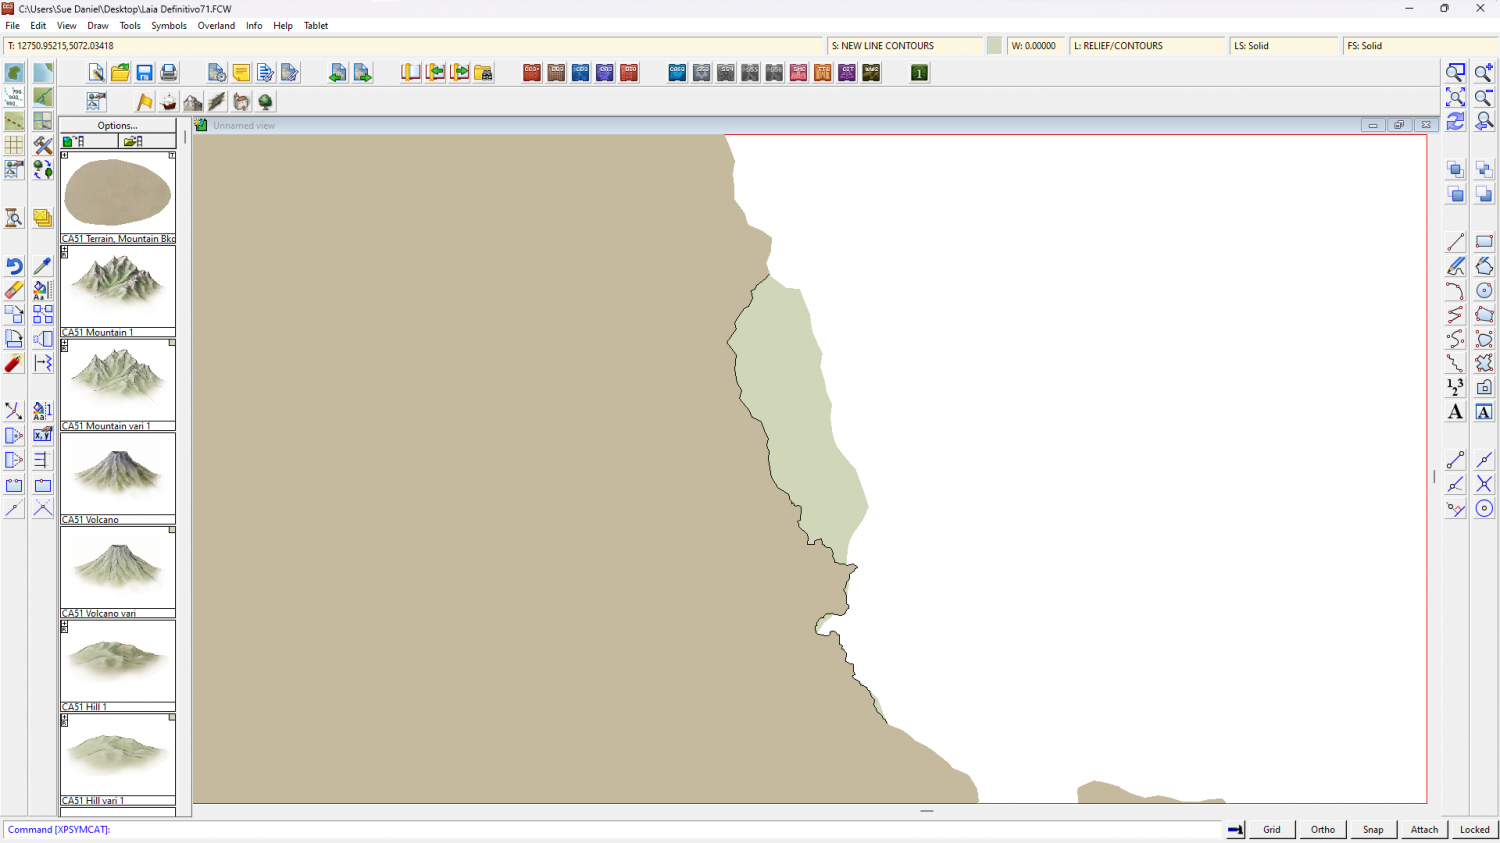
I then deleted the original landmass, hid the black line, changed the colour of the newly traced landmass to match the rest, and picked out the lakes in solid magenta (colour 6).
Another side note here. FT exports are notoriously full of far too many nodes, which makes the drawing sluggish. Since this map has only just begun I used the SIMPLIFY keyboard command at a distance of 5 units (you are prompted for the setting in the command line), which greatly improved the responsiveness of the drawing.
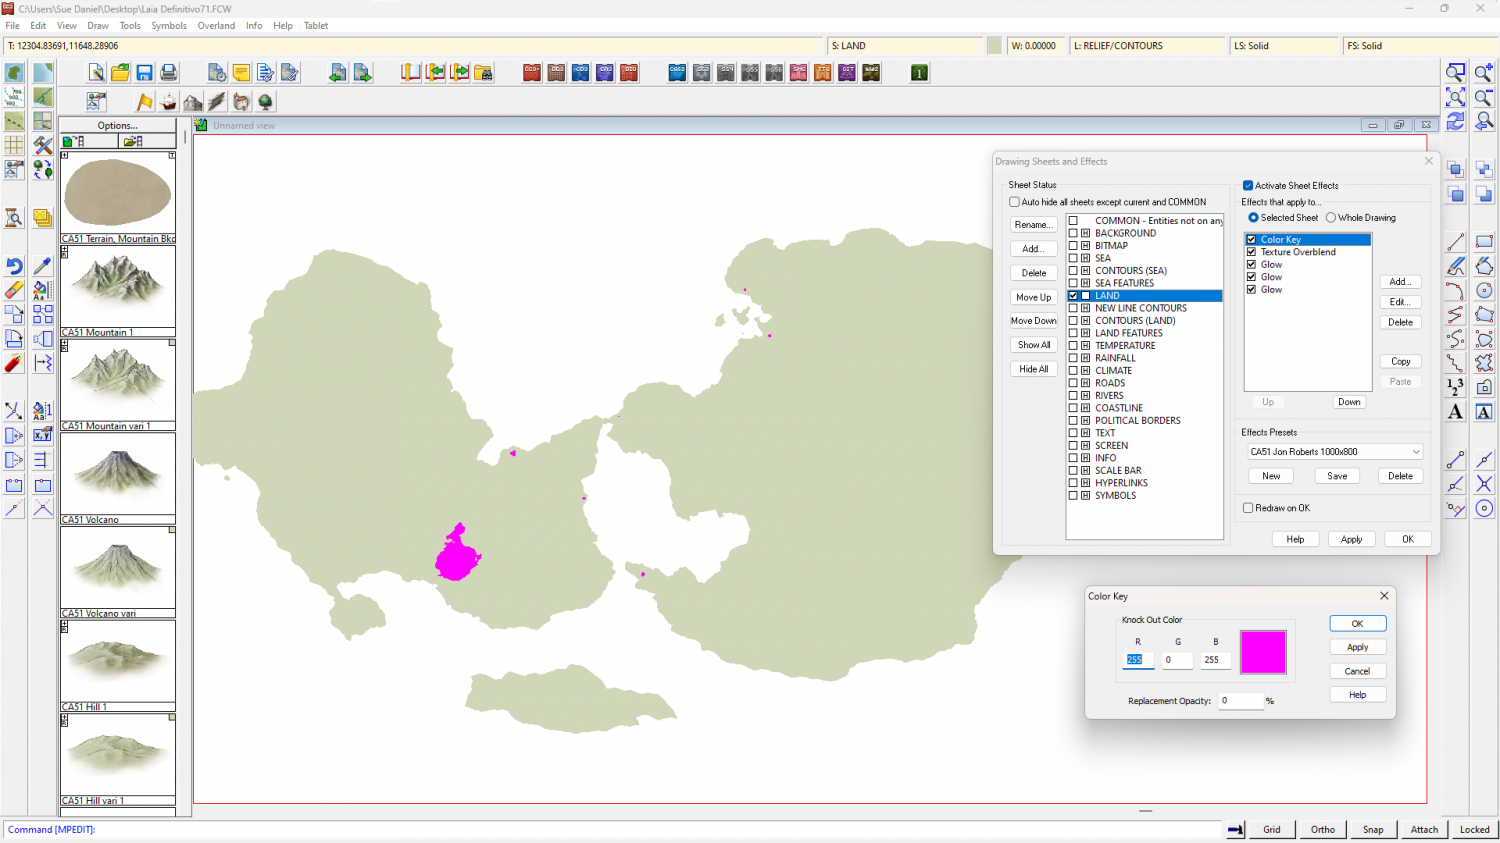
The reason for turning the lakes magenta is to use an alternative method for drawing them so that you don't have to re-multipoly the land. If you look I have added a new sheet effect to the land sheet called a Color Key. The Color Key knockout colour is magenta, so where the lakes are magenta they will become holes in the land when the sheet effects are turned on, like this.
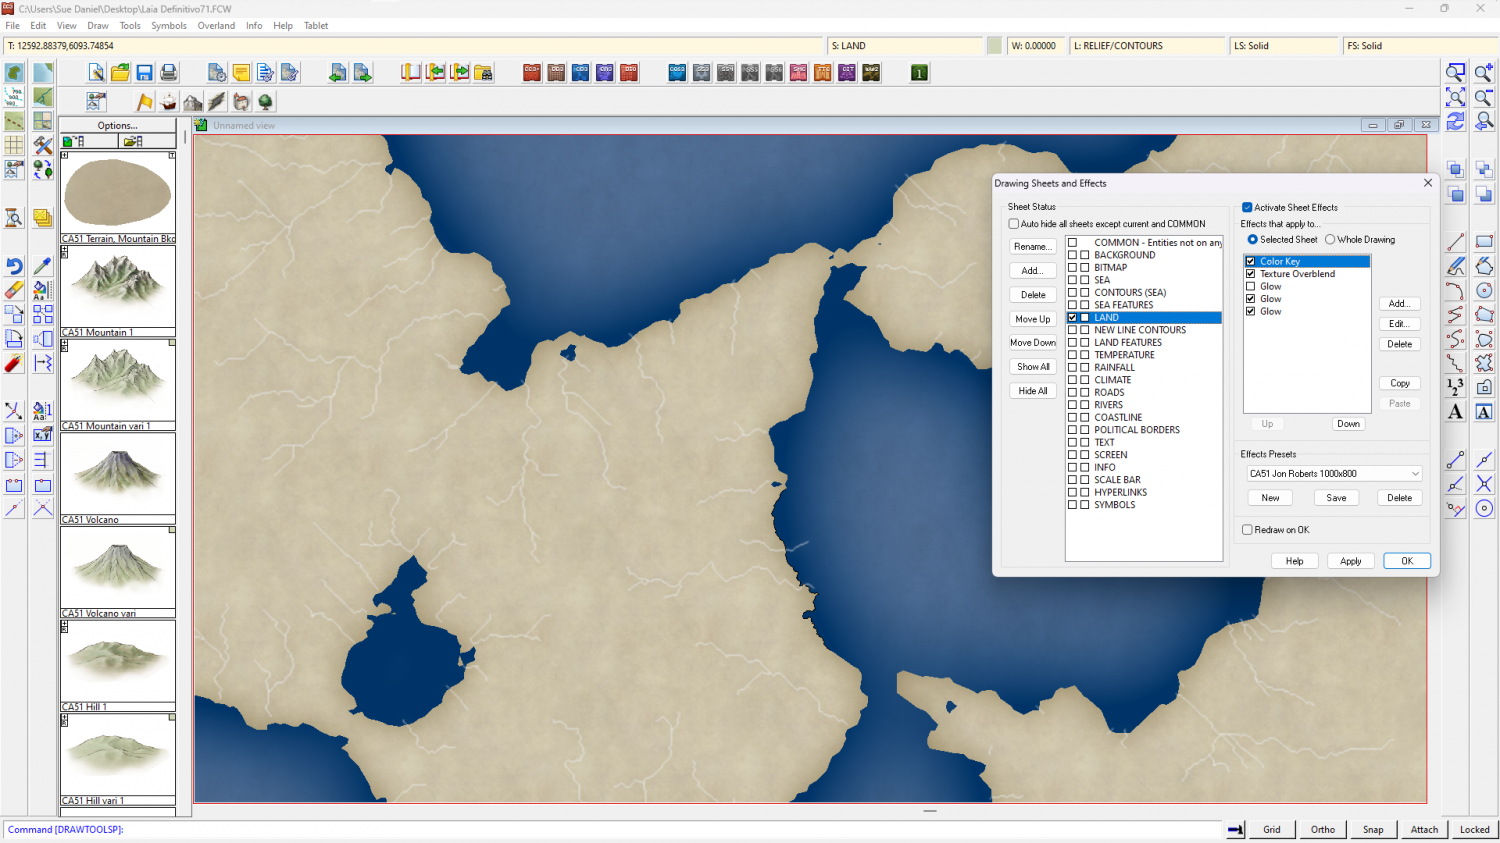
Other adjustments I made to speed up the drawing just a bit were to change the units of the LAND sheet effects to 'map units' and switch off one of the glow effects. You may find it faster to work with effects off in this very large map unless you really need them on to see what you are doing.
The full process was quite involved, so I've uploaded the end result if you want it here.

-
Middan'ord: The Realmdom of Thwendar
It is amazingly detailed :)
Those mountains are good. Where did you get them?


-
Live Mapping: Hand-drawn Fantasy
In this week's live mapping session (Thursday 8 May) Ralf will be demonstrating the most recent Annual issue; Hand Drawn Fantasy, by Ralf Schemmann, and taking the time to show us how to convert our own hand-drawn images into CC3+ symbols.
Come along and join in the chat live on YouTube here;
https://www.youtube.com/watch?v=u_igjMH_1lc
Or watch it later either on YouTube or here on the forum:*
*This thread isn't monitored during the live show, but you can put any questions you may have after watching it on this thread (or even the ones you think about before the event if you wish).


-
Seeking advice re world map and civilization placement
I think it might be a bit too massive in nature.
You have two huge mountainous regions, the smallest of which is probably the size of Africa. You might want to have a look at just how many mountain ranges there are in the combined area of Earth's landmasses, and maybe rethink those bulky summits.
There's a map on this link that shows the mountainous areas of Earth in red. It's a bit psychedelic, but the colours are as close as I could find to the colour scheme you are using for your map. Remember that the ice caps on Greenland and Antarctica account for the red in those areas, and you will see that very little of the real world is actually mountain, and that those mountain ranges are much more linear in nature and relatively short (with the obvious exception of the Andes and Rockies).
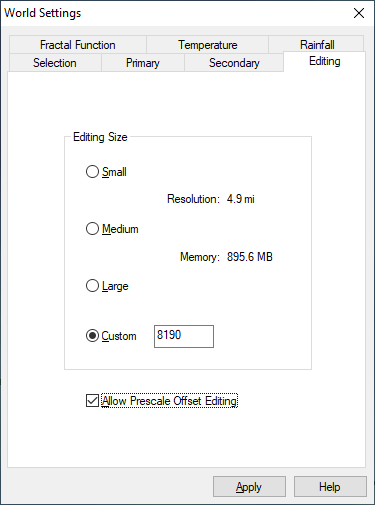
I think its possible that the way to go from here is to worry first about breaking up those masses by levelling wide troughs through them so that they really do end up on one side of the continent or the other. That will automatically make your world look like it is much larger.
The easiest way to do that with least fuss is to activate the prescale offset editing, and use only the prescale raise and lower brushes (the green ones) set large and very low powered. These brushes cause less damage to the underlying fractal. I assume you have The One Day Worldbuilder, since I think that is one of the colour schemes that comes with CA155, so this is probably a repeat of information you already have ;)

-
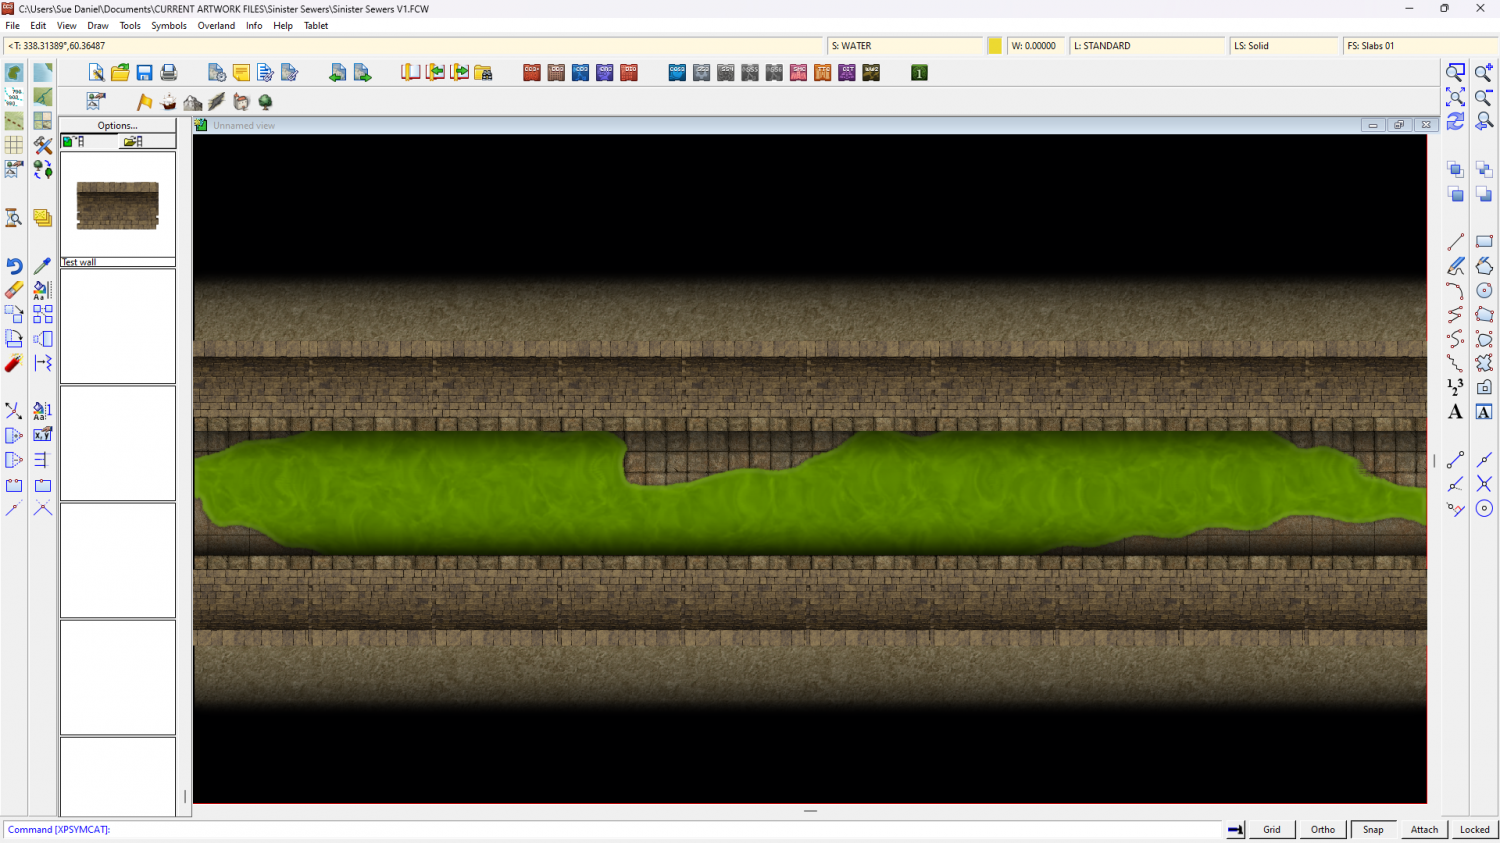
Sinister Sewers - Style Development Thread (CA207)
Thanks for the suggestions, everyone :)
Actually, Quenten... They might have been adjusted a little since this composite screen shot was made just after the last image in this thread, but....
-
Sinister Sewers - Style Development Thread (CA207)
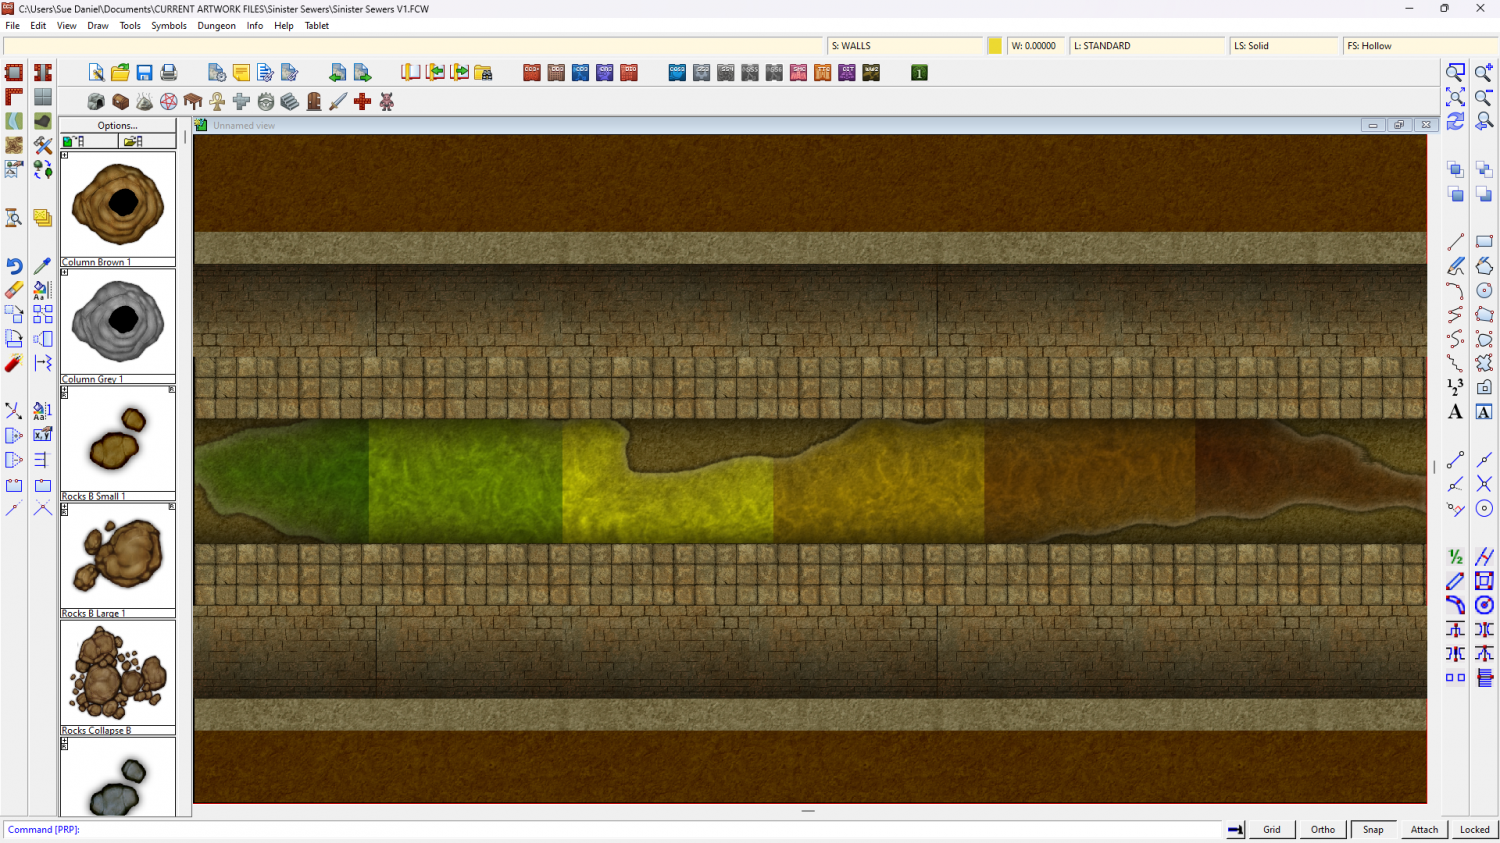
On the progress front, I'm still working on the outer walls of the sewer. I think a nice rugged stone fill would be better on the outside of everything fading into the black, but that's for later.
These wall segments (when I've got them right) can be used at any width and will probably be a connecting symbol in the imperial style.
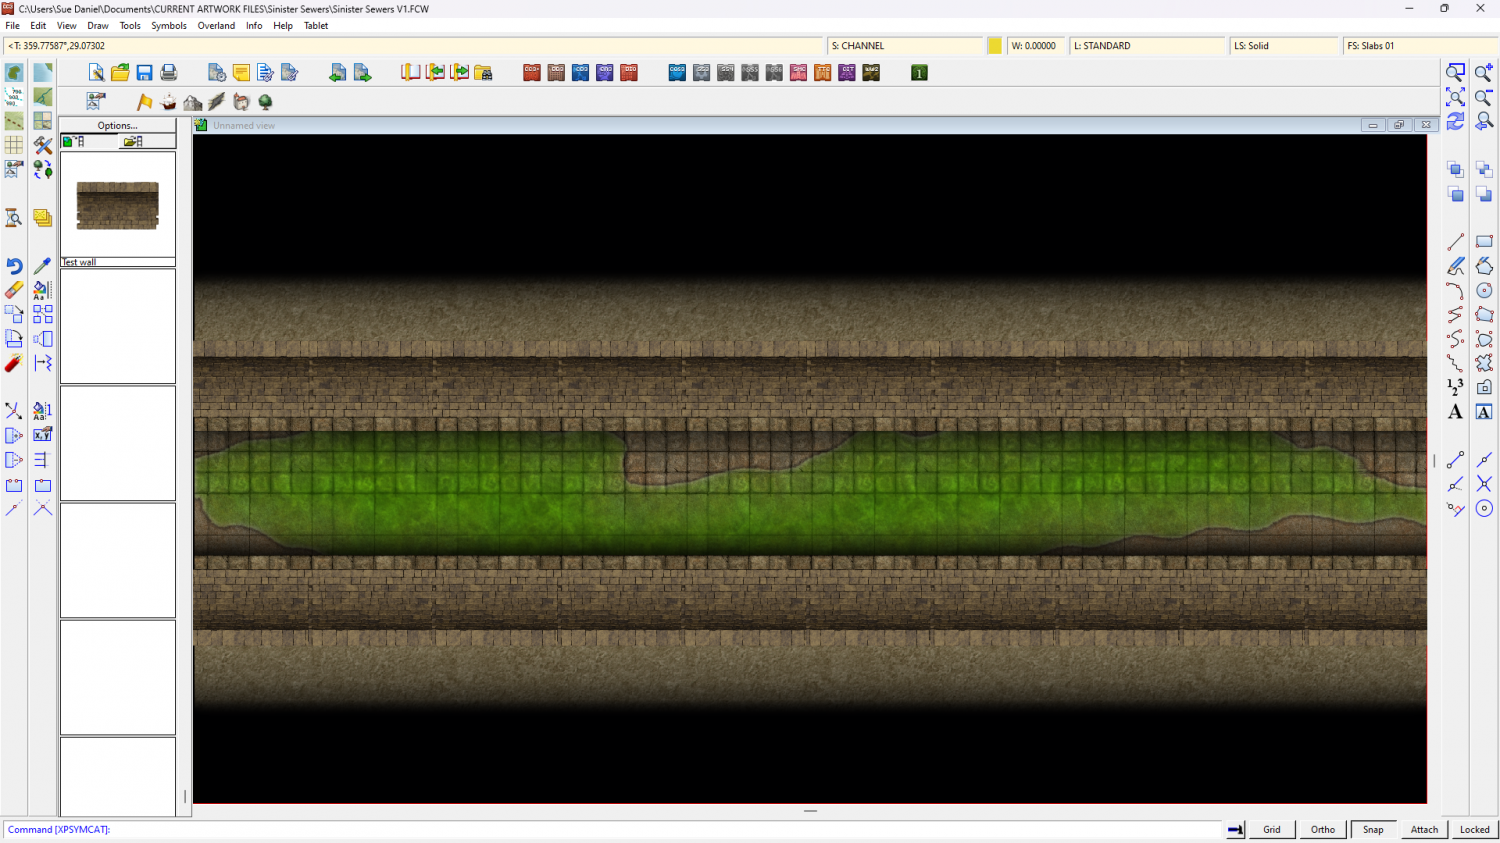
And this is without the Blend Mode effect for those who want their water murky.
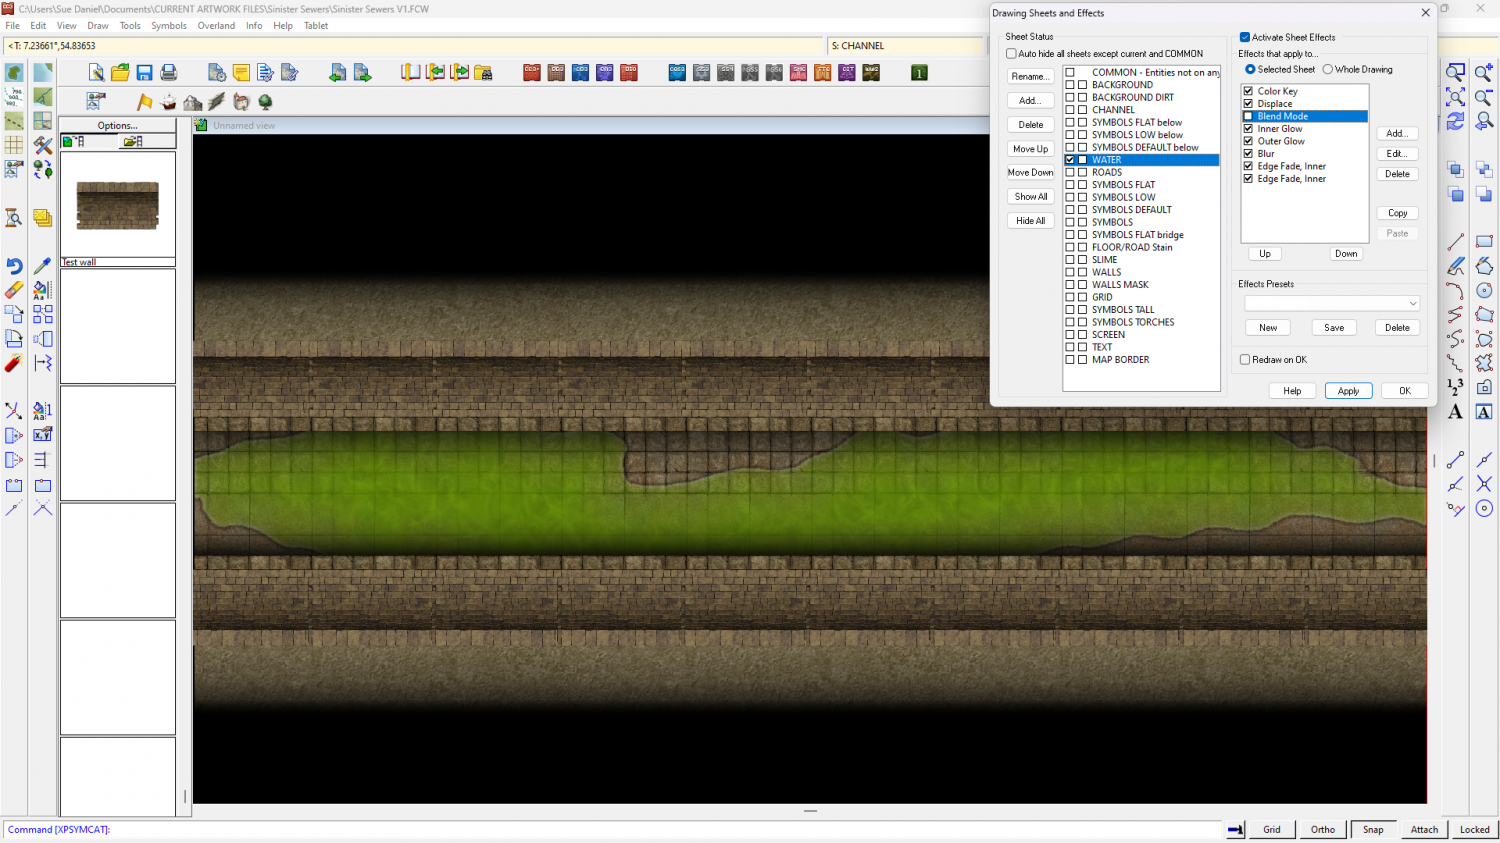
And for those who want it like slime just turn off the EFIs at the end of the list.
-
Help with editing a landmass
Hello pabadger :)
The simplest way to do this is to Use the Land drawing tool to draw a third landmass that traces both of the existing ones.
1. First, ensure that both those landmasses are made of straight polygons instead of smooth ones by right clicking the Fractalise button |CC2FRX|and picking smooth to straight. Use the tool to turn both landmasses straight. This may make it look slightly different if they happen to be smooth, but you can reverse the process using Straight to Smooth from the same right click menu on the new landmass when you are done tracing.
2. Pick the land drawing tool (preferably the straight one if there is a choice) and click once on any point of the land, then press letter T on your keyboard to enter tracing mode.
3. Pick the coast not far away from where you started, and then start the trace with a second click between where you started the line and where you indicated the trace operation.
4. Drag the trace line to where the two landmasses join, making sure you don't trace any of that bit where it overlaps, and end the first trace by clicking there. Don't end the drawing. Just end the trace operation. Then press T again and start a second trace operation to trace all the way around the other landmass until you get back to the other side of the overlap.
5. Do a third trace to finish the job by completing the trace around the first landmass back to where you started. When you get there, that is the point where you need to end the third trace and then finish the drawing operation.
Once the single landmass has been drawn in that single 3 part tracing operation you can delete the 2 older parts, and turn the coastline back to smooth if you prefer it that way.

-
WIP: Manor house (problem with walls)
Once a polygon is shaded you can rotate it intact. the shading will stay aligned to that side of the polygon. Try it and see.