


Loopysue
Loopysue
About
- Username
- Loopysue
- Joined
- Visits
- 9,989
- Last Active
- Roles
- Member, ProFantasy
- Points
- 9,864
- Birthday
- June 29, 1966
- Location
- Dorset, England, UK
- Real Name
- Sue Daniel (aka 'Mouse')
- Rank
- Cartographer
- Badges
- 27
Latest Images


-
Tool control background fill color
-
Tool control background fill color
Could you open your colour palette and show us a screen shot of it?
To do that you click the colour swatch in the top bar. This is the colour palette I am working with right now in the Marine Dungeon style. It is a little different to the one you will have, but the important colour is colour 0 (zero), top left. That one should be black.


-
Tool control background fill color
I can see the problem straight away.
Colour zero should be black.
Does it go black if you click "Use Default PAL"?
-
Trim problems in navigation lines
Here is how to make the circular array in a bit more detail than I wrote in the blog.
Start with the circle, and a single vertical line from the centre outwards.
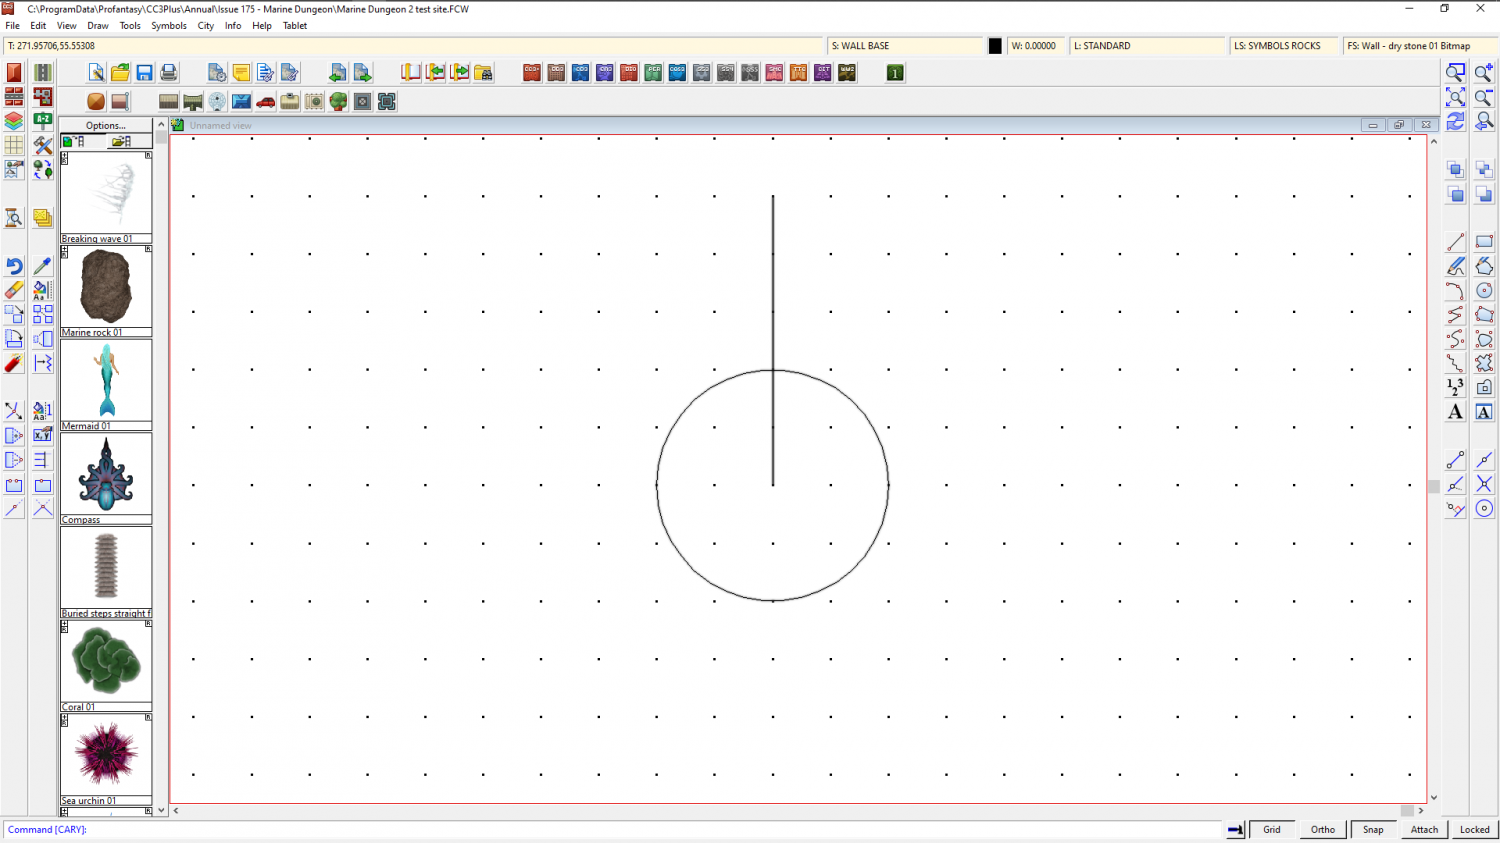
Then right click the copy tool on the right :CC2COPY: and pick Circular Array from the dropdown menu.
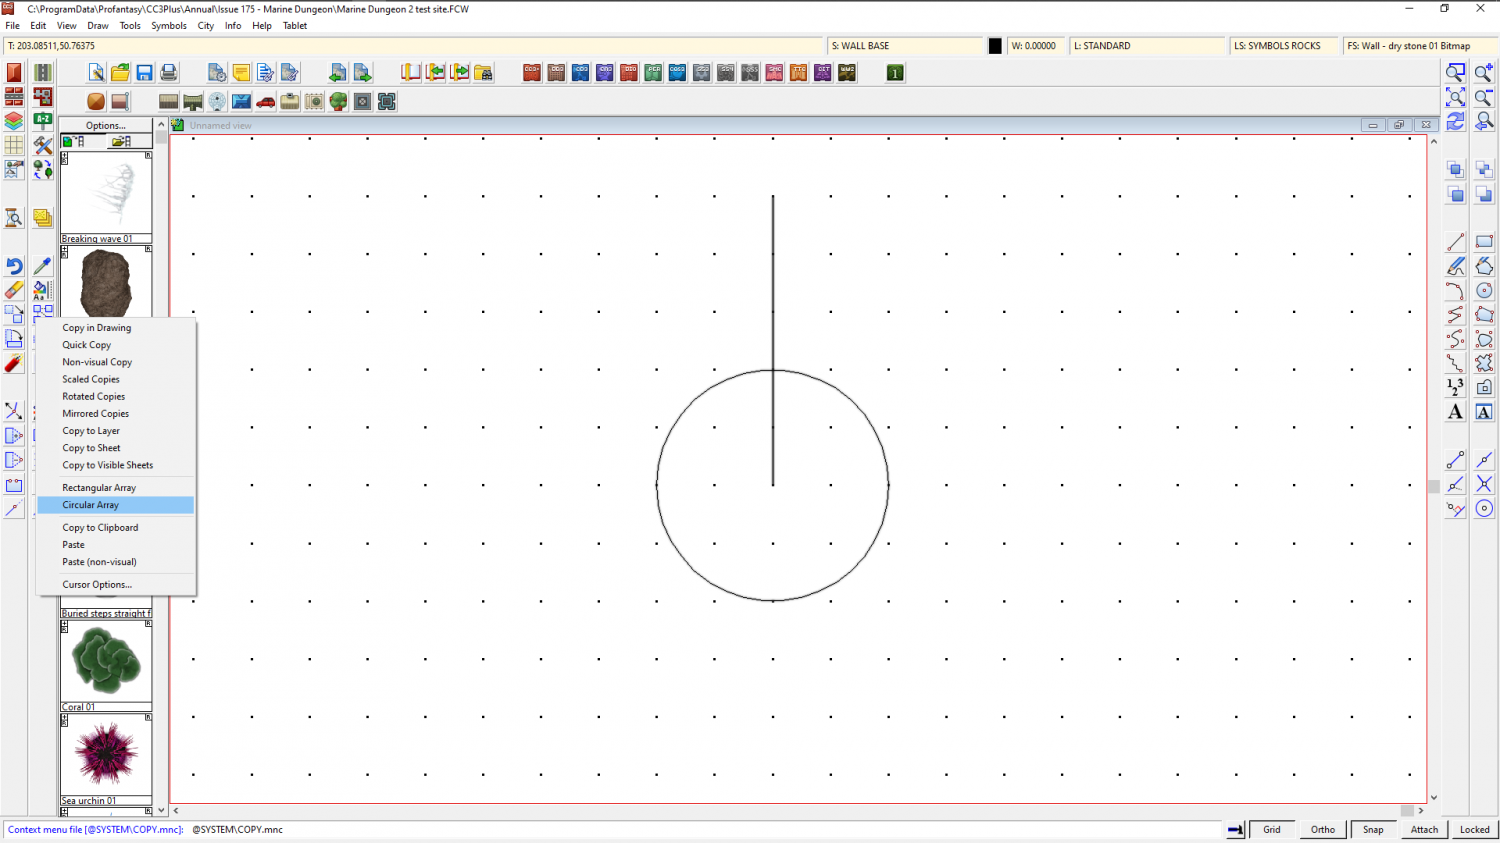
You will have a small square on your cursor. Pick the vertical line with that square and then press D for do it, and read what it says in the command line at the bottom of the screen, where it is asking you for the Number of spokes. I want 12, so I type 12 and press Enter. Then the command line asks you for Number of rings. The default is 1, so just press enter, since we only want one ring of spokes.
The command line should now be asking you for the Array centre, whic is the centre of the circle, so click at the centre of the circle. Since you have SNAP turned on your click will automatically be accurate as long as you are reasonably close to the grid point at the centre of the circle.
Then you will be asked for the Copy Origin, which is again the centre of the circle, so click there a second time.
Finally, the Command line will check the angle you want between the lines of the array. Just press enter, and the array will be drawn atuomatically for you.
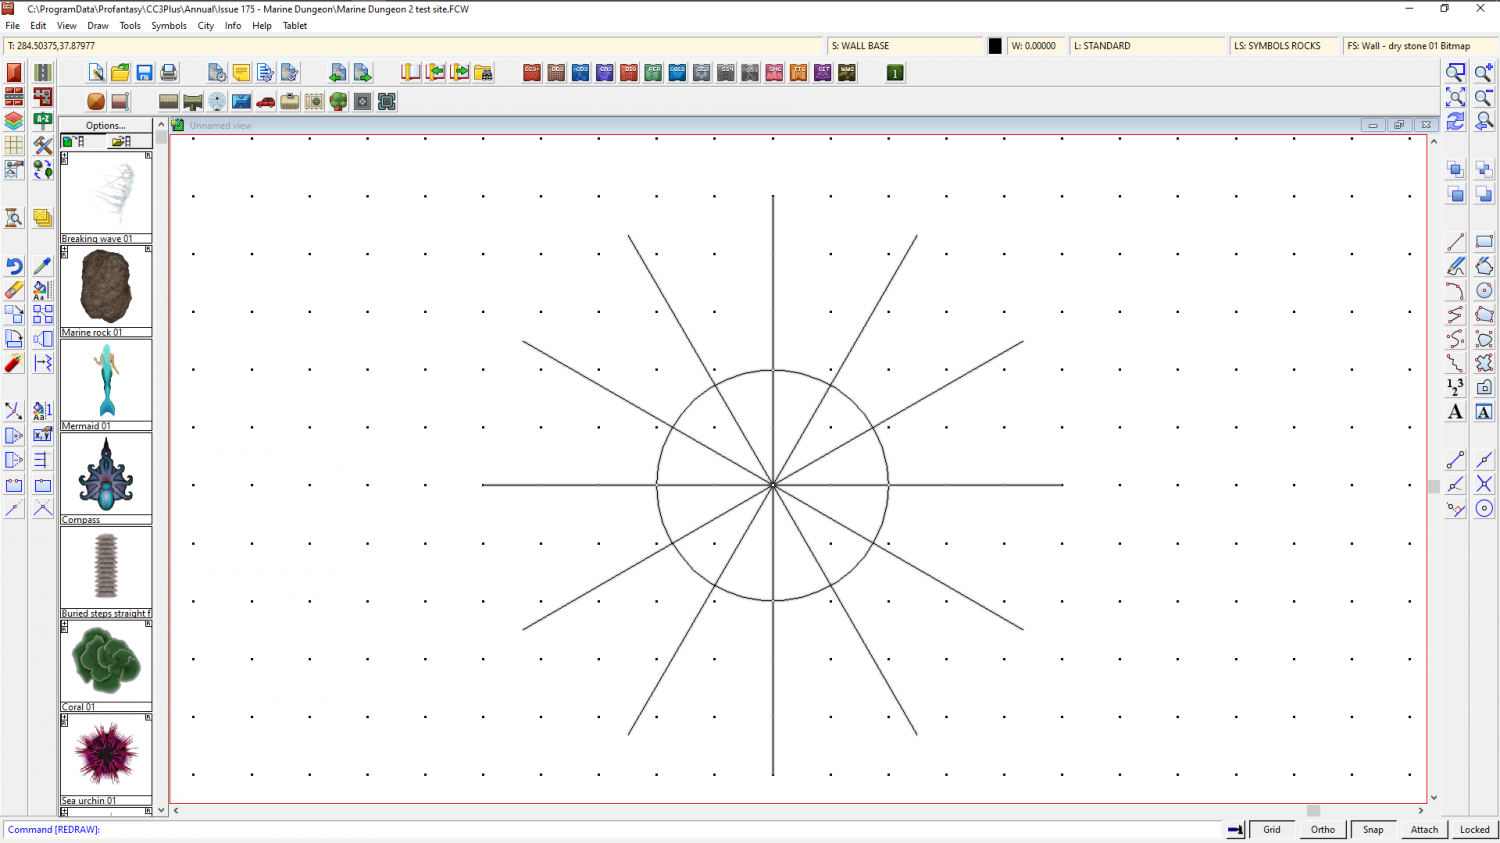
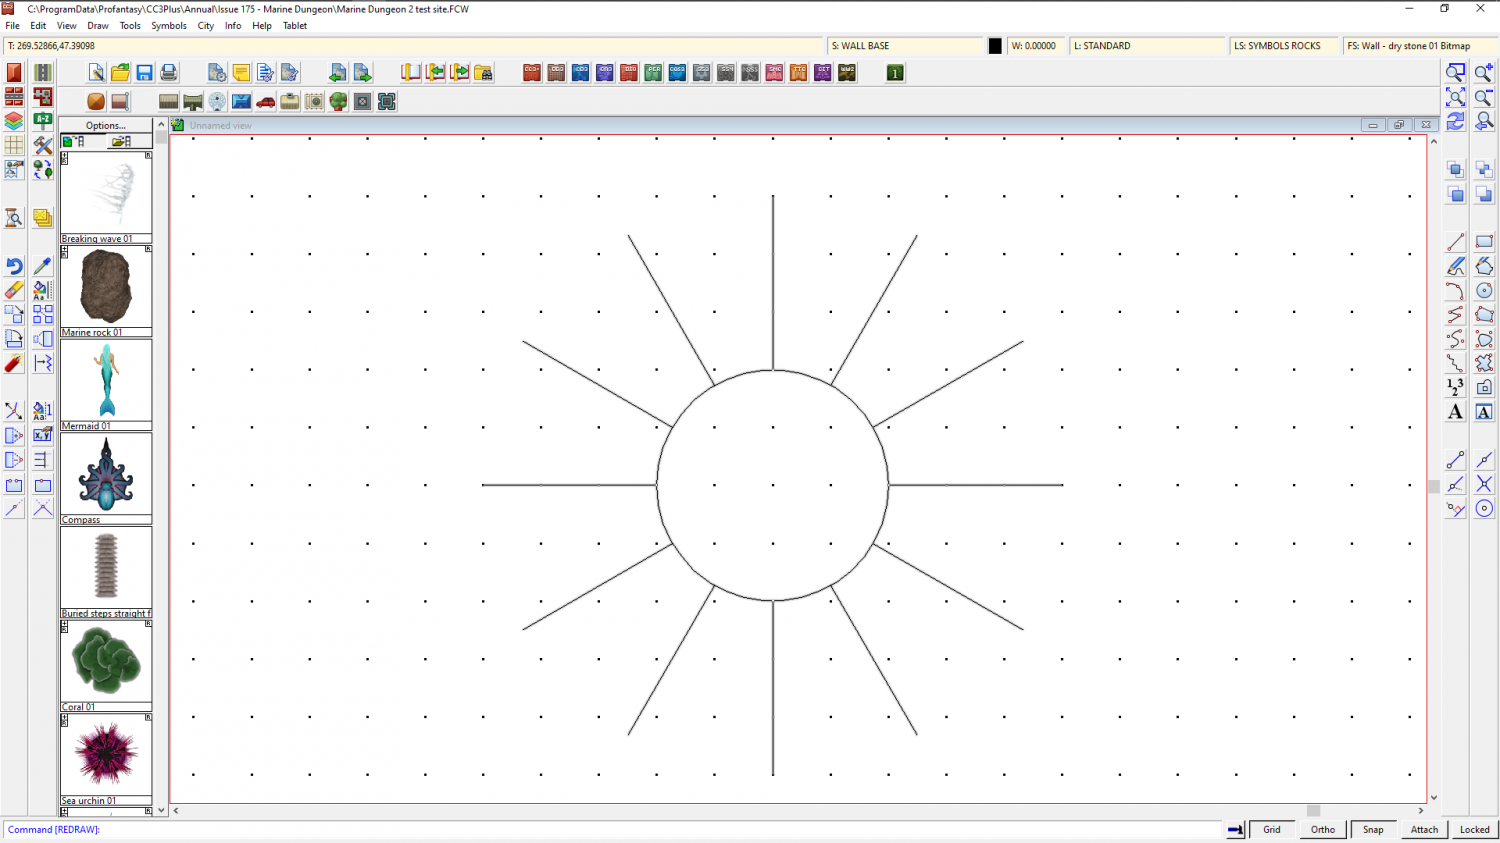
The drawing above shows the resulting circle with 12 equally spaced lines at 30 degrees from each other that all end in the centre of the cricle.
When you use the Trim to command as described in the blog you should be able to trim all 12 to the outside of the circle as described, because they are separate lines that end in the circle, and not only 6 lines that cross the centre.


-
Map of a real region
I love the map, but I'm a bit confused about the issue you describe with the symbols you made.
If they are bitmap symbols, and if it is that they don't look like they are draw on the paper background you could try importing the paper background into whatever app you are using to create the symbols, and multiplying it over the symbol at an appropriate opacity. That should imprint each symbol with the same kind of texture as the rest of the map.

-
What printing suggestions do you have for printing maps as art?
At this size it looks good - nice and clear, no fuzzy bits or problems.
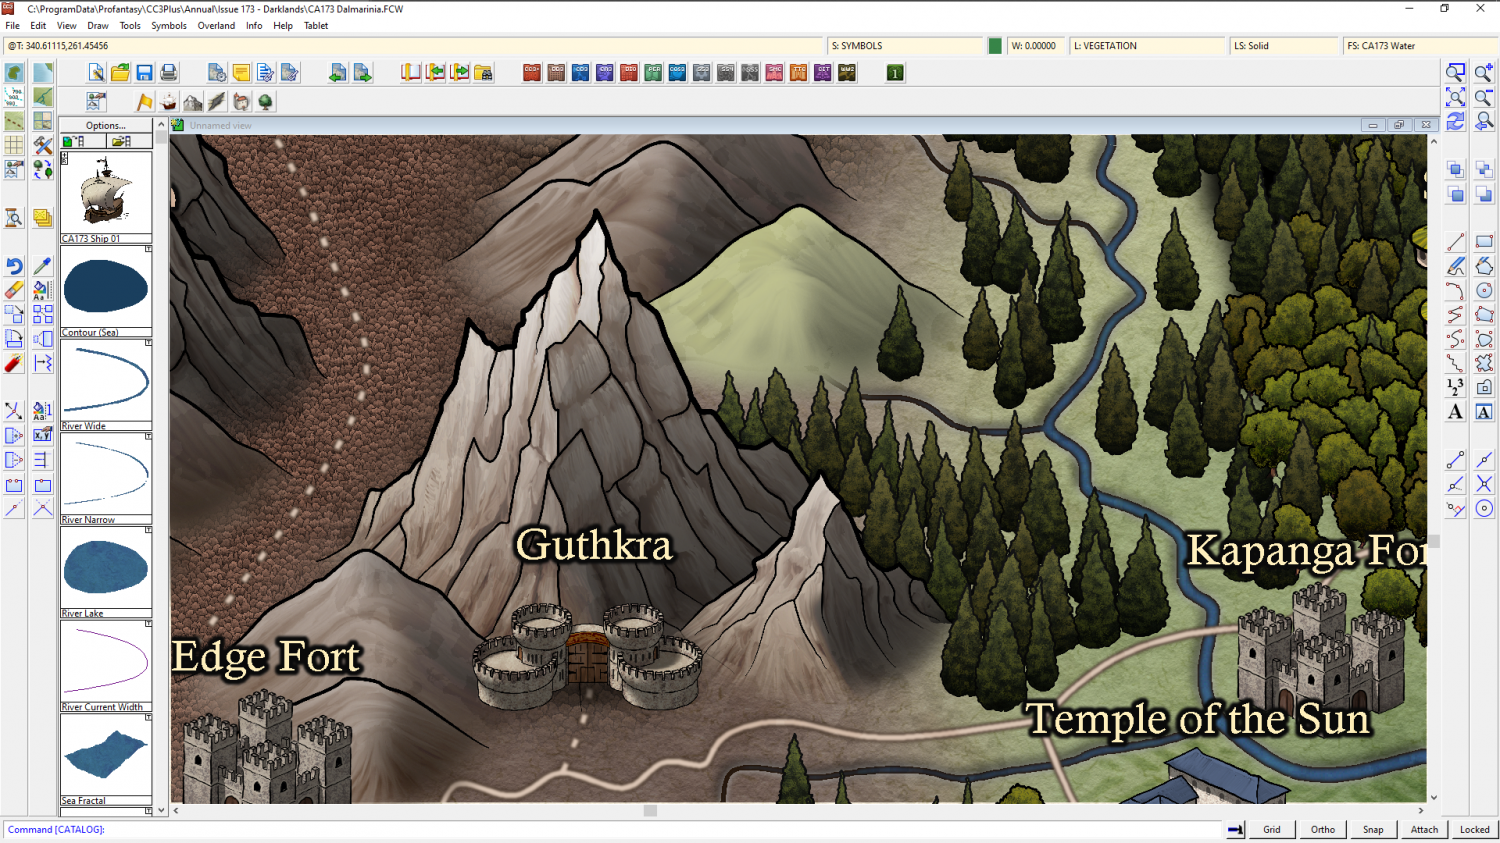
And this is quite large - large enough to print the map so that the mountain is maybe 2 inches tall in itself within the map and it would still look fine.
but if you blow the entire map up to wall size with 6 inch high mountain symbols you will be able to see the jagged edges of the lines, which are the pixels of the original bitmap image.
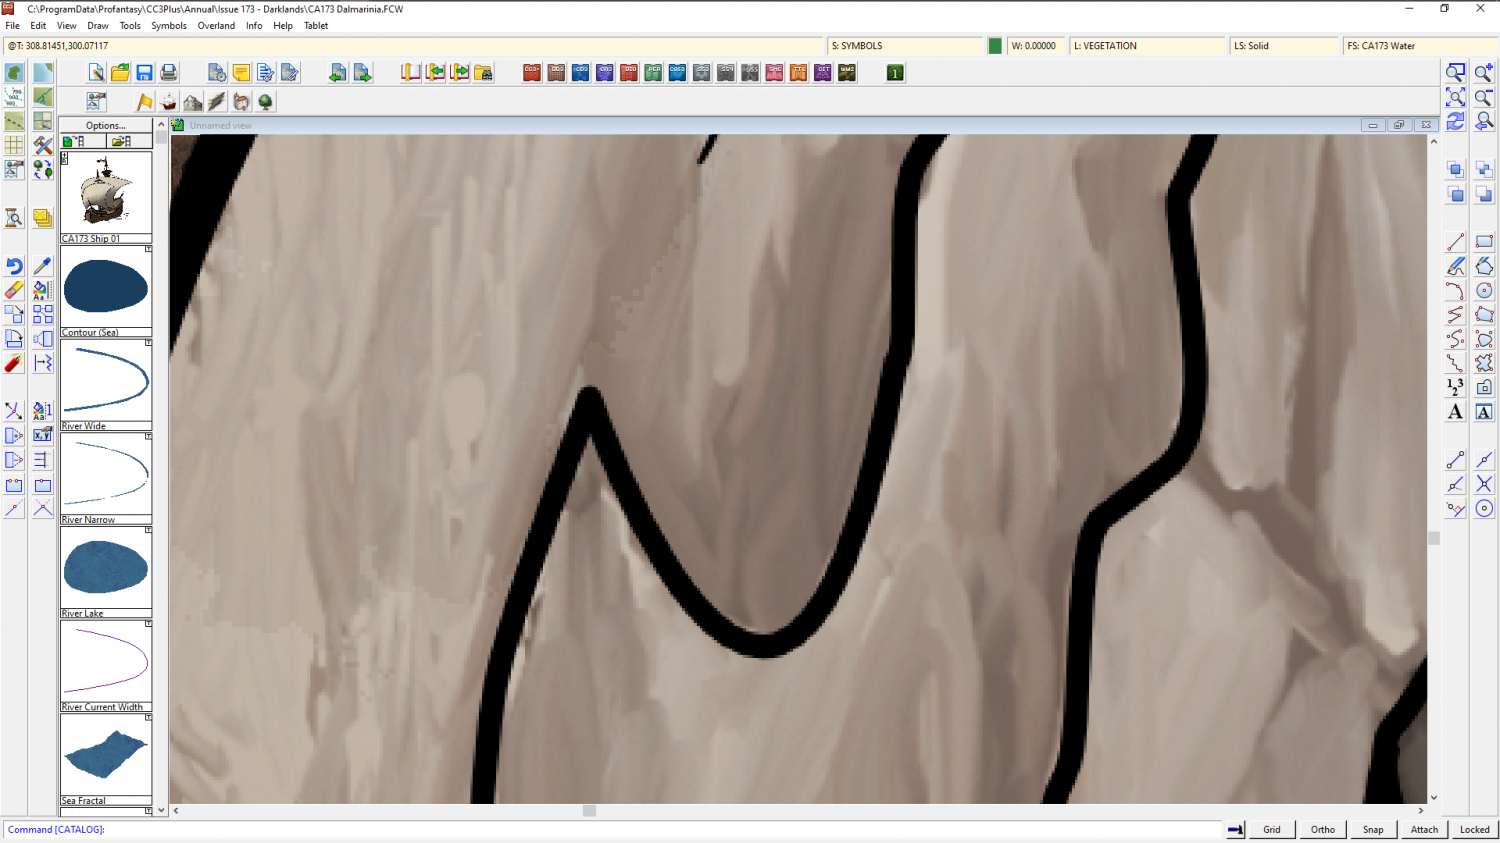
So it is better to print the smaller version nice and pin sharp so your friends can get their noses right up to the map and still be really impressed, rather than them having to stand back a bit so that the pixels aren't quite as noticeable.
As Remy explained above, this is a problem with all map graphics that are bitmap based, whether they are CC3 bitmap symbols, or PS symbols. All bitmap artwork is the same, and you can't get away from it.
The best way to tell if you will get pixelation if you blow your map up to the size you want to blow it up to is to print a smaller section of the map on your home printer at the same scale as you would print the whole thing on the bigger paper. Then you will see if the bitmap symbols and fills look bad.


-
Simulating a hand-drawn line
Or... you can use the freehand drawing tool on a sheet with a slight Displace effect, followed by a subtle Blur effect to knock off the edges. Give yourself a bit of a line width as well. No pen or pencil has zero nib width like a vector line.
Possibly the best psuedo-hand drawn lines I've seen are the ones that @Lillhans draws ;)
-
Western Baja California
Those are beautiful Ricko, and don't really need any further embelishment like a parchment, but for future reference...
The fills you have just imported can be accessed in the Fill Style Properties dialog when you click the Fill Style window in the top bar.
I don't have the parchments loaded in this map because I don't need them, but you can see where they would be from this screen shot.
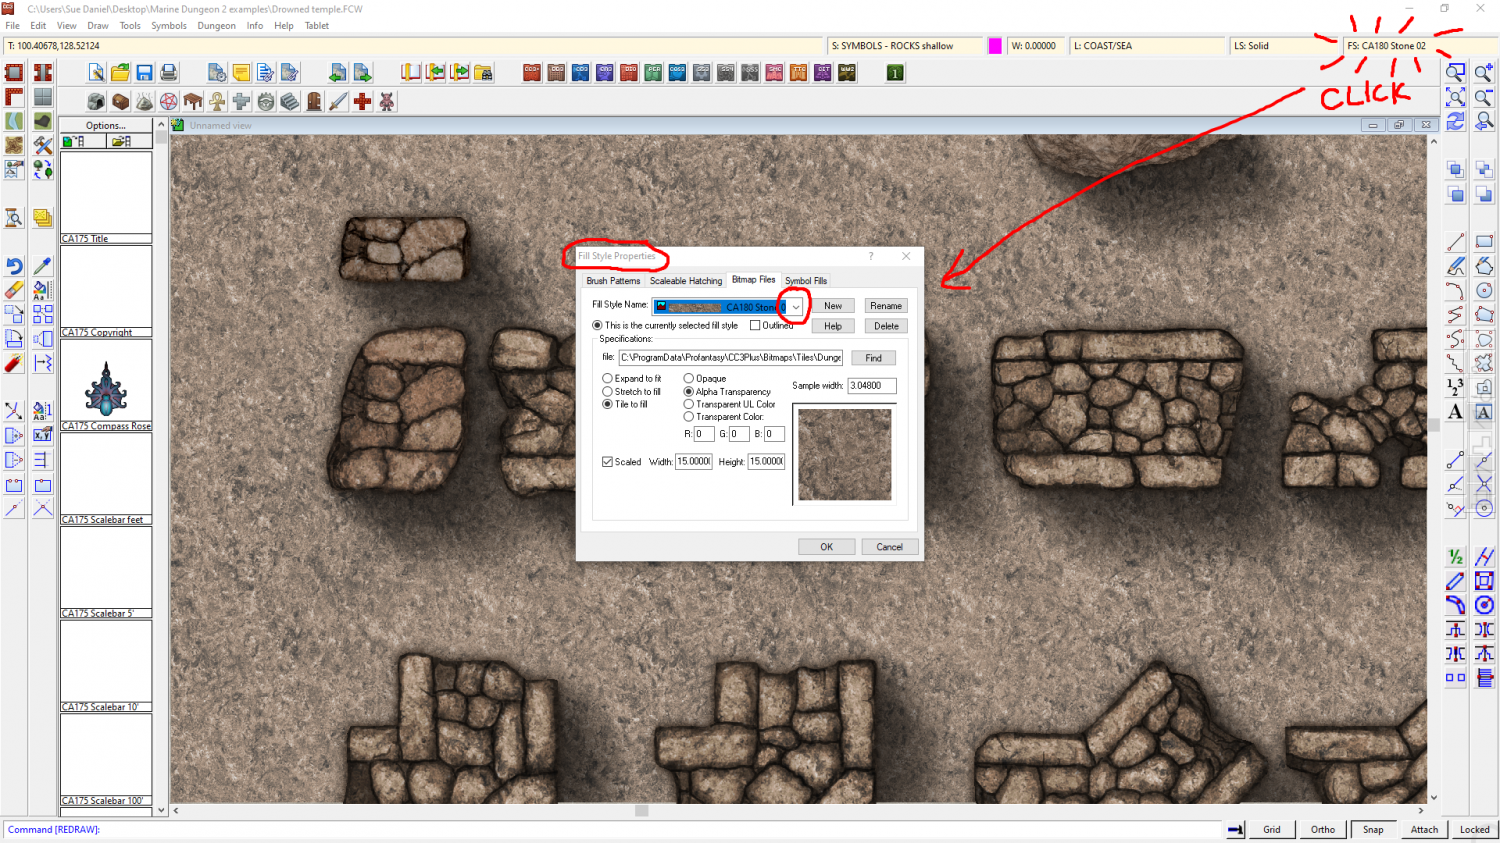
Once you have the dialog open make sure you are on the Bitmap Files tab, and click the Fill Style Name dropdown box to find the parchment you want. Having selected the fill so that it is the active fill, you can then use the tools on the right hand toolbar to draw new polygons with the active fill. Remember to chose the right sheet.
I hope that helps.
-
Marine Dungeon - further developments
Thank you, Elfling :)
I just hid the water to show the walls without it, but now you mention it I probably didn't even think about them because I sometimes have dreams where the atmosphere is still air, but the creatures of the sea swim through it like an ocean. It's probably because an early geography teacher of mine once impressed upon the class that the atmosphere is really a gigantic ocean of gas...

-
CC3+ version 3.96 - Public Beta
Thank you very much, Profantasy :D
Will Remy be tempted to write one of his wonderful blogs about all the new toys, I wonder...

