

Parchment, black and white symbols and newbie problems

I'm quite new to CC3 and feel like I'm bashing my head against a brick wall because I'm missing something obvious.
I've started by creating a simple map using the Black & White fantasy overland map (from the 2017 annual). Now I'm trying to use Sue's Parchments (also from the 2017 annual) to add a parchment effect behind it.
I'm having the issue that some symbols/layers/sheets still have a white background rather than seeing through to the parchment layer I've added.
Comments
If you move the parchment sheet above everything and add a Blend Mode sheet effect to the sheet the parchment is on, then set it to Multiply mode, the white in the symbols will disappear.
This may give you a heart attack when you next open the file (unless you have CC3+ set up to open with the sheet effects turned on), because you won't be able to see the rest of the map for the parchment - not until the sheet effects are turned on
The symbols are from the Schley black and white set, and have a white background to them, just like the ones you have used.
I created a new sheet, and inserted the image by choosing Draw->Insert file and then finding the picture file, then in the options selected Alpha Transparency. Is there another way I need to do it instead?
Lets try it with just the imported bitmap, since I have to confess that I've simply never tried it with an image instead of a fill.
If it doesn't work with the image I will explain how to import it as a fill.
Using the existing bitmap...
The list itself is kind of upside-down. The sheets are rendered on the screen starting at the top of the list with the background first, then the next sheet down, and so on till you get to the SCREEN sheet at the bottom of the list - which, because it is rendered last, is in front of everything else on the map.
If you want the scroll to be on top of everything else you need to move the scroll's sheet almost to the bottom of the map. I see its larger than the screen (that white border thing that's partly overlapping the end of the scroll) so you might want to move it all the way to the bottom. Just bear in mind that when you get to the rendering stage the setup may chop that bit of the scroll off unless you use a particular setting, but we will deal with that when we get to it.
While you are trying that out I will install the annual myself and have a look at your map, so I can work along with you on this
Not to worry though.
I will be back in a few minutes with instructions on how to import the scrolls as bitmap fills - the textures you use to fill polygons.
It will require a bit of maths on my part, but once I've sorted out how to scale it properly its done, and you can set it up using my figures.
I see what you mean about the SCREEN sheet and that is definitely on my list of things to fix. I figured there wasn't any point if I can't get the other issue with the white to work :P
I've just prepared a whole load of screen shots for you, which will take me a while to upload and annotate, but here is the last one first so that you can see it's possible.
With your map open, go to Tools/Import bitmap fill styles on the menu.
[Image_10965]
Step 2
Click the Browse button in the dialog that appears, and navigate to the parchments folder to open it. Leave the rest of the settings alone, and hit OK.
[Image_10966]
Step 3
You don't actually have to do this for this particular exercise because I have already done it for you, but if you want to use this method with a different background you will need to know how I did it. Open a file browser and navigate to the parchments folder again to find out the exact size of the parchment scroll you want to use in pixel height and width. This is important because it affects the scale of the imported bitmap
[Image_10967]
Step 4
Open the Fill Styles Properties dialogue by clicking the end window in the top row. Select the Bitmaps tab, and click the drop down arrow in the selector. Scroll down to the newly imported Scroll fill and select it.
[Image_10968]
Step 5
Tick the Scaled box, and set the width to 1300, and the height to 917. These figures are exactly half the dimensions of the bitmap fill. The reason for setting the scale in this precise 'just so' fashion will become evident in the next two steps. Click ok.
[Image_10969]
Step 6
Pick the rectangle tool on the right and enter "0,0" (zero, comma, zero) on your keyboard. These numbers will appear in the command line at the bottom of the screen as the coordinates of the first corner of the rectangle. Hit enter, and you will be prompted for the coordinates of the second corner. Enter "1300,917"
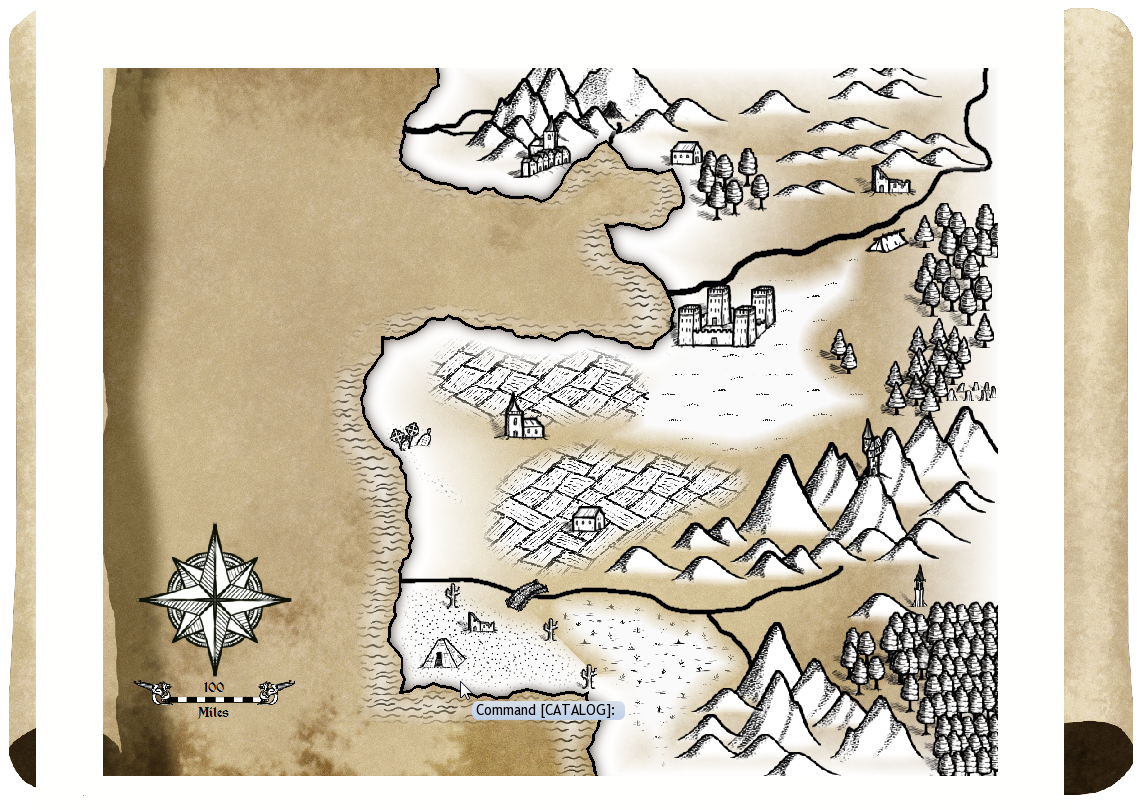
This draws a rectangle on your map filled with the parchment scroll. Because you took the trouble to set up the scale of the scroll fill to exactly the size of the rectangle, and in proportion with the actual bitmap (I halved the real pixel proportions of the scroll to make it the right size for your map) you should now have one image of the scroll on your screen - not in the right place yet, but we can move the rectangle to position it more correctly.
(this image shows the scroll as drawn according to the instructions, but it also shows it as it will appear if you have already added the Multiply Blend Mode effect to the scroll sheet)
[Image_10970]
Step 7
Using the move tool (left hand tool bar) pick the rectangle containing the scroll fill, and move it until you are satisfied with the position of the map. This will take a bit of fiddling around, because the map vanishes the moment you pick the scroll, but its not too difficult to get right in about 5 or 6 moves
Now for the... 'how to render this out when its bigger than the screen'... issue.
Woz - I will probably have to set up a few more screen shots for this part of the explanation, so please bear with me for a few more minutes
You just need to move your scroll sheet down to the very bottom of the list of sheets
Damn! You work fast! LOL!
I'm still preparing the screen shots for how to export this thing :P
Because the scroll extends a long way outside the screen and something called the 'map border', which controls how many of the default export settings work, and which will usually trim the map down to the map border, we need to export this map in a particular way.
Step 1
To mark the extent of the desired export and make the job relatively easy, we need to draw a hollow rectangle around the whole map. First set the fill to 'hollow' by clicking the last window in the top row like before, and click the Fill Style Properties 'Brush Patterns' tab, then select the 'Hollow' fill and click ok.
[Image_10974]
Step 2
Draw a rectangle by giving coordinates like before, but add a space of about 100 map units to the size of the scroll rectangle. So pick the rectangle tool again and enter 0,0 in the command line like before, and then 1400,1017 as the coordinates for the second corner. That should give you a rectangle like this one.
[Image_10975]
Step 3
Using the move tool again, move the rectangle so that you are happy the map and its scroll are centred within the new rectangle.
[Image_10976]
Step 4
Click the "Attach" button in the bottom right. Then go to "File/Save as..." in the menu. Select "Rectangular section JPG" from the file type dropdown box, and click the options button. In the dialog that opens set the width and height to the same size as the rectangle you have just drawn*, and make sure that the rest of the settings are as shown in the screen shot. Click ok.
[Image_10978]
Step 5
The command line prompt is now asking you for the coordinates of the first corner of the export rectangle, so very carefully click on the bottom left corner of the new bounding rectangle you just drew. You don't have to zoom miles in. You only have to be certain of hitting the line of the edge of it reasonably close to the bottom left corner. The Attach function you switched on just before exporting will automatically snap your pick to the exact corner of the rectangle. This image shows my cursor not quite in the right place. That is because if it was in the right place either the horizontal or vertical line of the rectangle would be rendered invisible by the crosshairs.
[Image_10979]
The command line prompt is now asking you for the second corner. Click as close as possible to the top right corner of the new rectangle, making sure that you are at least on the line and as close as you can get to the corner.
Once you have done this a DOS window will open, showing the progress of the export. When that vanishes the export is complete and you can open your exported jpg map image
NOTES:
*The dimensions of the exported jpg do not have to be exactly the same as the map unit size of the new hollow rectangle. I made them the same size in these instructions to keep things relatively simple. The image exported will be relatively small, though, so you might want to double both those figures to 2800 and 2034, and then carry on with the rest of the operation as before. The only really important thing about those dimensions is that they are proportionally the same as the rectangle proportions - ie they are multiples of the original 1400 x 1017 rectangle size.
I haven't uploaded a rendered version of your map, since it isn't my place to present your finished map.
I do hope you found this useful. Please let me know if you have any problems with my instructions (I do sometimes miss on things I do by instinct and don't think to mention)
The rectangle, save as etc all worked perfectly. Thanks again
Now I guess I better go learn about the "SCREEN" sheet and how that works, so that I don'y end up with the map ending/cropping so obviously before the edge of the scroll. A challenge for tomorrow I think :P
The Screen on the SCREEN sheet is intended to do what it says. It screens parts of symbols that stick out beyond the edge of the map, so that if you place a mountain or a tree right on the edge to make sure there's no gap in your mountain range or forest, the bit that falls outside the map border is hidden by the screen
For this map you can either hide the screen sheet, or move the scroll sheet right to the very bottom of the list so that the screen sheet disappears behind the parchment, but still crops the trees and the rest of the symbols as before