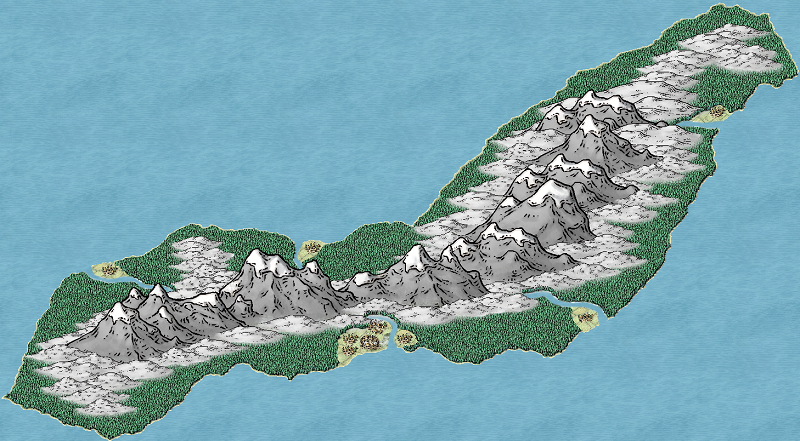
An Island WIP from the Kingdom of Hardrada
Still needs text and the background information but it is starting to look good.
I changed the way that I am making rivers.
I wanted a less uniform river system.
Testing it out on few island first and then will go back and change my rivers.
I changed the way that I am making rivers.
I wanted a less uniform river system.
Testing it out on few island first and then will go back and change my rivers.


Comments
I then choose the Fractilize option on the left side of the work space and check Smoothing to create the curves of the river.
I then connect the source and coast to the river.
I then choose the ocean fill style and then click on Poly Smooth on t he right side of the work space and then draw right outside the area that I already created.
This allows me to create various widths instead of strait lines.
It also allows me to narrow the river at the source and widen it at the coast (lake, larger river).
Right now I have only went through all the steps with the WIP.
I still need to go back and touch up my other rivers.
Thanks for the compliment and your question. :-)
First click on Fill Style on the top right and pick Ocean Fill Style
They will be thin to begin with.
Do not connect to the source nor the coast.
I used it one each river twice
Connect to your river sources and destinations (Hills & Ocean in this case).
Reduce the width to 0.0
You then start at the destination (Ocean).
You want to start in the water.
Remember to keep it wide at the destination and narrow at the source.
Use the original line as your guide.
Click along the guide line varying the distance to get a more natural feel.
When you get to the source of the river, come to a point and then run back down the other side of the river to the destination.
When you are back in the water, connect your end point back to your starting point.
Now you have a more natural river.
There are several ways of making rivers of course so experiment and have fun.
:-)
Yes, and I also find it a lot easier.
It is also a lot easier to change at a later date this way.
That is an important factor when you spend as much time experimenting as you do building like me.
;-)
If I understand, the river ends up being a really long smooth polygon? The original river you created and fractalized was just a guide for making the smooth polygon? Seems like it would be really hard to keep the width of the river consistant (within the desired taper). If I understand right, how many points do you end up having to make/define on the smooth poly?
Yes, in the style that I like to use, the river does end up being a really long smooth polygon.
Yes, the original line is just a guide for the polygon.
The idea, it to not keep the river width consistent (makes for a more natural looking river).
The tapering at the end and the gradual change from small to larger takes some playing around with to get it down.
I made a real quick example for the tutorial, but I would normally spend more time on getting it.
This is especially true for very long rivers.
For those I would do the polygon portion in sections.
In my experiments with detailed regional maps:
I will take a valley and place all the thin lines for the main river and the smaller creeks that will flow into it.
I then do the polygon in sections from either the source or destination and up to or down to the next part of the river where another river/creek joins it.
I then move on to the next point.
I do it this way because I mainly work on regional maps that have more detail.
On larger maps, the way I did it on the tutorial works great in a single run.
I am not actually sure how many points you end up with honestly.
I never tried to check.
I am just experimenting with it for now.
Most of my maps right now have the standard river format of straight lines.