

Difficulties with the CA46 Castle Walls tools.

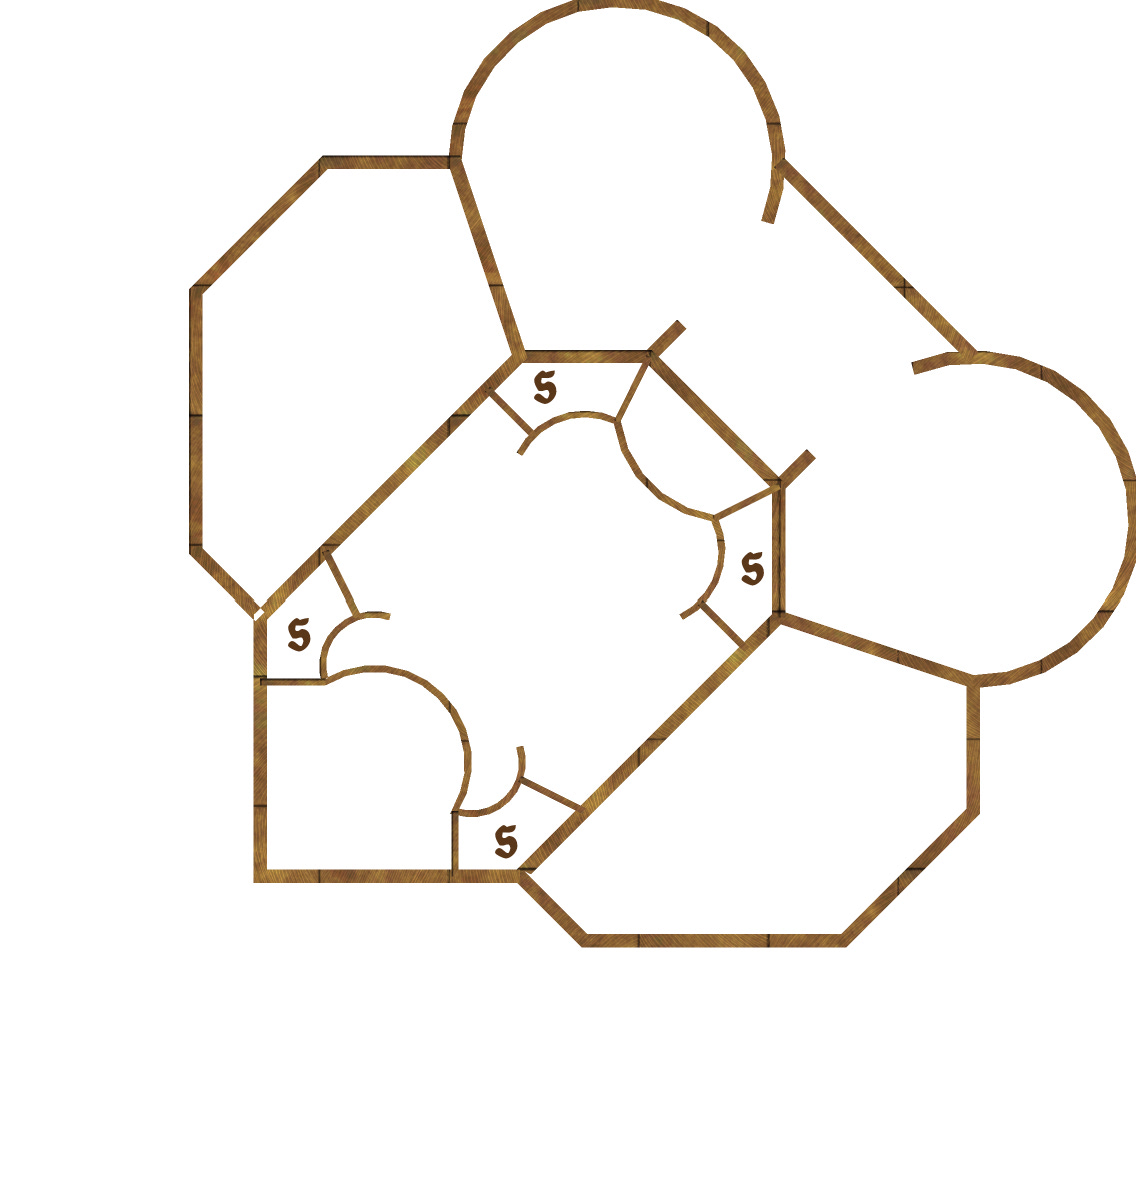
Okay, so I'm trying to design a Mesopotamian-style astronomer's tower (spiral stairs on the outside) and am running into a few snags with the graphics. Whenever I try to convert the double circle image to a multipoly or use the suggested line-to-path method, the fill style does not fill in the stone pattern on the stairs and also does some funky tricks with the double circle in that depending on how zoomed in I am, only a part of the circle is shaded, the entire interior is shaded, or nothing shows up. Some help would be greatly appreciated. Attached is a sample of what happens.

Comments
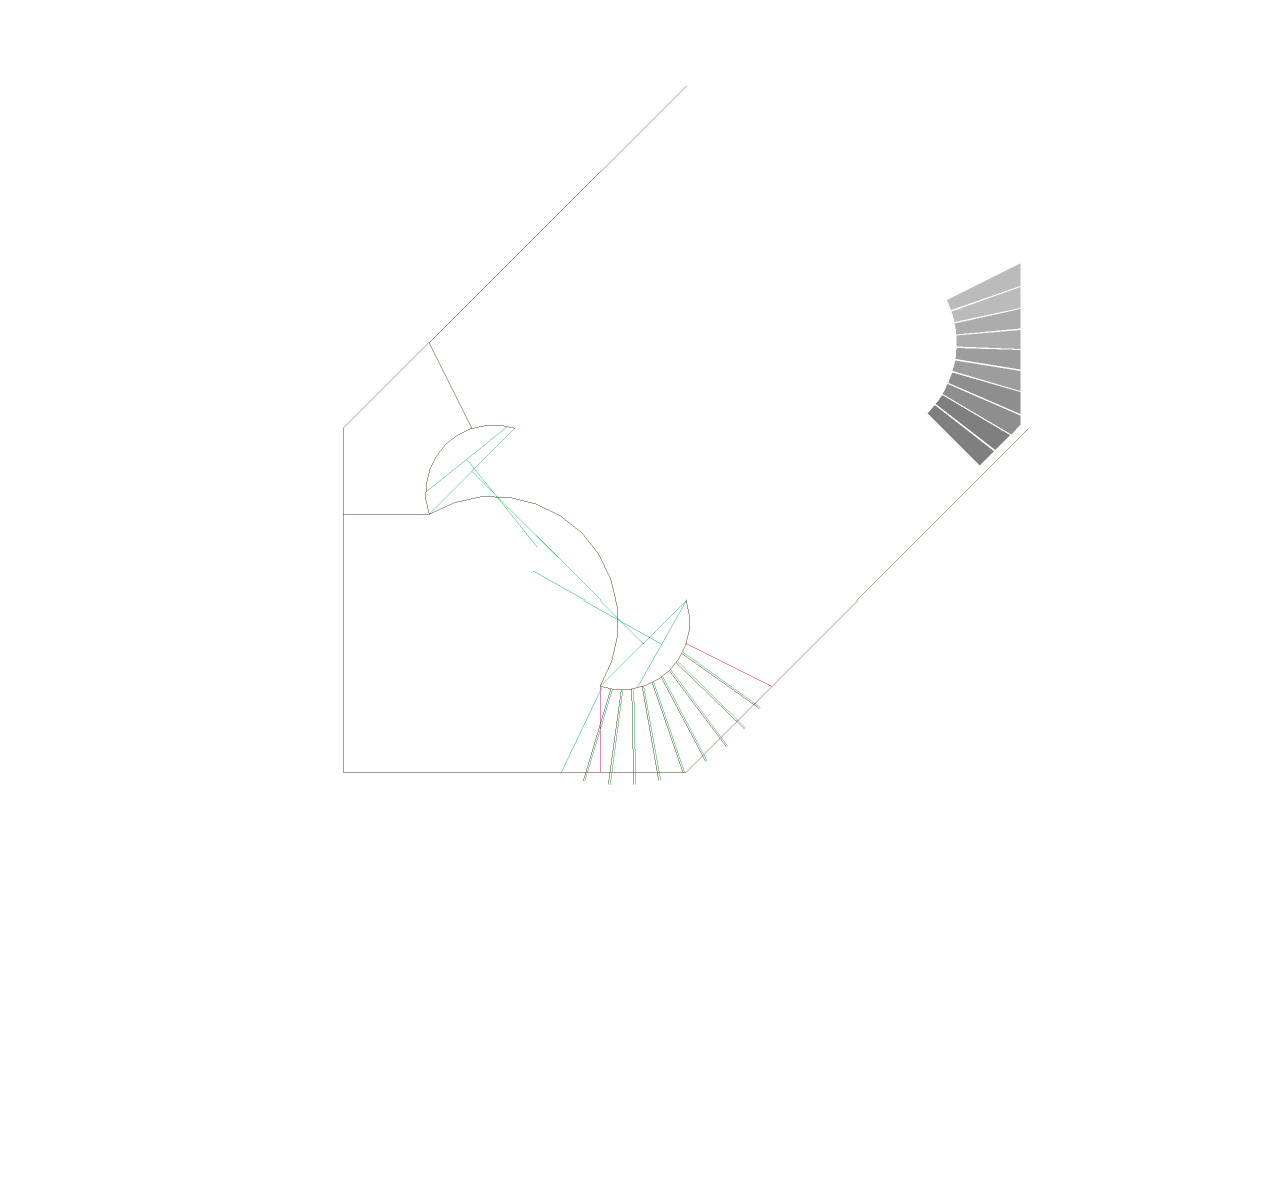
Your stairs don't yet define steps. Depending on what you wish, you need either to close the stair with an arc, break the outer circle along the stairs, multipoly both arcs, the inner circle, and the two closing lines of the stairs.
Or you need to design each step as a multipoly (it's what I do, but it's time consuming. Once you the first step you can use the circulair array to quickly copy the first).
Could you please post the FCW file?
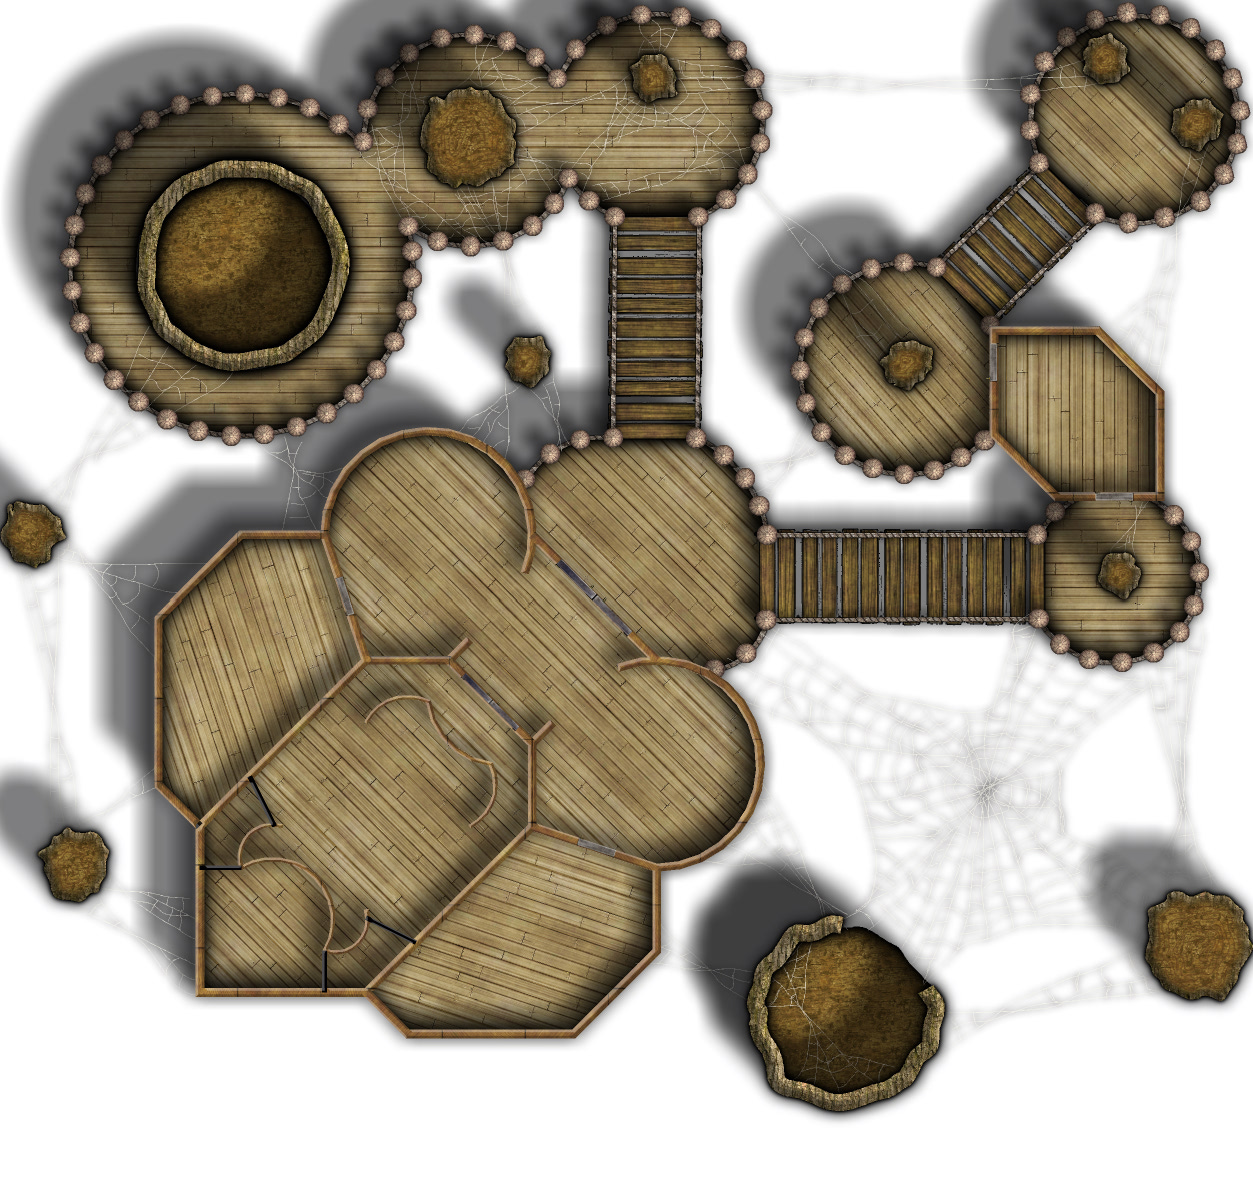
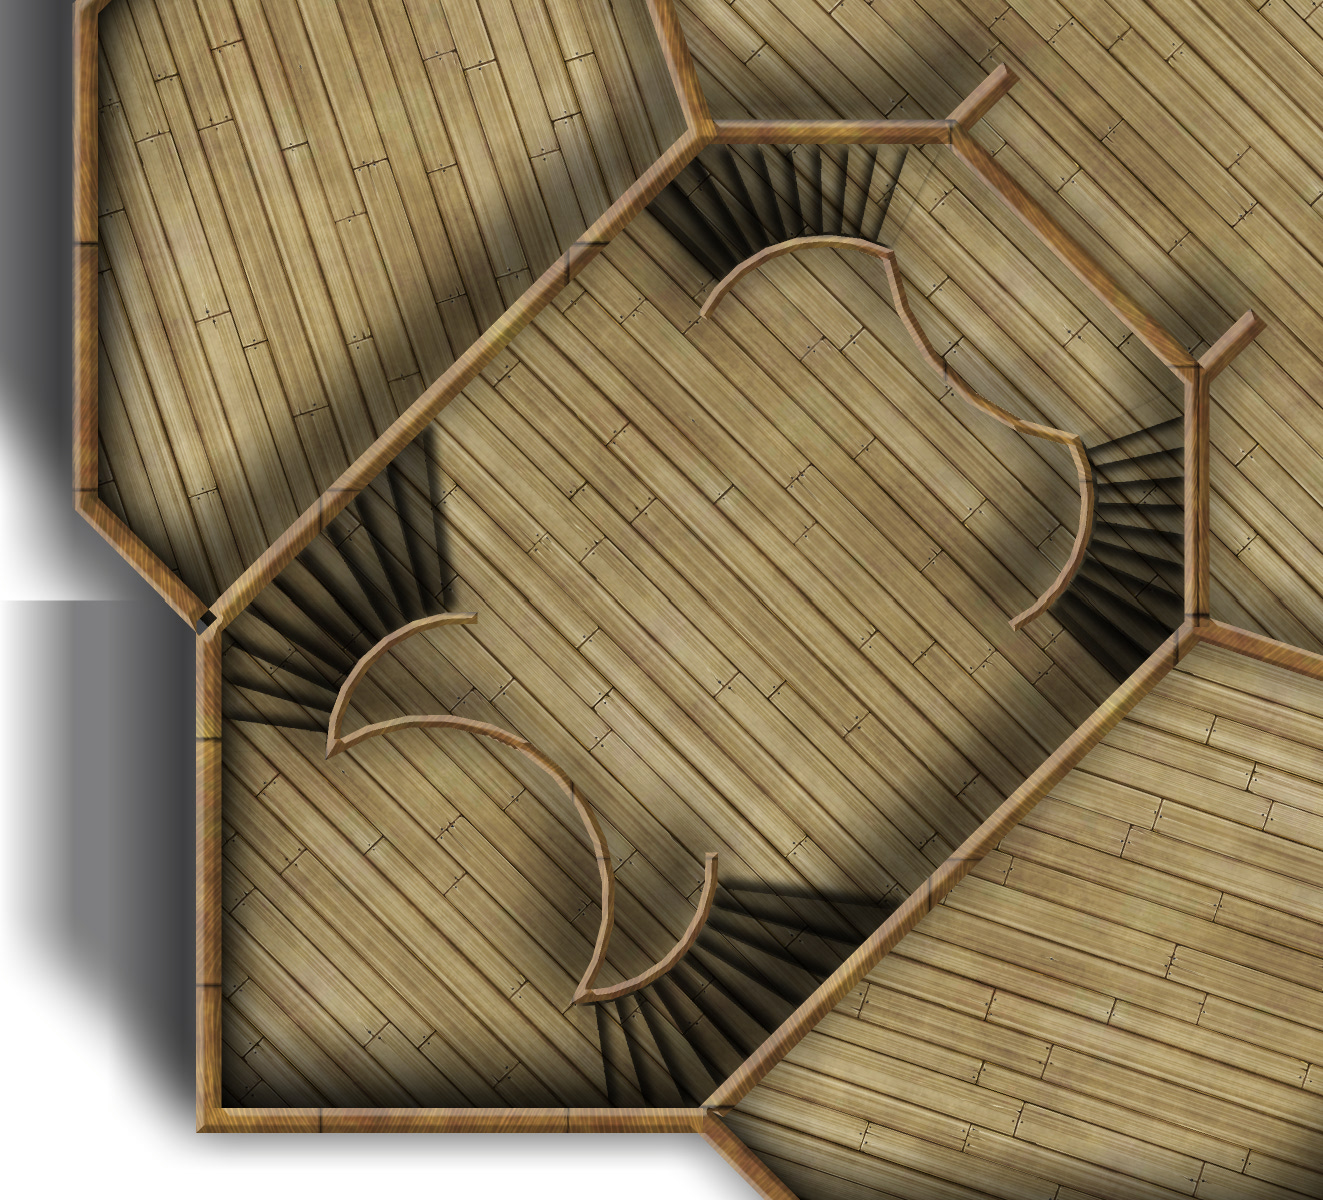
To color them, you need either to place a polygon (or multipoly if you want to keep the curve) under the lines or make each step a separate polygon as I did here
Usually, book maps are black and white and vector like.
Here I made some versions using the picture you posted above. Below, you can download the FCW files and *reverse engineer* them if you wish.
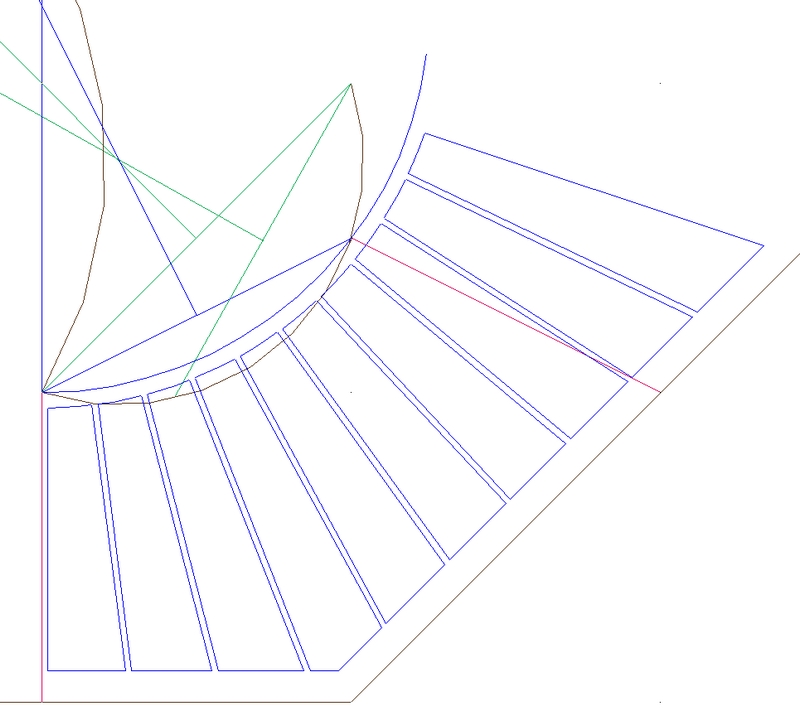
i) Draw the first line, where the stairs meet the landing, with the GRID and SNAP buttons down, form the outer circle.
ii) Use the Rotated Copies tool (keyboard ROTCPY or RightClick ), select the line and type an angle of about -10. Minus because it's a clockwise rotation.
You now have two lines that define the landing.
iii) Use again the Rotated Copies tool, select the first line and type an angle of about 1.5 (based on your picture).
iv) Use the scale command (keyboard SCALE or left-click the button just under the copy button). Select the last line, type 0.8 and use the MidPoint modifier (F3 or the button with a blue line and red/white point in the middle) and select the same line again. It is optionnal but on a pure line map I think it shows clearly that we have steps here.
v) Now use the Circular Array tool I mentionned above. Select the last, shortened, line and do it. You will have to answer a lot of questions appearing in the command line :
Number of spokes[1] : type 160 (or the precise number of steps you'd like)
Number of rings[1] : type 1 or right-click to accept default value (more than 1 will add more rings of stairs around the tower)
Array center[0.00000 0.00000] : if your circle is centered on the origin (0,0 point) you can right-click to accept the default, otherwise use the CenterPoint modifier (F4 or the button with a blue circle and a red/white point inside) and select the circle.
Copy origin : click any point, I don't know the meaning of this input and found there is no difference wherever you chose the point. I usually use the array center.
Angle between spokes[2.50000°] : type 1.5 (same as above). If you accept the default value (360° divided by the number of spokes) the lines will go around a full circle.
Right click and select do it or just hit d on your keyboard.
That's it! i) Right click on the arc tool button, select Center, Start and End
ii) Click on the center of the circle or use the CenterPoint modifier as above (F4)
iii) Click the EndPoint modifier (F5 or the button with a blue line and a red/white point at the upper right end) and click on the left line of the landing, near the outside end.
iv) Click angain on the Enpoint modifier (or hit F5) and click on the last step line, near the outside end. Even if it's not the same radius, it won't matter.
Now, to make the multipoly of the walls, you need either to split this arc at the second landing line, or draw two arcs this way. Just make sure you start the arc on the right line because it's always drawn counter-clockwise.
Hope it helps. CC3 has a lot of powerfull tools but it means you'll need some time to get used to them.
But don't forget that he is (as far as I know) one of the most experienced and talented users here.
And I bet he has been using this software for quite a while.
~Dogtag